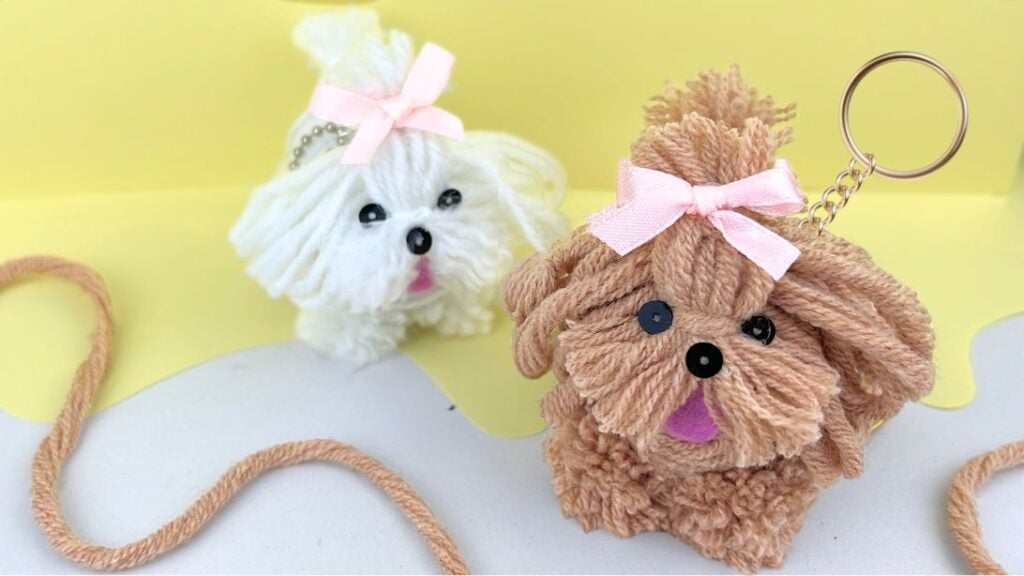
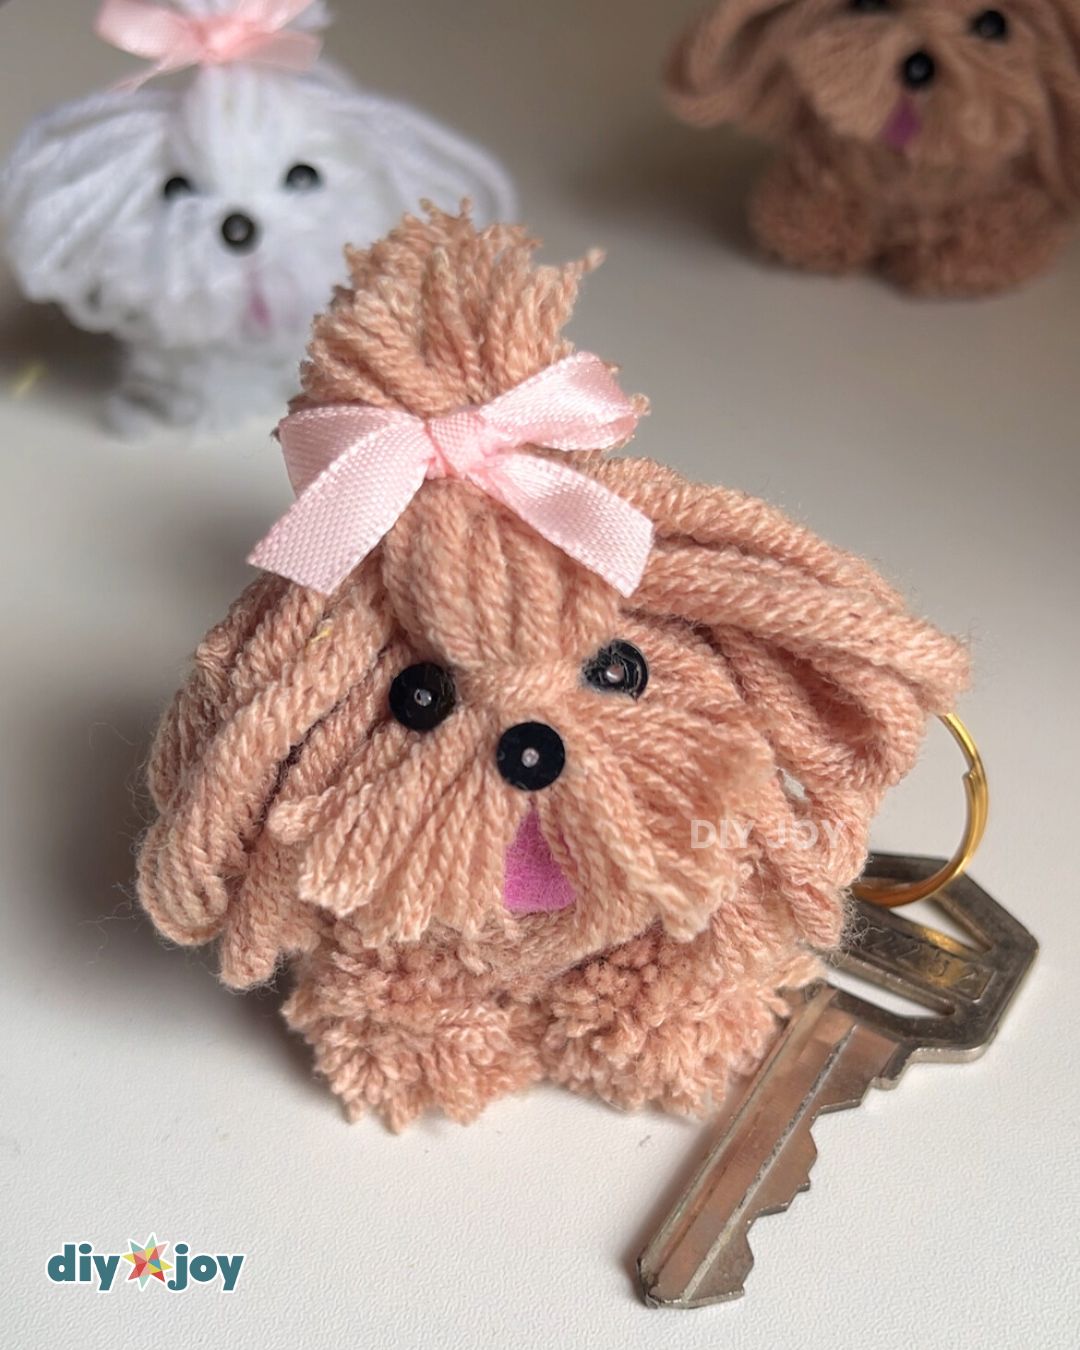
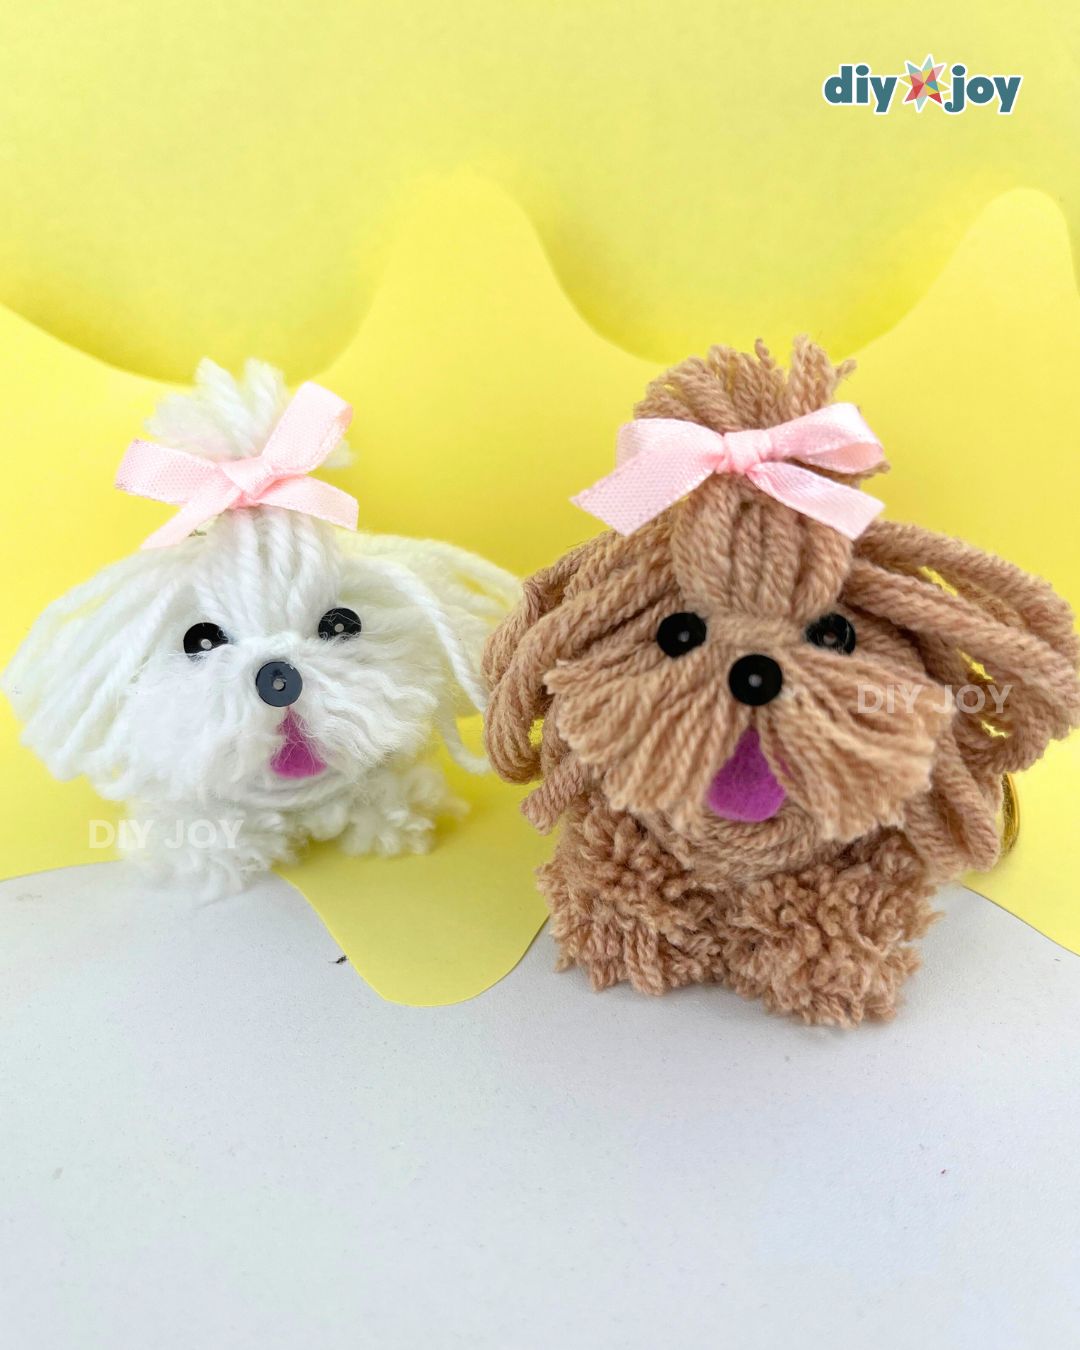
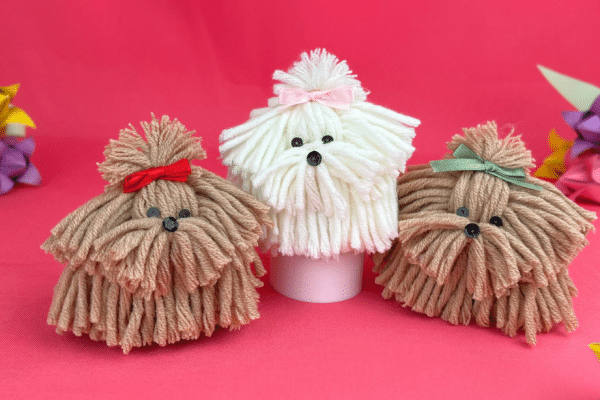
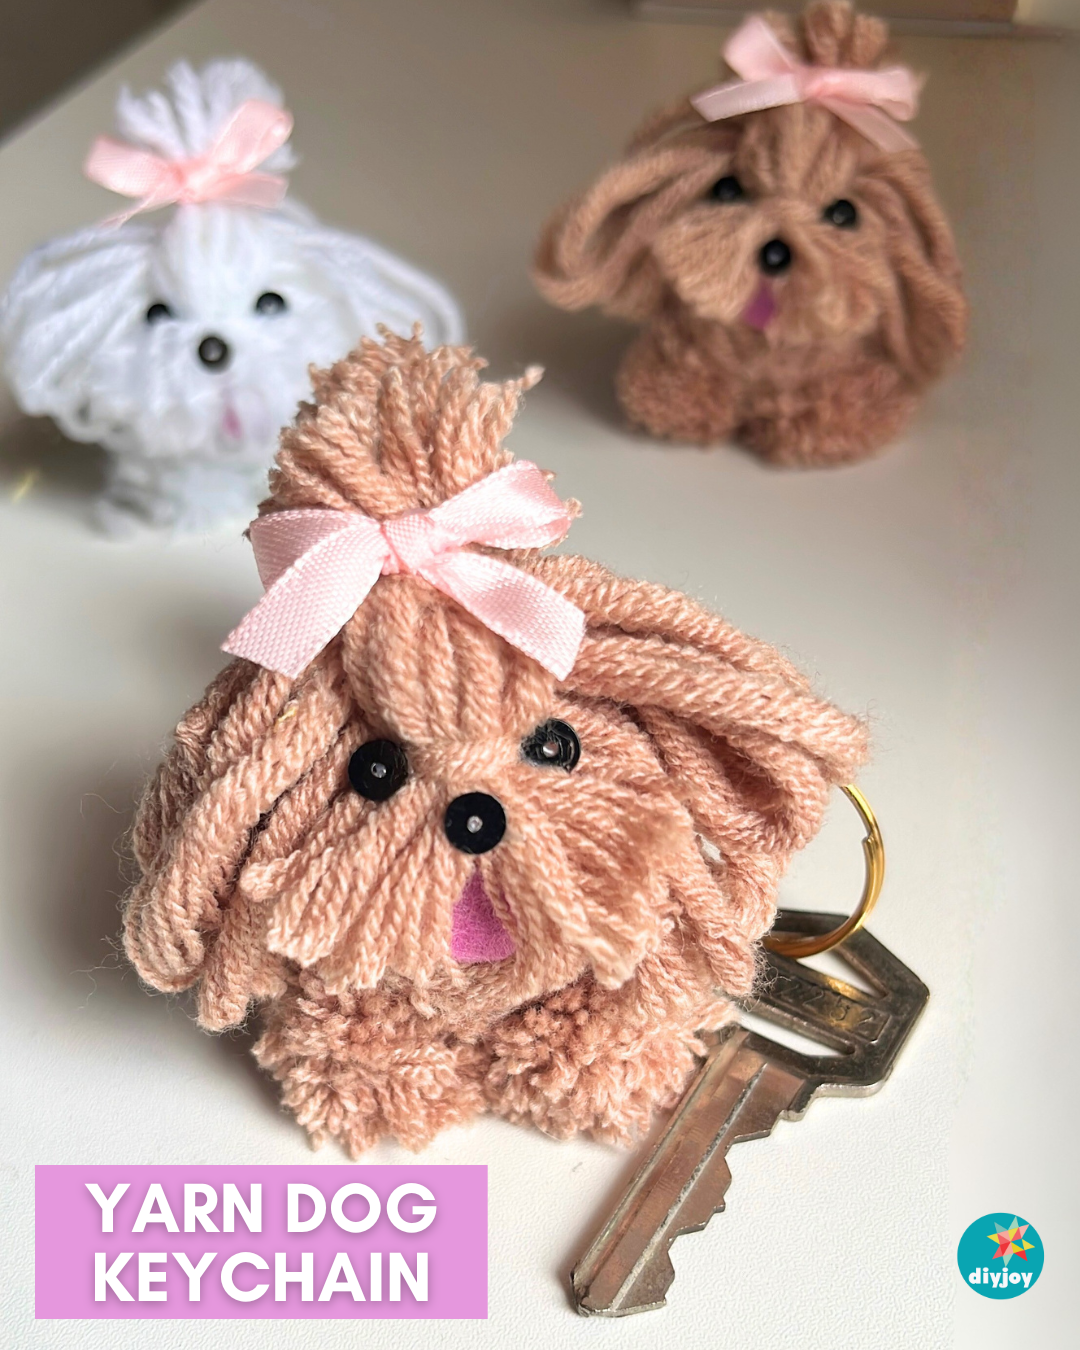
If you’re a dog lover, you will surely love this DIY yarn dog keychain! It is small, cute, and customizable. You can even match the yarn to your own dog’s color. How adorable is that? This yarn project is simple to master and requires only a few materials like yarn and air-dry clay. Keep on reading or watch the video below for full instructions.
RELATED: How to Make a Yarn Dog
Bag charms were one of the most popular accessories last year, and it looks like they will continue to be this year. You have to try making this easy craft if you love dogs and bag accessories. You’ll learn how to make pompom balls and get to experience how to work with air dry clay. Not a fan of bag charms? You can use this project as a keychain or as desk decor. Everyone who saw these cute dogs kept saying how adorable they are! It is definitely a crowd-favorite DIY project.
If you are looking for handmade gift ideas or crafts to make and sell, this dog keychain is the perfect solution. It is budget-friendly and beginner-friendly, so anyone can try this yarn craft at home. For the body, I used air-dry clay, but if you can find a lightweight oval shape of the same size, you can use that instead. This woolen dog is completely customizable. Use any yarn color you prefer to make your own handmade dog bag charm.
Yarn Dog Keychain Tutorial
Learn how to make a dog keychain using yarn with this easy step-by-step tutorial.
Make the body
Start by forming the body of the dog using air-dry clay. Make an oval that is about 1 7/8 inches long and 7/8 inches wide, then place an eye pin in the middle. Let it dry completely.

Cover the body
Wrap the yarn around the body starting from one end and working your way to the other. Secure the yarn as you goo using small amounts of hot glue. Be sure to glue around the base of the eye pin as well to keep it firmly in place.
Make the feet
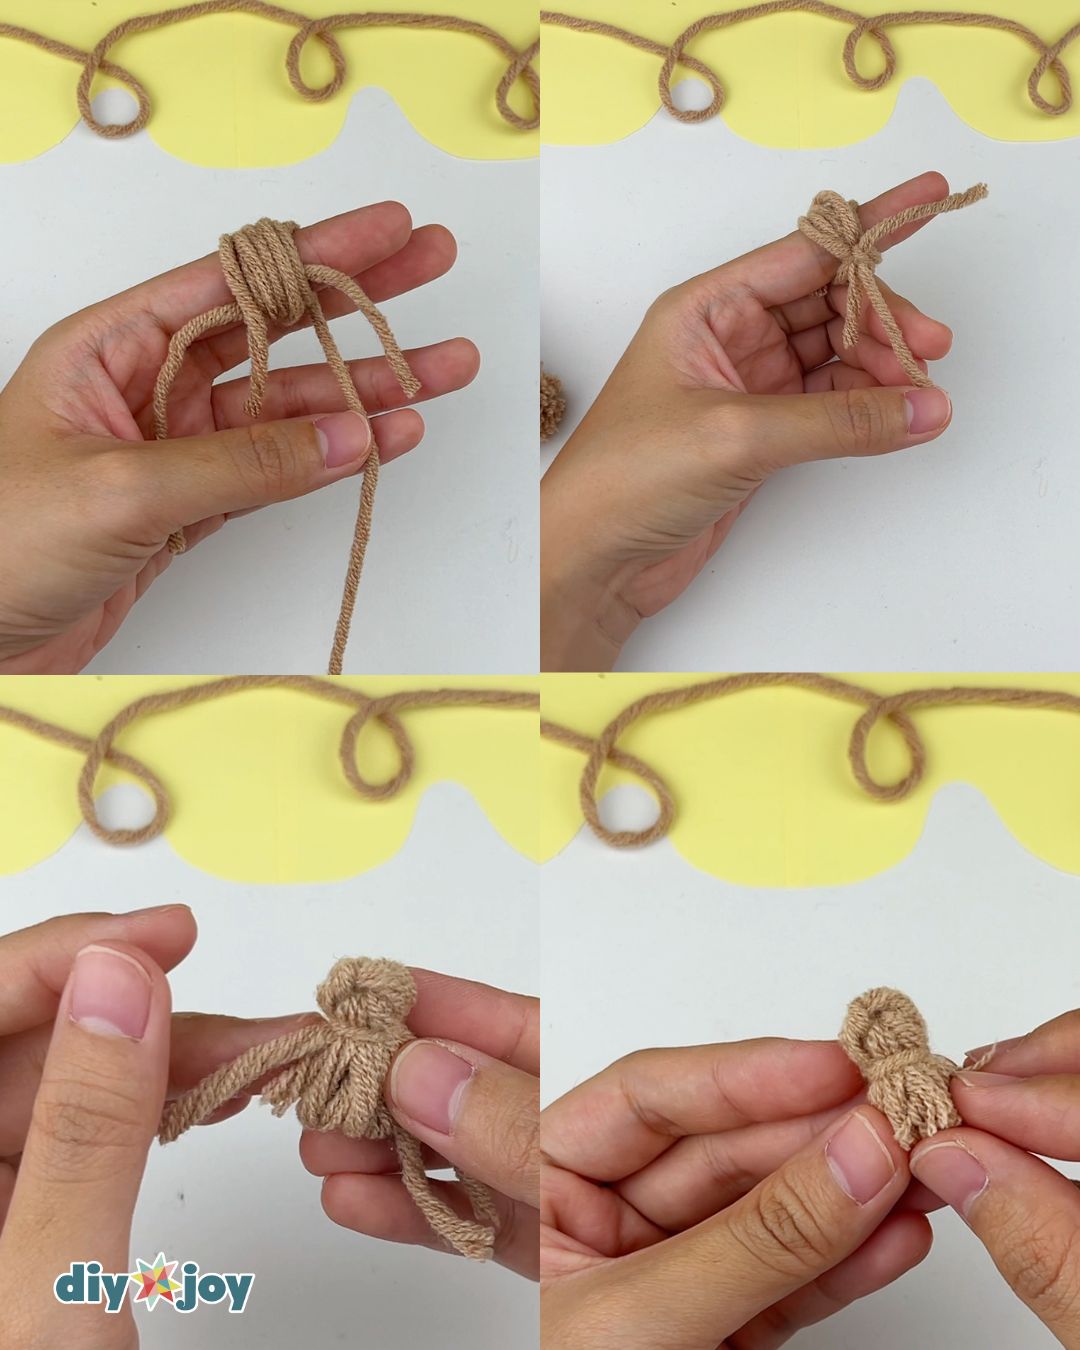
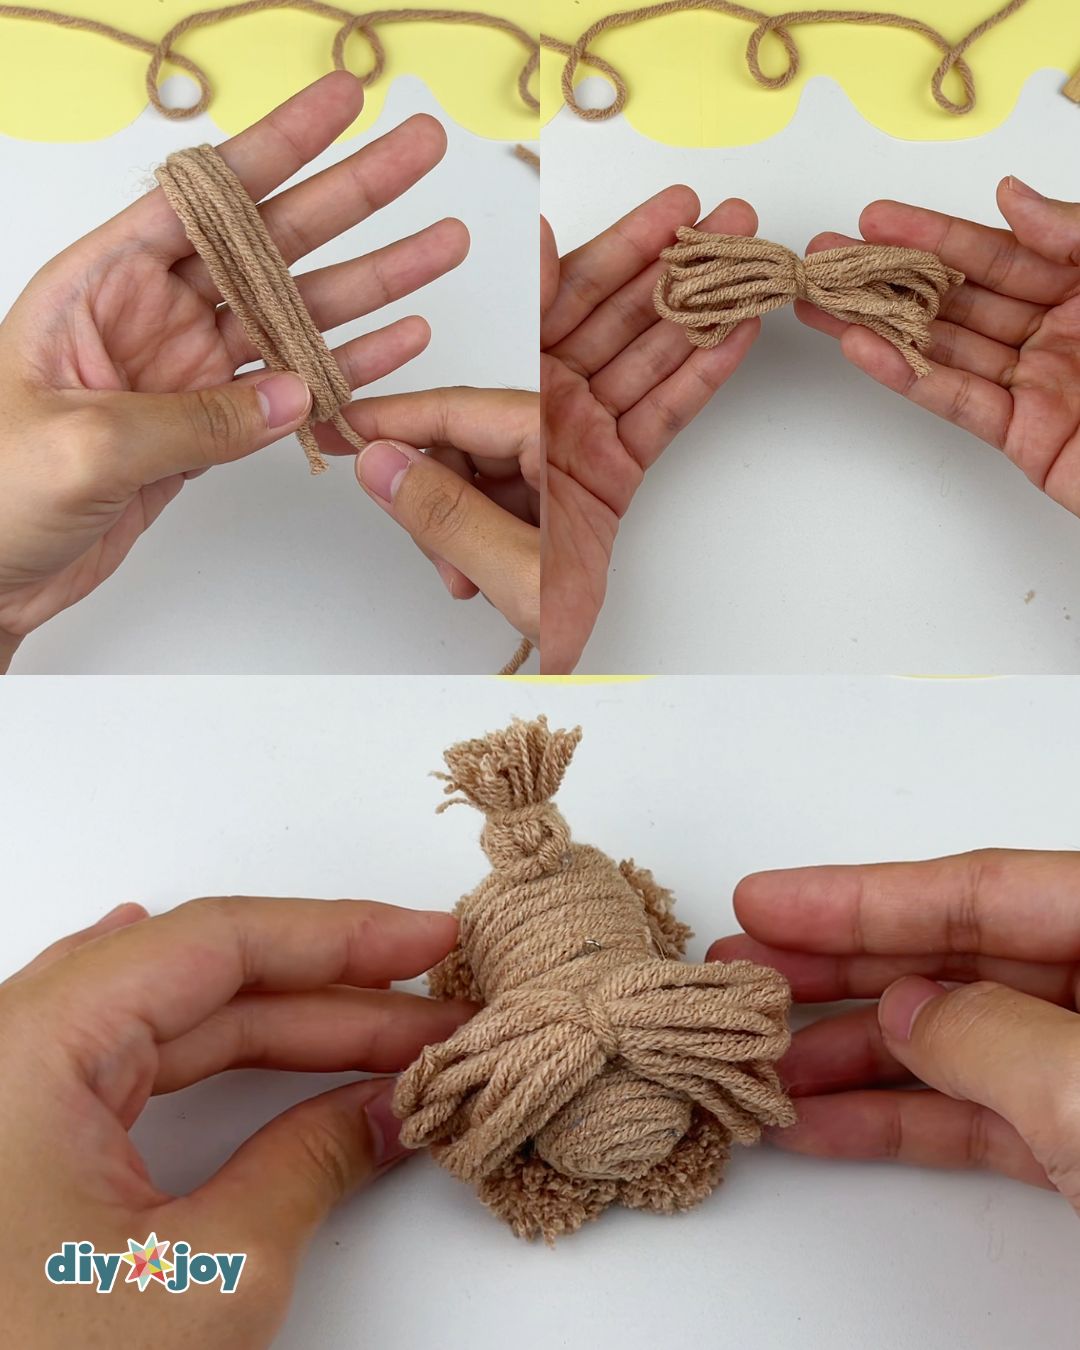
Cut a small piece of yarn and set it aside for later. Next, take the working yarn and wrap it around your two fingers 10 times, then cut. Carefully remove the loops from your fingers. Wrap the small piece of yarn around the center of the loops and secure it with a double knot.
Cut the loops open and then trim the ends until it forms a pompom.Glue the feet
Glue the pompom balls onto the back of the body. See photo below for reference. Trim if needed.
Make the tail
Cut a small piece of yarn and place it along your index finger. Wrap the working yarn around your index finger 8 times, then tie the loops in the middle with that first small piece of yarn. Remove the bundle from your finger. Using another small piece of yarn, wrap it tightly just below the initial knot to create a small bulb. Cut the loops then trim the ends to finish the tail.
Glue the tail
Take the tail and glue it to the back end of the body.
Make the ears
Wrap the yarn around four of your fingers 7 times, then tie the bundle in the middle with a small piece of yarn. Glue it to the top front area of the body.
Make the face
Wrap the yarn around your four fingers 5 times and tie it securely in the middle. Cut the loops, then comb the bottom part to split the strands. Next, tie the top section together using a small piece of yarn. Trim the ends, then glue the piece onto the front of the dog’s body.
Trim more if needed.Glue the details
Glue the eyes, nose, mouth, and bow onto the face. Finally, attach the metal ring to the eye pin.


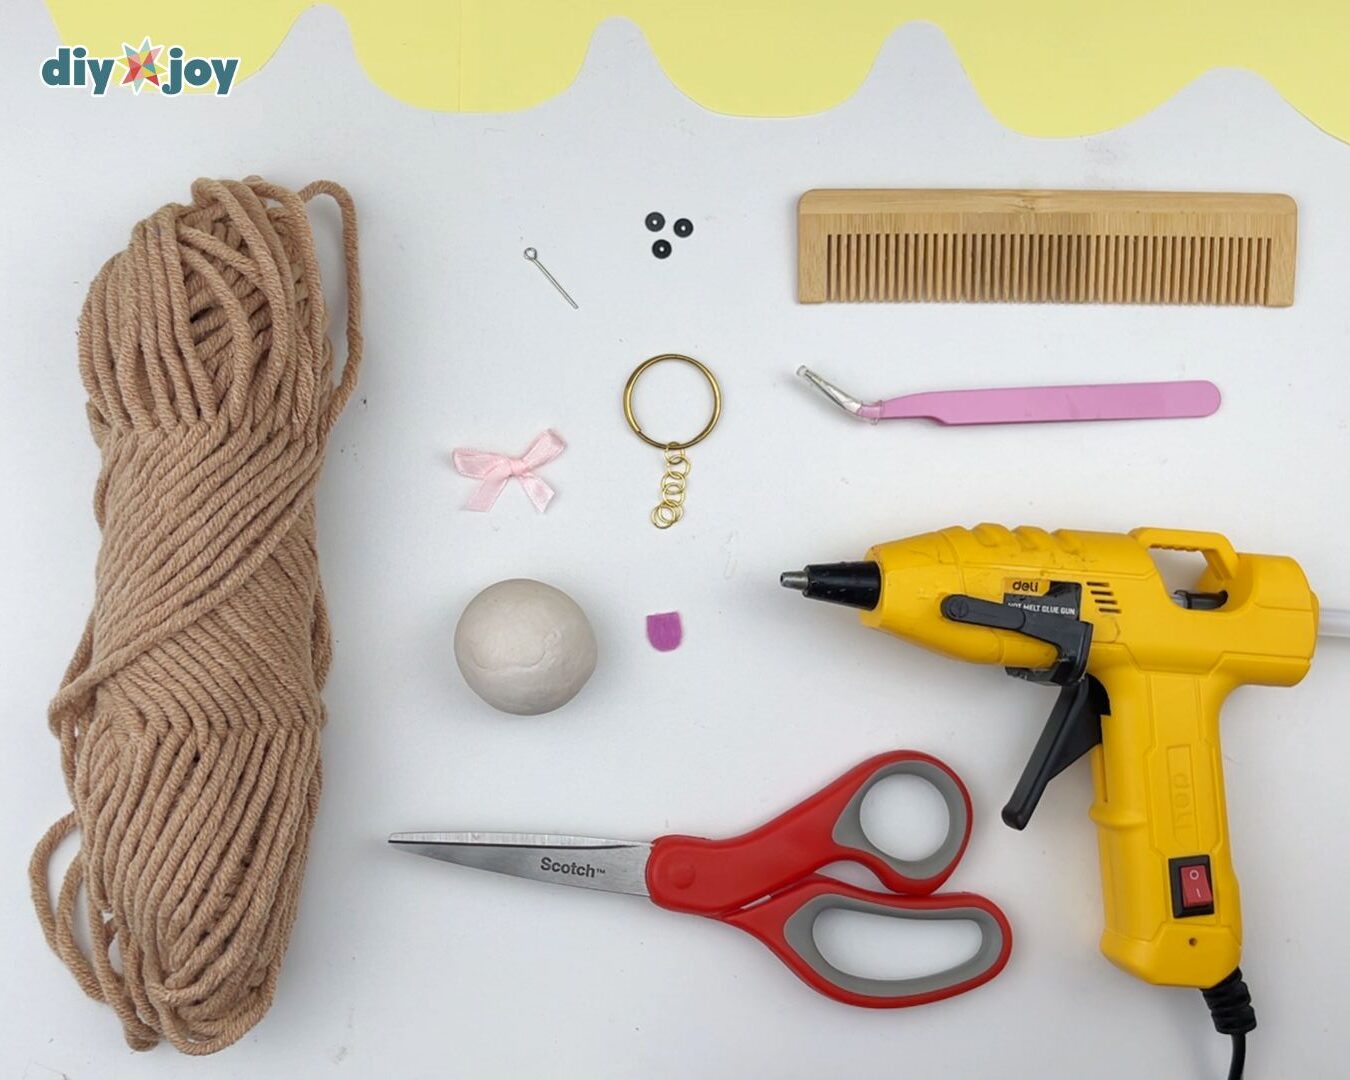
Tools
- scissors
- comb
- glue gun
Materials
- brown milk cotton yarn
- glue stick
- air dry clay
- sequin or beads
- pink felt paper
- ribbon for the bow
- eye pin
- keychain
Creative Ideas and Variations
- Beads. Instead of using sequin, use beads for the eyes and nose. Just make sure to use the right size of beads.
- Sizes. You can definitely make a bigger version. Use this tutorial as the guide.
- Yarn. You can use a different type of yarn but modifications are needed.
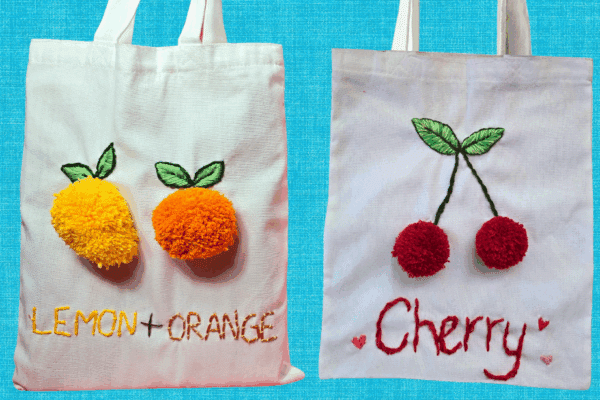
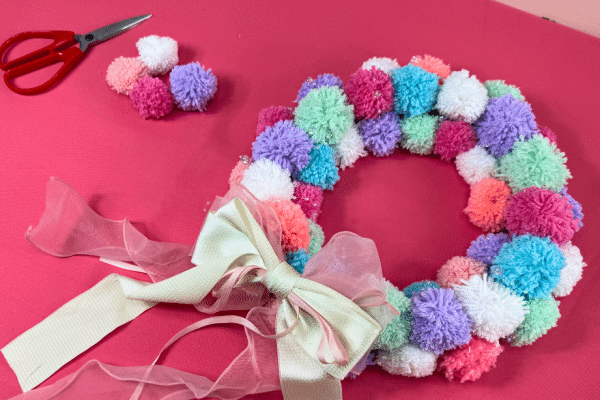
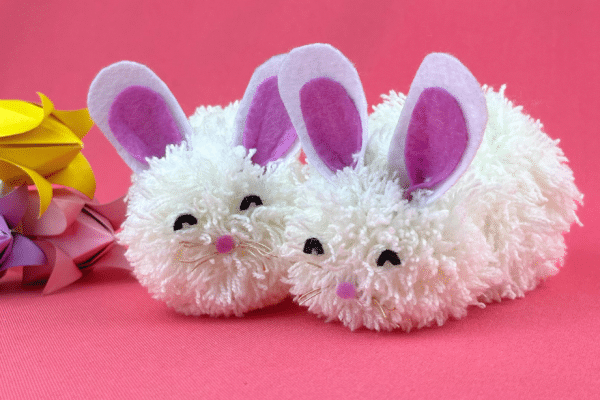
More Easy Yarn Crafts
Yarn Crafts
Crafts
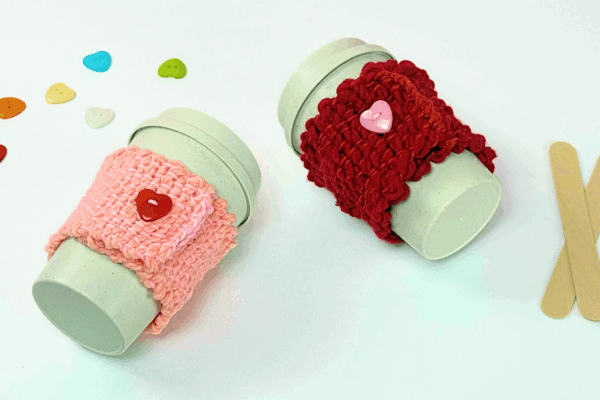
Yarn Crafts
How to Make a DIY Keychain Yarn Dog

