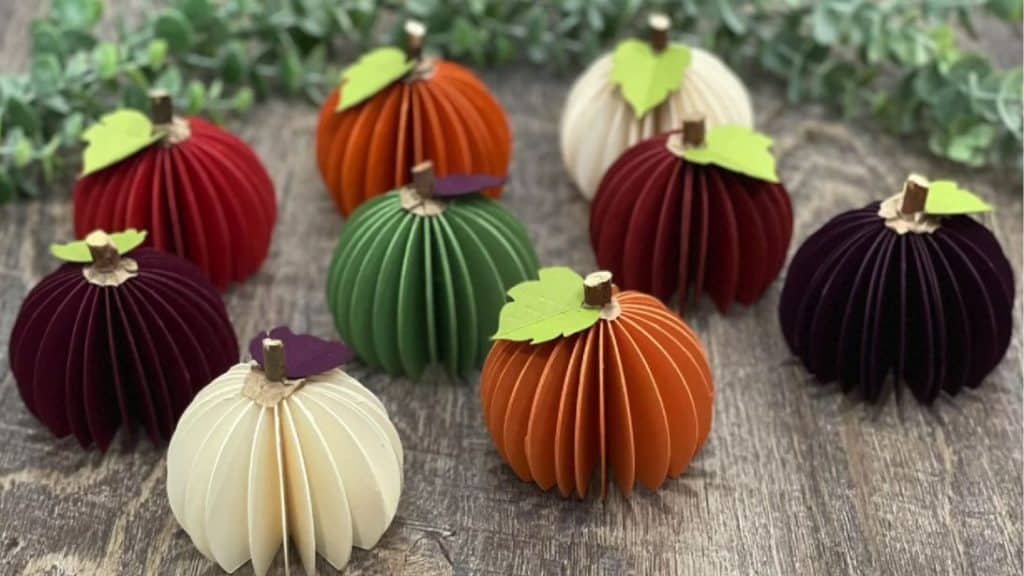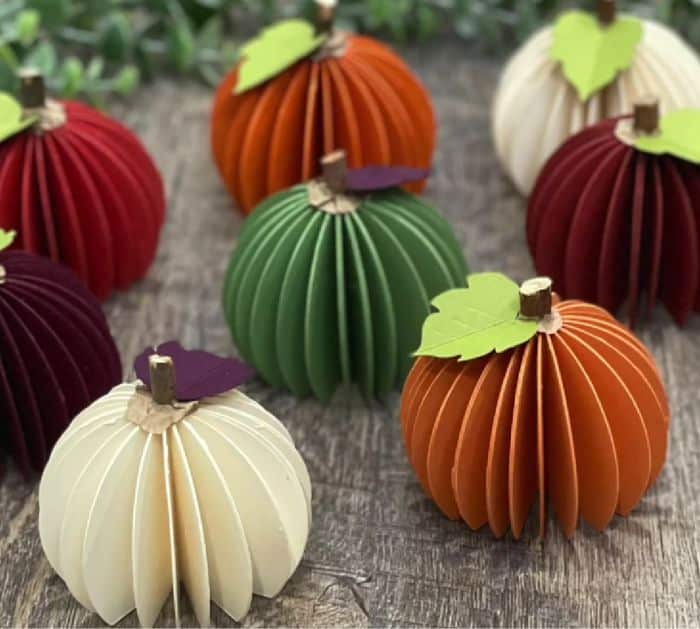
These mini origami paper pumpkins are incredibly cute and they are very easy to make! You can add them to your centerpiece decoration or hang them up to make a pretty fall-themed decor around your house. This is also a fun activity to keep you busy for the weekend, so if you want to learn how, then read the instructions down below, and watch this video tutorial by Patti J. Good on YouTube.
Materials:
- Pattern
- 8½ x 11″ thick cardstock, green and orange
- 2½” circle punch, from Hobby Lobby
- Scissors
- Scoring board and tool
- Stick, for the center of the pumpkin
- Kraft paper
- Craft glue
- Hot glue gun and glue sticks
Directions:
Step 1
Using a large circle puncher, create a total of 24 circles from the cardstock, then trim off half an inch at the bottom of each circle, and cut them straight. Next, score each circle in half or if you don’t have a scoring tool, simply fold each circle in half, then stack all of the pieces together lining them up nicely, and squeeze them together tightly. Start gluing each folded piece together making sure they are lined up nicely, then let them dry completely, and glue the ends together to seal. Open the paper up and set the piece aside.

[social_warfare]
Step 2
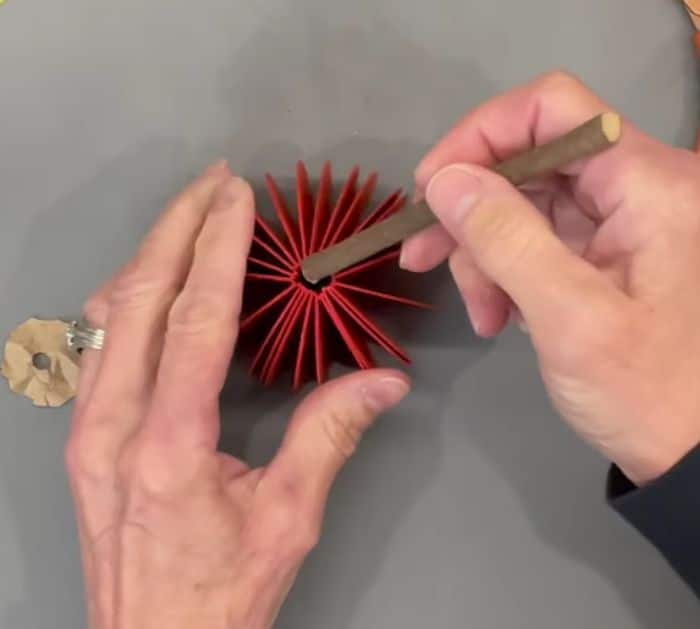
Now, cut a pumpkin leaf shape from green cardstock, then fold it in half, and score some lines. Cut a small square from Kraft paper, then punch a small hole in the center, and start cutting around with wavy edges about half an inch from the center. Wrinkle the piece and open it back up, set it aside, then insert a stick down the center hole of the paper pumpkin, cut its length accordingly, and adhere it with hot glue. Squeeze all sides of the paper together to adhere them to the stick, then insert the wrinkled paper, and glue it in place. Lastly, glue the leaf on top of the wrinkled paper and to the side of the stick.

*These amazing images are all credited to Patti J. Good via YouTube. Check her other content and follow for more!


