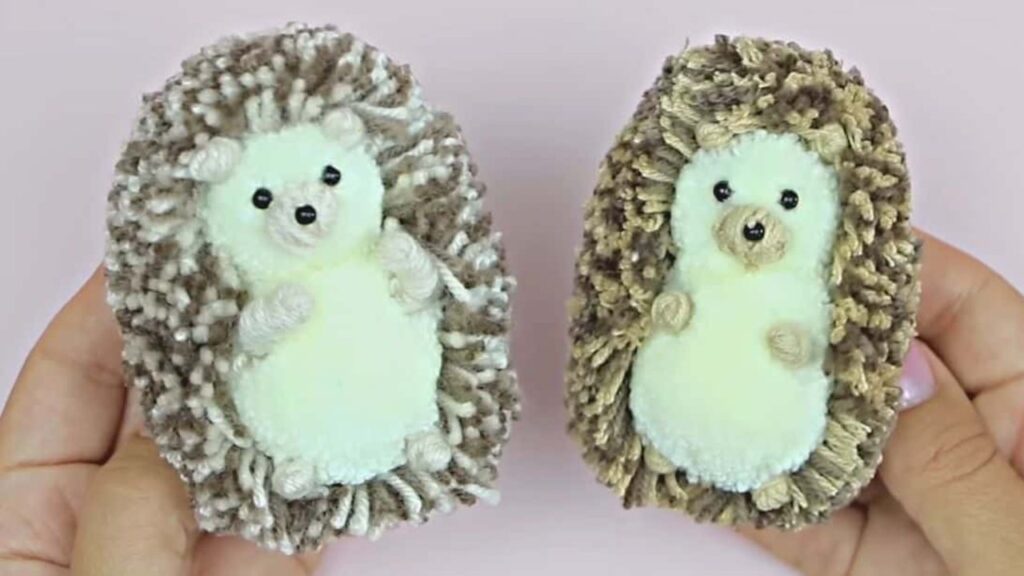
If you love yarn projects, then this cute DIY yarn hedgehog video tutorial is definitely for you! This fun project is sure to keep you busy and entertained for a while. It is super easy and simple to make, plus, you only need a few simple materials. Thanks to NataliDoma DIY on YouTube for this amazing and adorable yarn project idea.
Materials:
- White yarn
- Dark-colored yarn
- Light-colored yarn
- Scissors
- 3 pieces of small black beads
- Embroidery needle
Directions:
Step 1
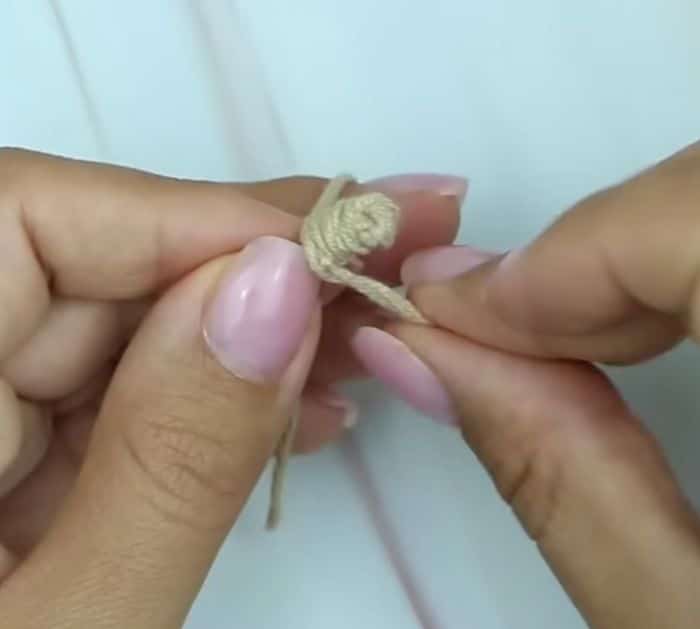
Take a strand each from the colored yarn, then wrap them together around 4 of your fingers 150 times, and cut the excess yarn. Cut a piece of yarn, then wrap it around the middle of the roll, knot it twice tightly, wrap it around to the other side, and knot it twice tightly. Roll the white yarn around 3 of your fingers 150 times, then wrap it with a piece of white yarn the same way as you did earlier. Place the white roll on top of the colored roll, then grab the excess knot tail of the colored roll, and use it to hold the white roll above it in place. Knot it tightly, then wrap it toward the back, and knot securely. Cut through the white loops, then fray it, and trim it around until nice and round with a size of 3*4.5cm or 1*1.5 inch. Get the lighter-colored yarn, then make 3 loops that are about 1.5 inches long, and knot. Fold it in half, then with the knot at the top, wrap the long tail of yarn around the length of the folded loop, knot it securely, and cut the excess tail. Repeat this process 3 more times as these pieces will be the arms and feet of the hedgehog.
[social_warfare]
Step 2
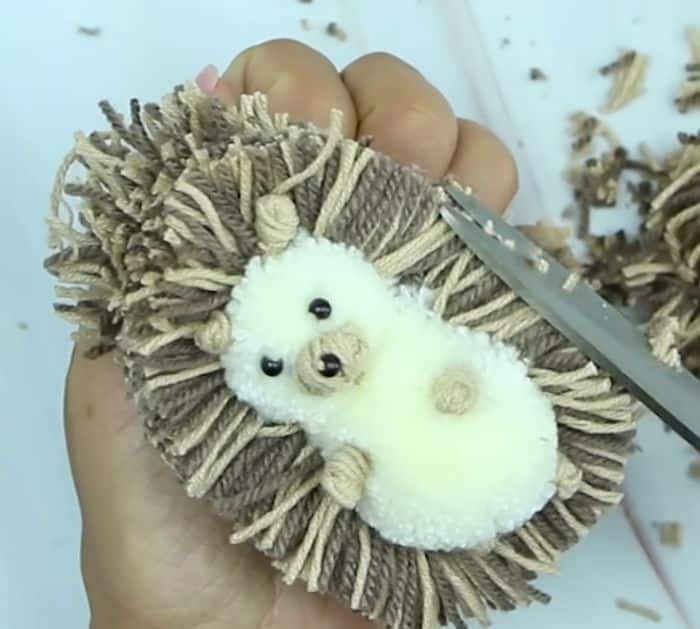
Sew the arms and feet pieces on the white yarn body of the hedgehog. Wrap the colored yarn around 3 of your fingers 90 times, then tie them in the middle, and knot tightly. Now, get the white yarn, then wrap it around 2 fingers 80 times, tie, and knot. Assemble these 2 rolls together the same as you did with the larger piece of the hedgehog’s body. Place the small piece on top of the hedgehog’s body, then wrap a piece of white yarn around the head and body to attach them together, pull the white yarn wrapped around them tightly, then knot it securely. Create another set of feet but this time make it smaller as these will be the ears of the hedgehog, create a small knot of the ball as well for the nose, then sew them on the head of the hedgehog. Now, sew the black beads for the eyes, and the other bead on top of the nose. Lastly, cut through the colored loops, and trim until round and tight.
*All image credit belongs to NataliDoma DIY via YouTube. Follow and subscribe to her channel for more!
How To Make A Cute Yarn Hedgehog


