This super helpful machine tack technique from Patchwork and Poodles on Youtube is a great way for you if you don’t want to machine quilt your project. It’s also another way to bind different layers of non-traditional or tricky fabrics, such as gauze or minky. Learn this awesome technique by watching the video tutorial down below.
Materials:
- your quilt project
- chalk or any marking tool
- sewing machine
- scissors
Directions:
Step 1
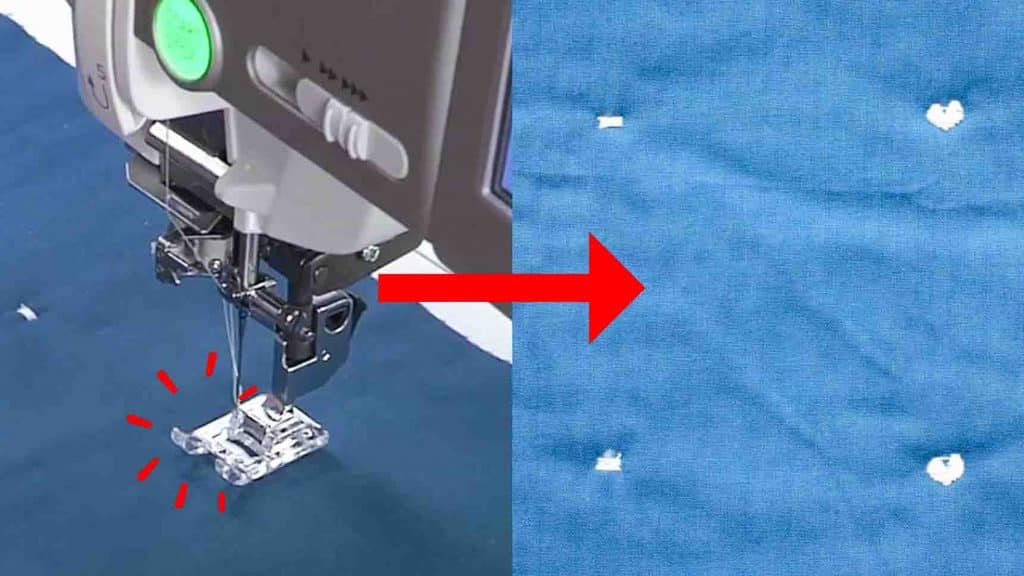
Start with a good base on your quilt. (Baste your batting, backing, and quilt top.) Next, mark how far you want to make your stitches. (In this case, the project was marked in a 3″ grid.) Make sure that your batting can be sewn 3″ apart or 4″ apart or whatever distance that you to make your tacking stitches. Now, for the first tacking stitches, use a wide zigzag and place the width at 6. Place the dot that you’ve marked right in the center where it’s going to hit the middle of your zigzag. After going back and forth to secure, cut the thread and now you’ve created a stitch.
[social_warfare]
Step 2
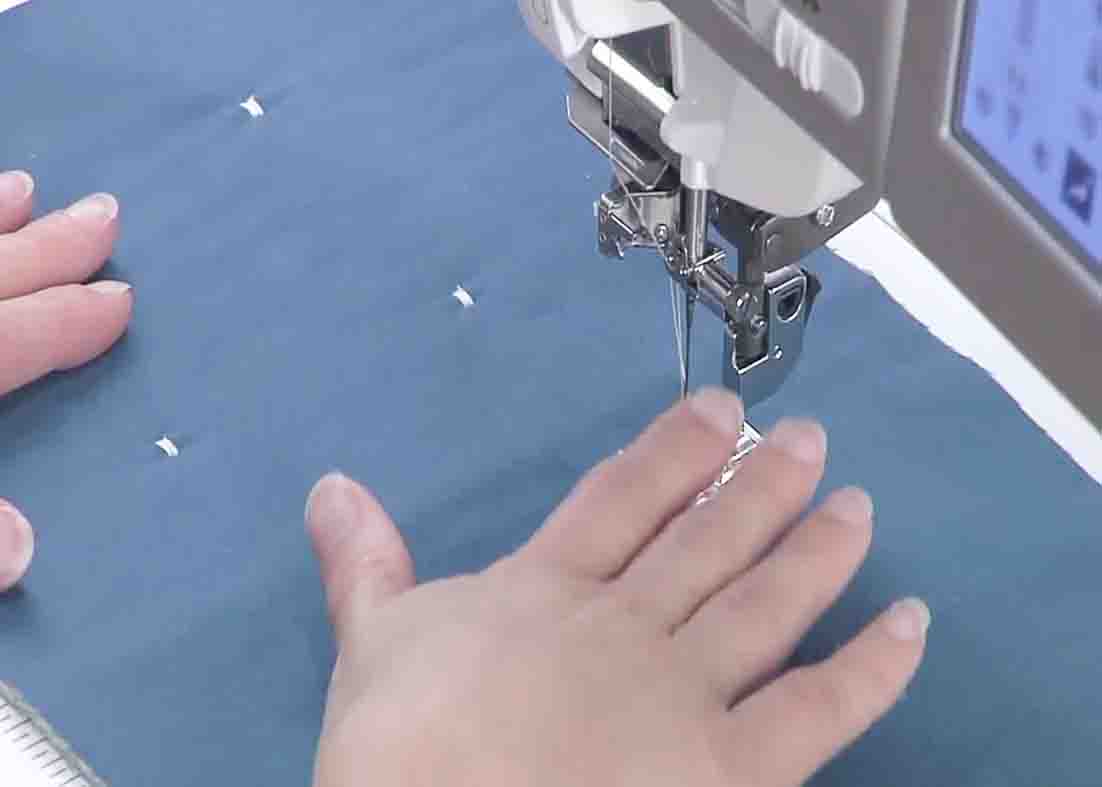
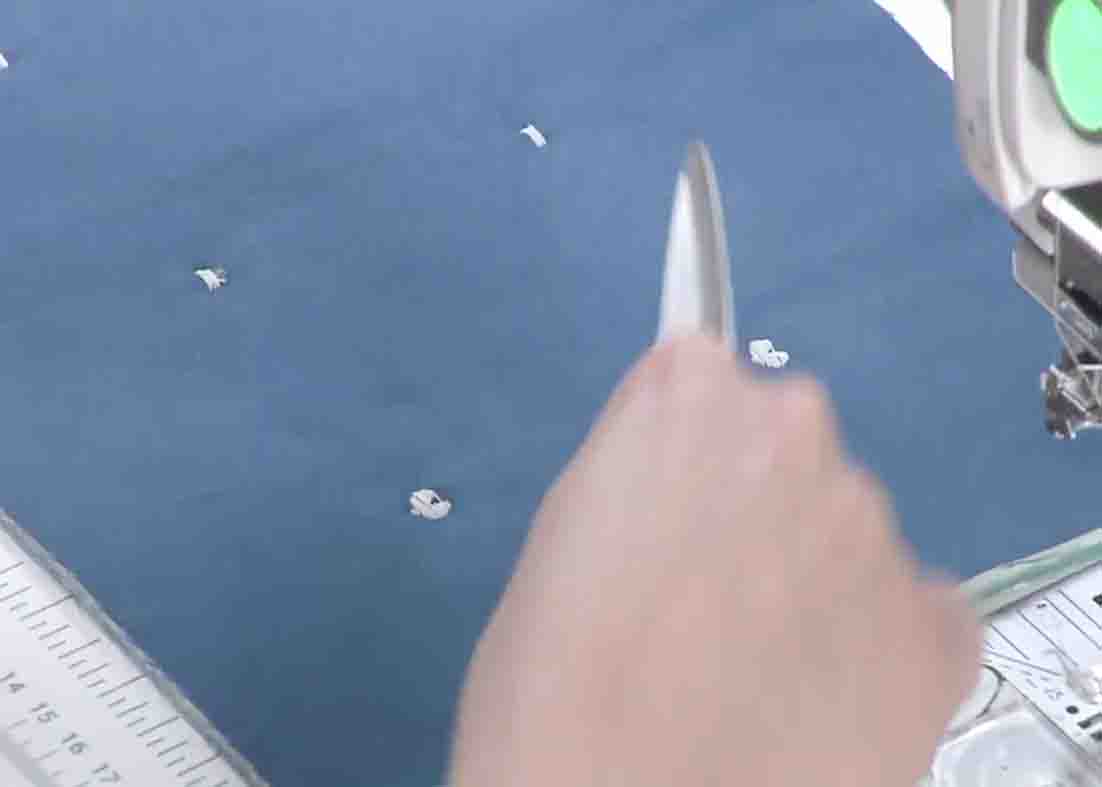
Move on to the next marked dot, do the same exact thing, a couple of stitches forward, and then back stitch a couple of stitches over those original stitches.
How To “Machine Tack” A Quilt Instead Of Quilting


