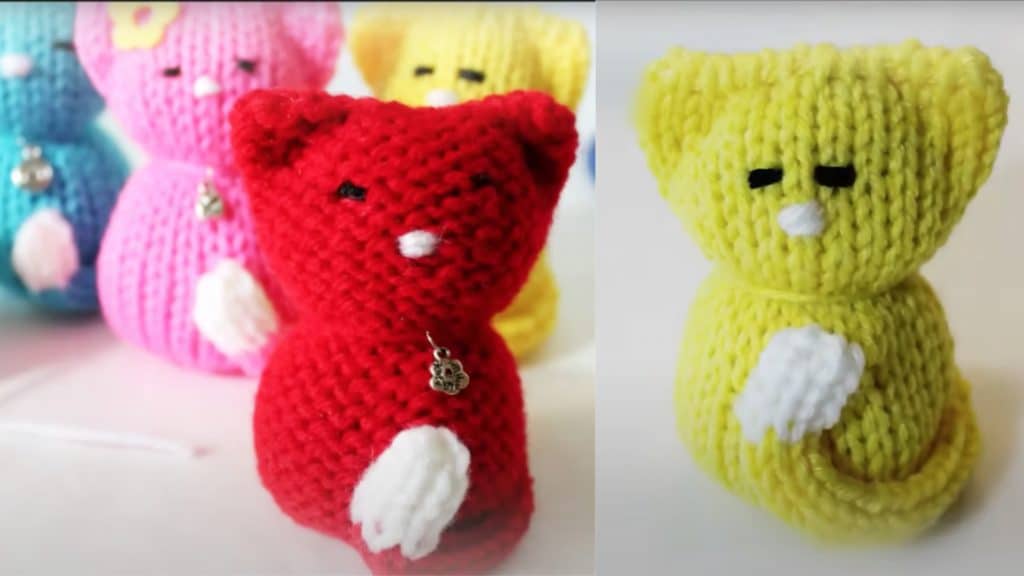
As a cat lover myself, I choose DIY projects that involve them. I was searching for a new project to make and found this cute cat woven from a loom by LoomaHat.com on Youtube. It was fun and easy to make as a beginner at yarn work.
Materials:
- Small Loom
- Loom Hook
- Scrap yarn
- Yarn Needle
- Embroidery
- Floss
- Needle
- 24- Pegs 5 inches in diameter
Directions:
Prepare the needed materials.

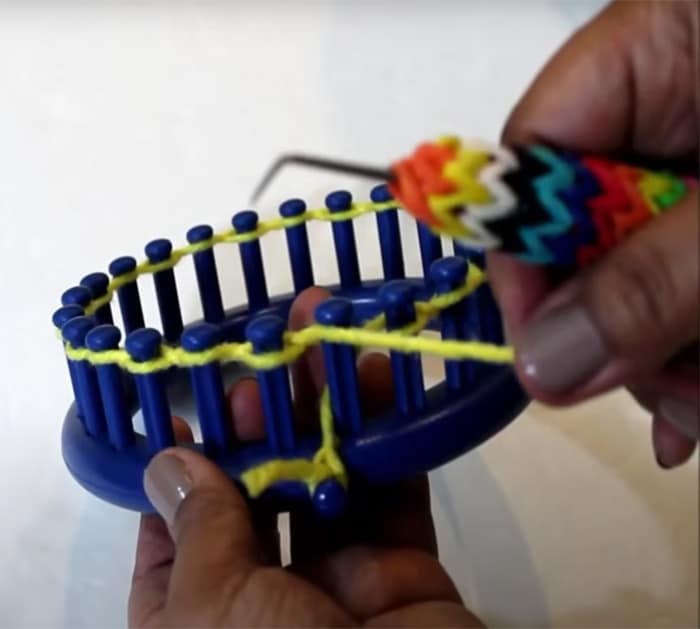
Secure the yarn and then start wrapping around every other peg. When you reach the end, push the working yarn down and wrap the working yarn around the loom loosely. Then, start knitting off the pegs that have two loops.
Start knitting the rows using the U-wrap knit stitch. You will end up knitting 25 rows and then cast–off. Wrap the working yarn around the whole loom and cut. Take your hook and feed the yarn through every loop. When done, remove the loops from each peg.
Remove them from the loom and stretch out the stitches. Pull up the string and start closing the end, a little at a time. Turn the project inside out and sew the closed end in a circle to fully close it. Trim the excess yarn and turn the project so it faces the right way. Add and push in the stuffing. The stuffing should be more on the bottom end of the knit.
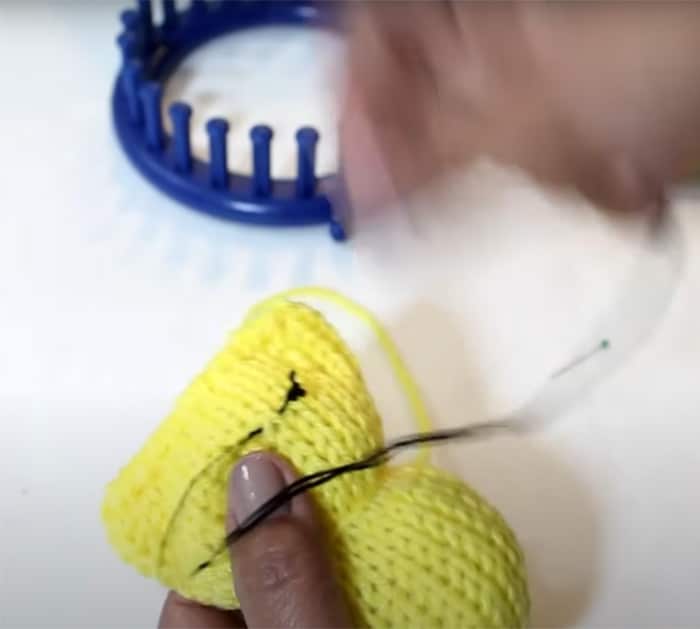
Next, tighten the loops just to remove the curl and start sewing flat by feeding the yarn through the loops. Then, Sew the corners to define and form the ears. Squeeze the cat’s body and tie a string in the back to separate the head from the body. Thread some black floss and stitch on the cat’s eyes. Thread some white floss and stitch on the cat’s nose.
For the tail, use white yarn and cast on 5 pegs from the loom and knit 4 rows. Change your yarn color by making a basic knot and starting knitting 26 rows. Reduce to 3 pegs and cast off.Trim off the yarn and feed it through to close.

Pull the strings and stretch the stitches.
Lastly, sew on the tail.


