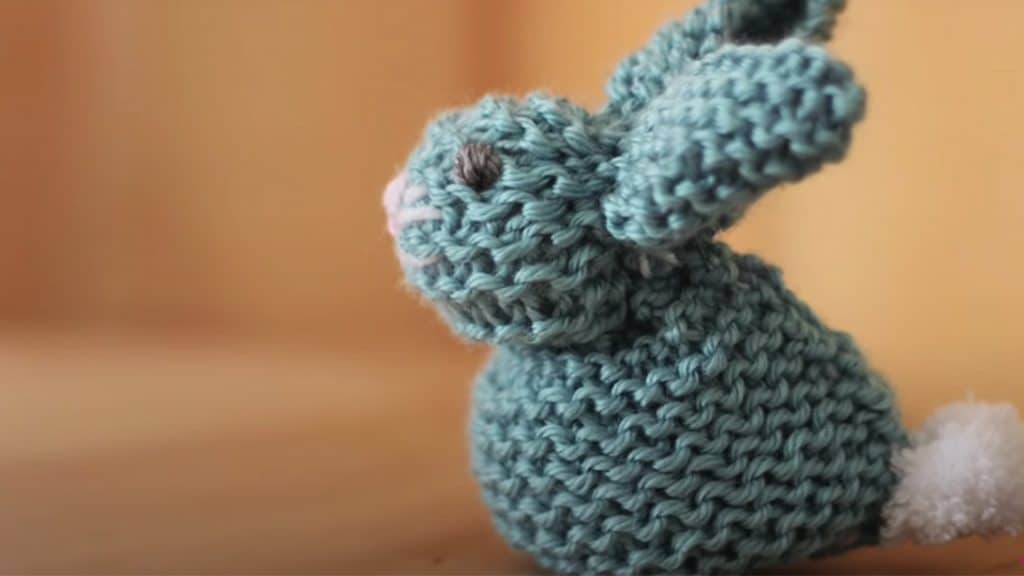
Studio Knit on YouTube shares this cute bunny. This easy and fun project is perfect for beginning knitters to make with their friends or for their own collection. Get creative with different colors of yarn and fun features for your bunny.
Materials:
- 2 colors of Aran or Worsted Weighted Yarn
- (2) size 7 US knitting Needles
- Scissors
- Tapestry Needle
- Stuffing
Directions:
Prepare all the needed materials.

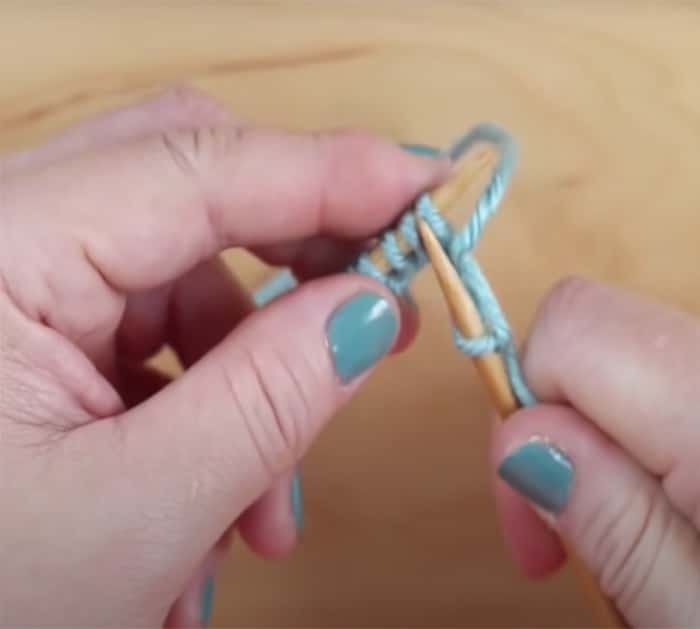
Cast on however many stitches you choose to make. In this tutorial, she has already cast 30 stitches.
Continue knitting in Garter Stitch until your piece is formed into a perfect square.
Garter stitch is made by simply knitting the knit stitch on every single row.
Fold both opposite corners towards each other to know if you have made a perfect square.
Once you form the square, start to bind off.
Using the other colored Worsted Weighted Yarn, loosely stitch a triangle shape with the tapestry needle. Stitch all the way across the middle of your piece and start forming a triangle.
You should end up with the pattern as seen in the photo.
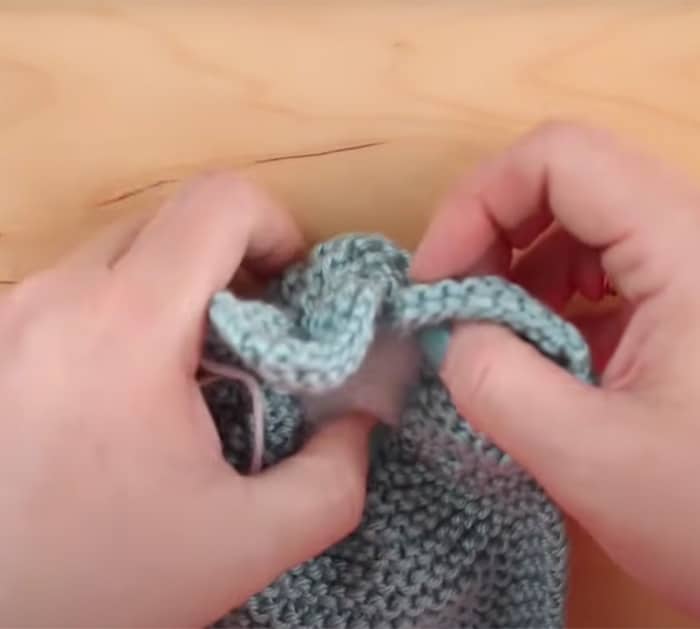
Next, when both yarn ends are on the side of the piece, place a ball of stuffing in the center of the triangle and cinch up your piece. This cinch will be the bunny’s head and ears.
Stitch up both back parts while adding more stuffing. Continue stitching until you close the end up.
Give your cute and fuzzy bunny extra personality by embroidering its face and features with any color of yarn – eyes, nose, and whiskers.

Lastly, wind yarn around a fork to make a mini pompom for the bunny’s tail. Trim to make a cute ball and stitch it in place.
Viola! You have made a cute bunny.


