These secret hiding spots by Household Hacker on YouTube are life-changing and honestly very genius. Most of these spots you wouldn’t even suspect to hide valuable stuff because they look just like any of your other household items. That’s also what’s great about this project because you don’t need to purchase a safe or other container from the store, you can just use whatever you already have at home and turn it into a DIY safe.
RELATED: 13 Smart Ways To Hide Your Money Safely
Whether it’s keys, jewelry, money, or other item that you want to hide, I’m sure that these DIY safes or hiding spots can do the job perfectly for you. You don’t even have to break the bank to make this project and I’m sure that you’ll love just how creative these hiding spots are that you’d wonder how you didn’t think about it before. Learn how now by watching the video tutorial below and see which one you’d like to try best!
6 DIY Secret Hiding Spots:
- Book
- Pringles Can
- Plastic Bottle
- Sprinkler Head
- Clock
- Outdoor Thermometer
How to Make 6 Secret Hiding Spots:
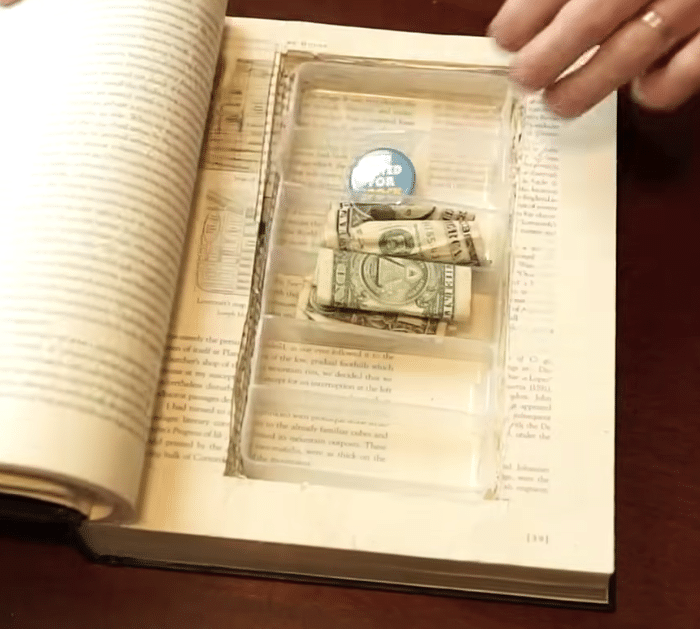
#1: Book
Go about 20 pages in on the book, then clamp down the remaining pages, and measure and trace out the container that you want to put inside the book. Cut out the shape tearing the paper carefully, then apply superglue to the back and sides of the container as well as the inside of the cut on the book, and then insert the container pressing it down. Wrap the remaining pages and cover of the book with foil to prevent it from getting glued, then clamp everything together, and apply glue to the sides of the pages. Set it to dry for a few hours and your book safe is ready to use.
#2: Pringles Can
Flip the Pringles can upside down, then slowly and carefully remove the bottom, and transfer some of the chips to a different container. Trace the cutout bottom of the can in cardboard, then cut it out, apply hot glue around the sides, and push it inside the can. Get a container that’s small enough to fit inside the can, then put your money or key inside, and push it into the bottom of the can.
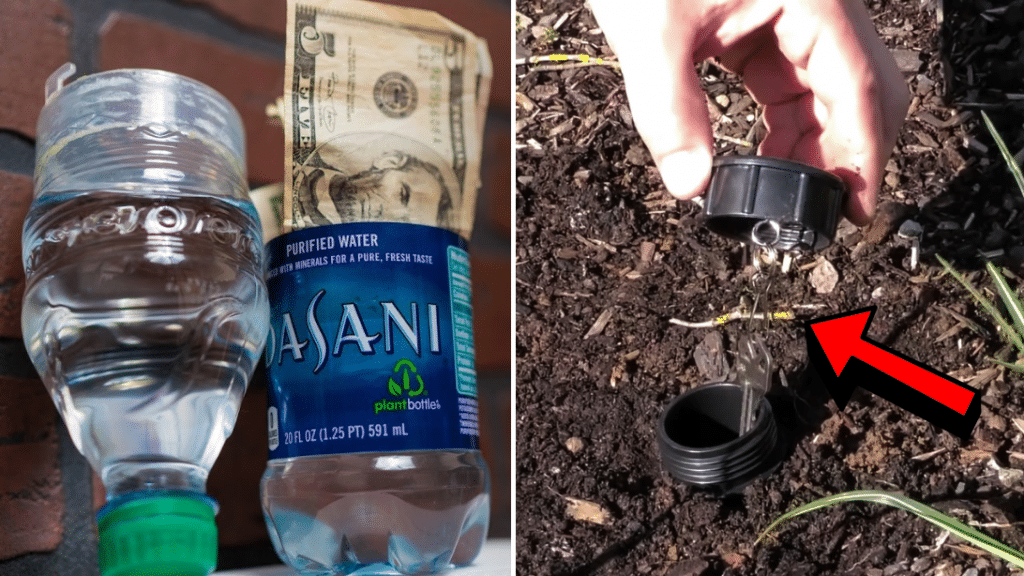
#3: Plastic Bottle
Find a jar the same diameter as the bottle, then empty out the water, and heat the sticker to melt down the glue before carefully removing it. Cut the bottle in half, then fill the bottom with some water, and then adhere the jar inside it. Glue the lid to the top half of the plastic bottle, then fill it with water, and attach them together.
#4: Sprinkler Head
Get a sprinkler head, then unscrew the top to remove everything inside, and pop up the centerpiece. Apply superglue on the outside, then attach a string around it, and tie a key on the other end. Pop it right back, then screw it on the pipe adapter, and install it in a inconspicuous area.
#5: Clock
Measure the back of the clock, then cut out the backing of a picture frame or cardboard to size, and then attach some shelves inside the back of the clock. Glue the hinge to the clock and frame piece, then place your valuables on the shelves, and close the clock.
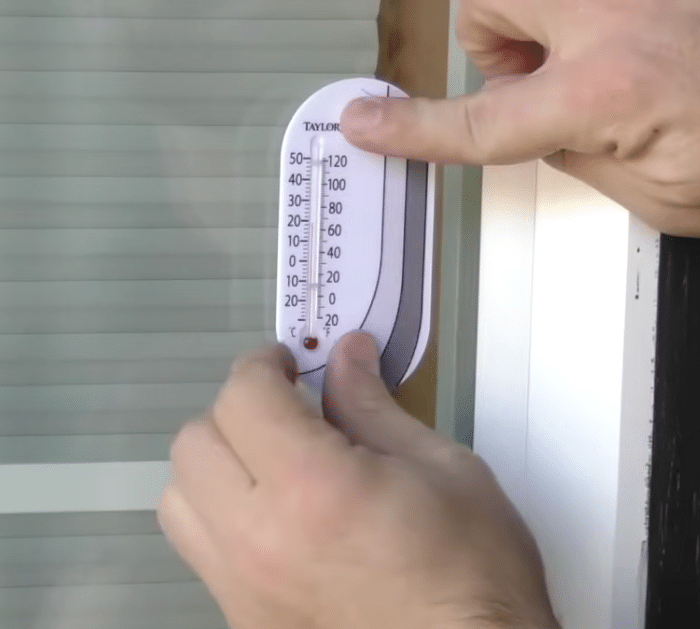
#6: Outdoor Thermometer
This one is a simple and probably the easiest hiding spot that you can try, all you have to do is get an outdoor thermometer, then attach the suction cups, tape the key to the back, and stick it wherever you want.
*All image credit belongs to Household Hacker via YouTube. Follow and subscribe to his channel for more!
How to Make 6 Secret Safes


