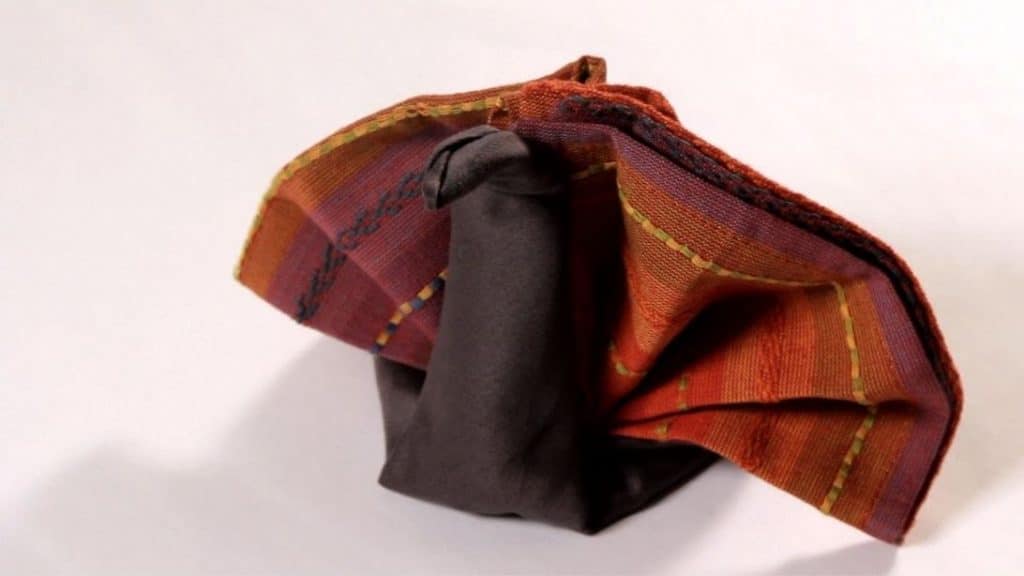
Make a lasting impression on your guests this Thanksgiving by doing this creative yet simple napkin folding tutorial! Sure you can have simpler and more classic folded napkins but why settle for that when you can be extra? This is one of my favorite folded napkin styles as it matches the occasion and the main dish of the party. What I love about this is that it looks cute on my dinner table, it’s easy and can look very interesting in photos. You won’t even have to worry about messing up because this tutorial is too easy that you can do it perfectly on the first try. All thanks to Howcast on YouTube for this great idea.
Materials:
- 1 pc Plain napkin
- 1 pc Colorful napkin
- 1 pc Tin foil
Directions:
Step 1:
Place your plain napkin on a flat surface then fold it in half downward before folding it over in half, this will create a smaller square. Insert a piece of aluminum foil underneath one fold to support and keep hold of the turkey’s shape.

Step 2:
Fold the napkin in half diagonally, open it to see the crease in the middle then fold each side in a triangular way making the left and right sides meet the center point. Fold one more time for a skinny long neck of the turkey.
[social_warfare]
Step 3:
Fold the tip down halfway, fold the beak and pinch the neck to emphasize the shape of the beak. Lift it and pop the wings outward then pull back the neck.
Step 4:
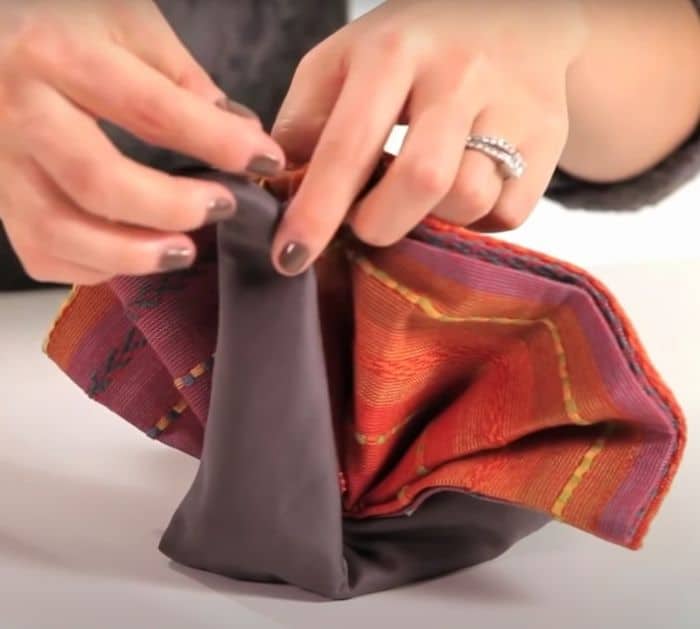
For the colorful feathers, take your colorful and festive napkin (for a more crisp line, spray with starch and iron beforehand) and start folding it from the end in a back and forth motion like an accordion. Take the center and fold up both sides, place it at the back of the turkey then pin the back of the feather to the back of the neck to secure it in place.

*Image credits to Howcast on YouTube. They feature other great tutorials too so be sure to check them out.


