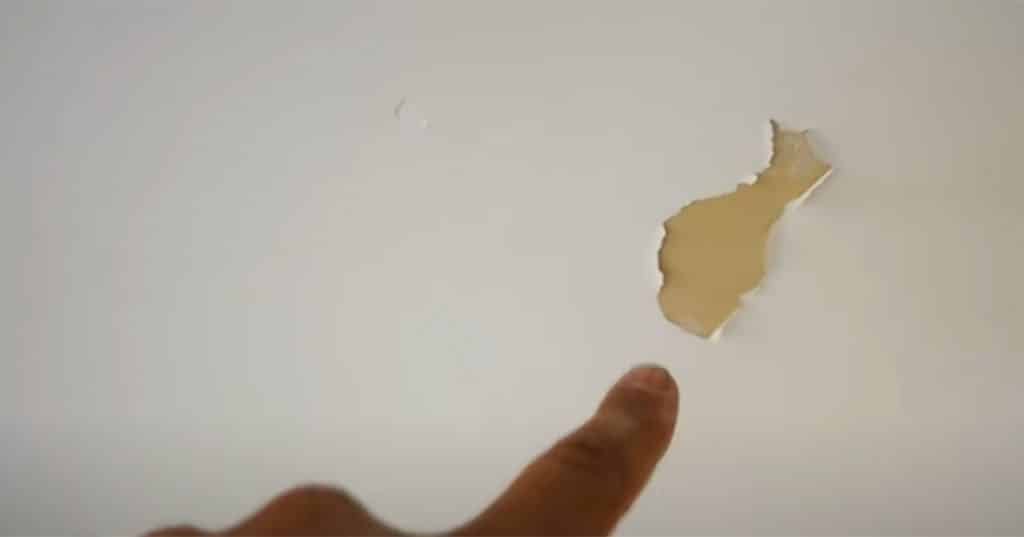
It’s a common problem if there’s a spot in your bathroom or kitchen ceiling that is peeling or flaking off. Billshowto on YouTube demonstrates an easy DIY hack on how to fix the issue. This an easy process to do that repairs the ceiling like it is brand new. This tutorial gives step by step instructions and will save you money in the long run instead of hiring someone to come fix it. It can be annoying to have flaking paint on the top of your ceiling, so this is a great tip to keep in mind. So, if you’re renting a house and there is a mishap on the ceiling or wall, this would be handy to do so you’re not charged by your landlords.
Materials:
- scraper
- 120 grid sandpaper
- dry compound
- a heat gun or hairdryer
- rag or towel
- 4 in 1 primer
- paintbrush
Directions:
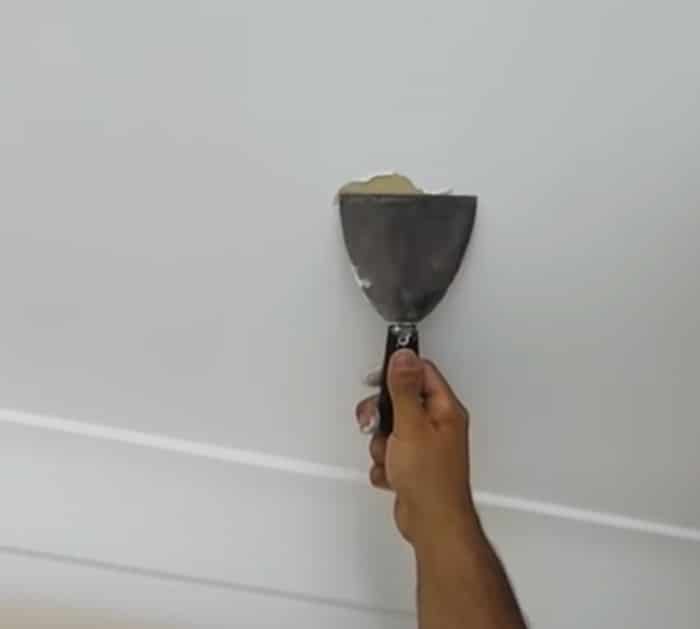
First, scrape back all of the loose material with a scraper tool. Position your knife straight flat and scrape away in all different directions until it stops flaking away. Use sandpaper to sand off any edges. Continue to watch Billshowto tutorial on YouTube for full instructions and details.
[social_warfare]
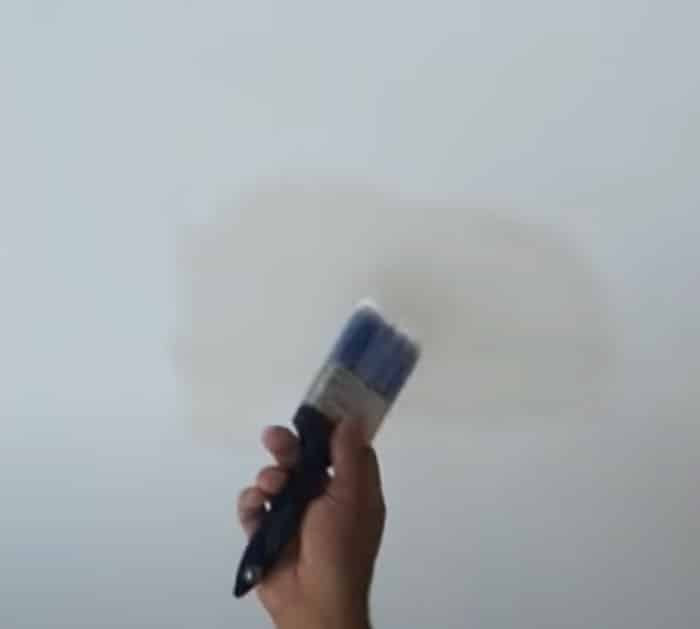
Next, once the dry compound is dried and sanded, use a rag to wipe off any dust before painting the primer on. Feather on the primer to the patched area with a paintbrush or roller so there are no brush marks, and then follow by using ceiling paint.
Overall, this lifehack is useful and handy in case my paint starts to peel off. I love how straightforward and detailed Bill was in the tutorial. Keep in mind that you might want to use a heat gun or hairdryer to speed up the drying process, because the compound may take longer to dry.