This year, I just picked up a new hobby, which is quilting, and I’m looking for straightforward tutorials that could help me in my journey. While browsing Youtube the other day, I saw this beginner tutorial on how to cut quilt squares from Needlepointers. This tutorial really help me to make my first step toward quilting! This project is a very simple quilt, but it’s a great way for me to embed the basics in my head. The size is also manageable, which is baby size, for me to quilt on my sewing machine. I feel like I really made progress, thanks to this tutorial! Check out the video below to learn today.
Materials:
- fabrics of your choice
- 5-inch wide ruler
- rotary cutter
- cutting mat
Directions:
Step 1
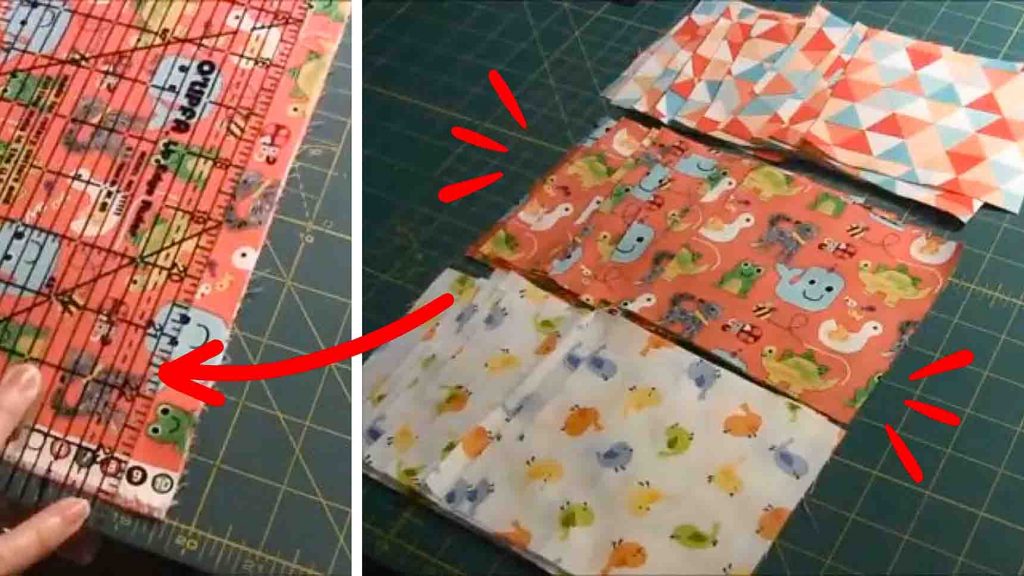
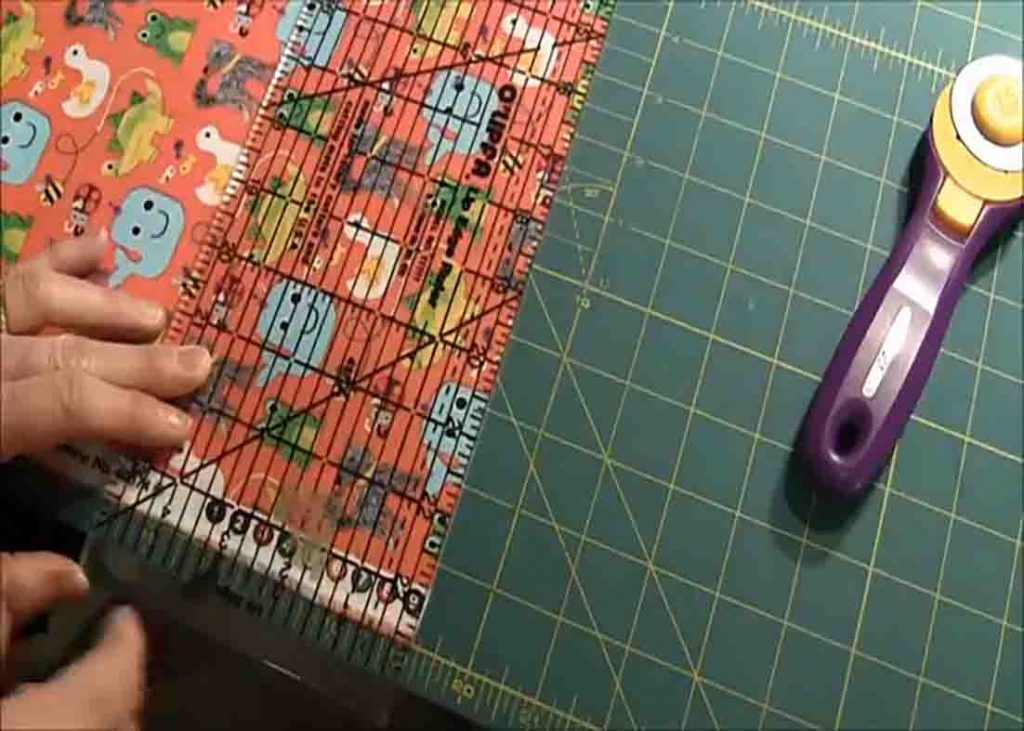
To cut the 5-inch squares, fold the selvage together, then line up the selvage along one edge of the cutting mat. This way, you will know that it’s straight. Next, grab your 5-inch wide ruler and cut off a small amount of fabric along the edge. After this, cut on the other side of your ruler so you’ll have a 5-inch strip. (If you don’t have a 5-inch wide ruler, just line your fabric up on one of the numbered lines on the edge.) Just always make sure to line up all the way across, then cut the strip carefully while holding the ruler so it doesn’t move. After you have your first 5-inch strip, cut off the selvage edge away.

[social_warfare]
Step 2
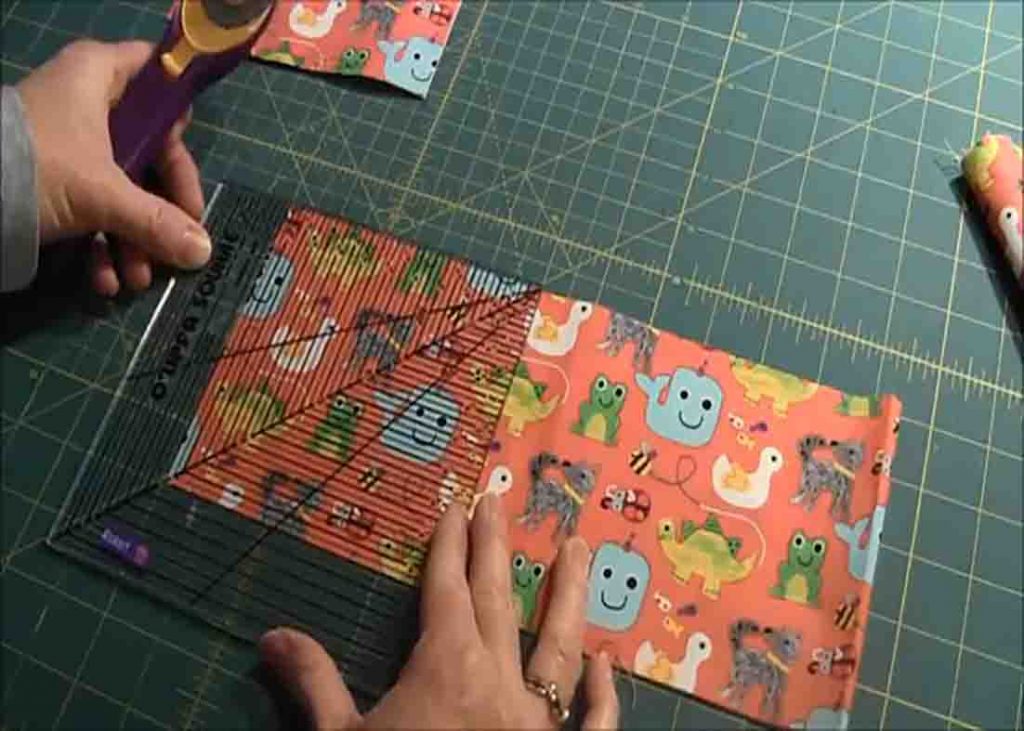
Next, line the 5-inch mark on your ruler, then cut it. Cut thirty 5-inch squares to make a baby quilt: five squares across by six squares down. Just add another set of rows or columns if you want to make it bigger. Another way to get your five-inch squares is to purchase a charm pack. These are already cut into 5-inch squares and come at about 42 squares in the pack.


