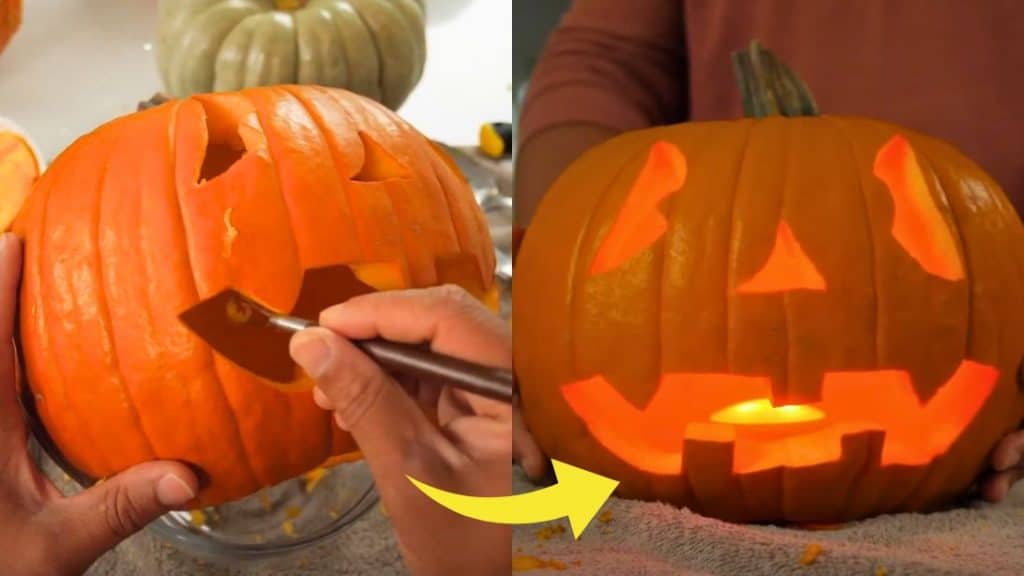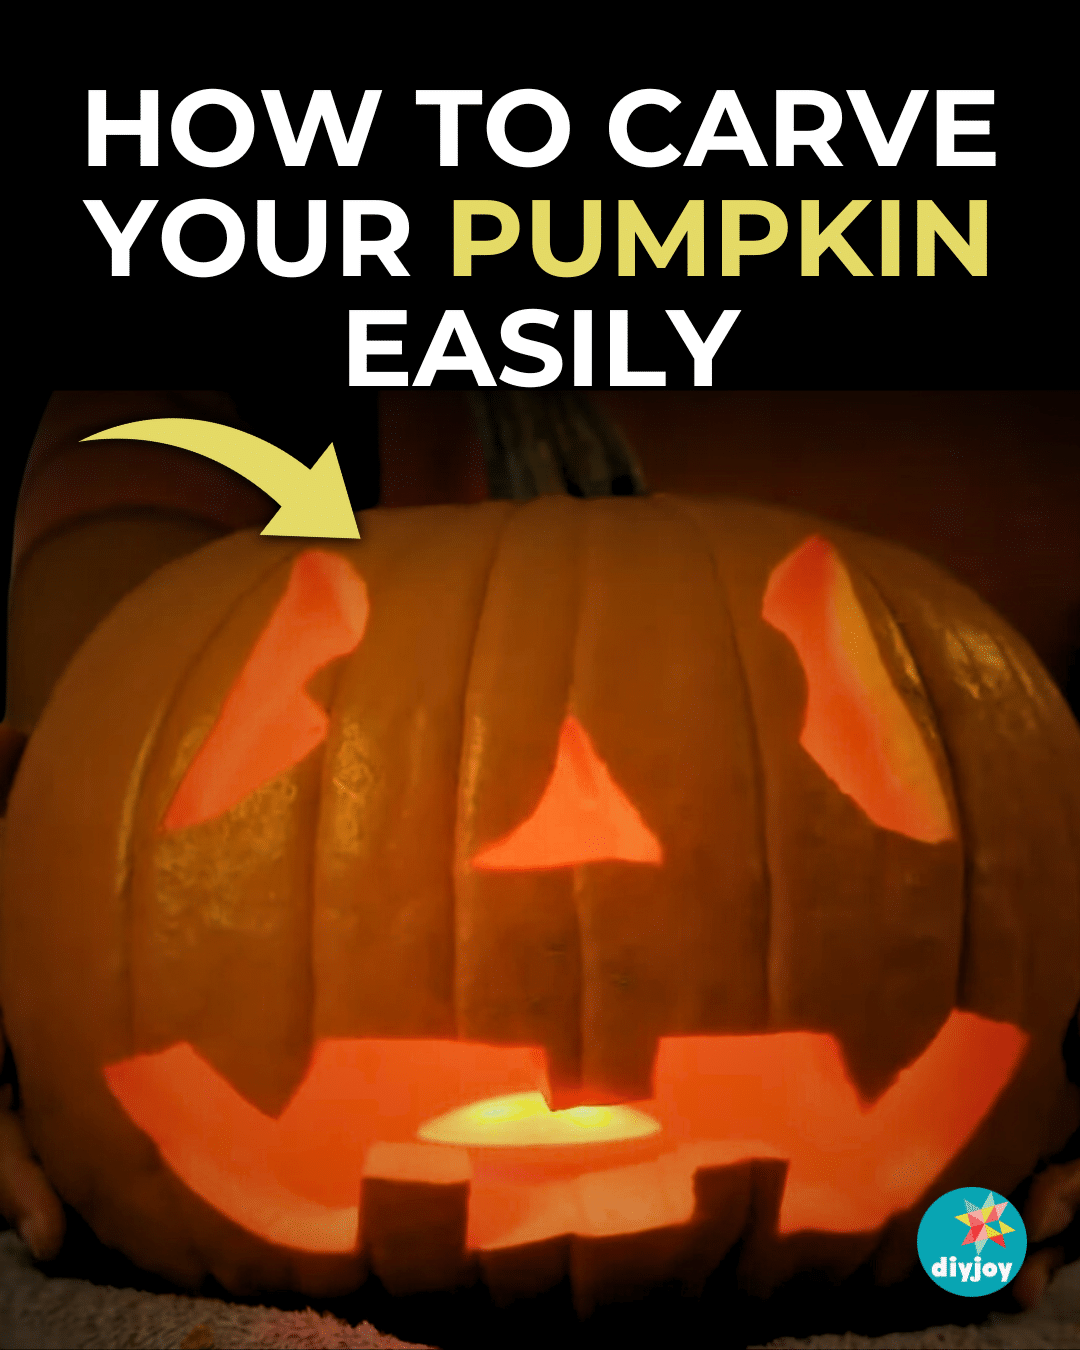
Halloween is fast approaching! If you are planning to carve some pumpkins this year and don’t know what to do and where to start, we’ve got you covered. I found Problem Solved‘s video tutorial on YouTube that will show you all the materials you need and the step-by-step instructions to make carving pumpkins easy and quick.
RELATED: Easy DIY Dollar Tree Pumpkin Light
If you have never done this before, do not worry! It’s actually not as hard as you might think. As we all know, the flesh of the pumpkin is a bit thick, but if you have the right tools, the process of pumpkin carving will be smooth and fun.
Here’s another trick you might want to try: Easy 2-Minute Pumpkin Cleaning Hack
What You Need to Carve a Pumpkin
- large deep bowl
- small bowl
- pen
- serrated knife or keyhole saw
- metal spoon or hand mixer
- dry erase marker
- set of pottery tools
How to Carve a Pumpkin
Step 1:
Invert the pumpkin over a large bowl to protect the stem. Make sure everything is sturdy and stable.
Step 2:
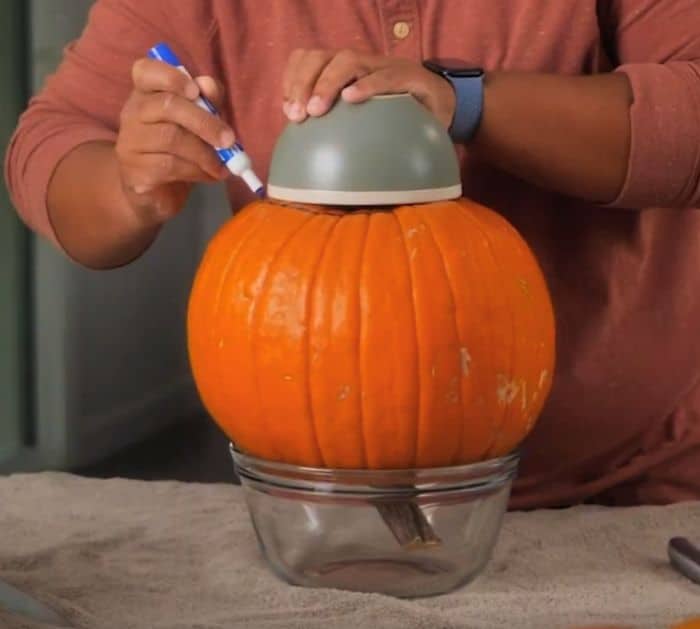
Place the small bowl upside down on the top of the pumpkin, then trace the outer edges with a pen to make a circle. You can also do it freehand if you can. Using the serrated knife or keyhole saw, cut out the circle. These tools make it easy to get through the thick flesh. Once cut, remove it, then scrape the inside flesh using a metal spoon. Alternatively, you can use a heavy-duty hand mixer. Make sure not to scrape too much of the inside. Clean it as much as you can.

Step 3:
Pick a side of the pumpkin where your carving will go. Thin out the flesh on that part so it will be easier to carve.
Step 4:
Using a dry-erase marker, make your design. With this marker, you can easily wipe the drawing if you make a mistake or change your mind.
Step 5:
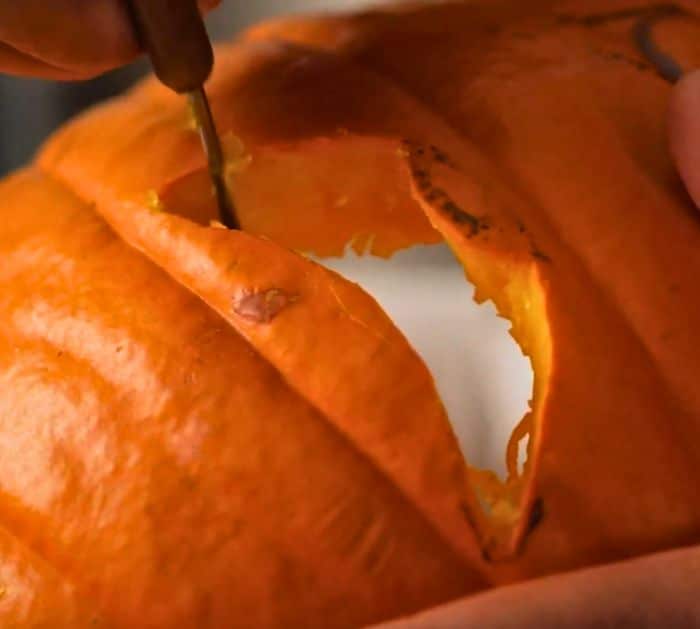
Using your pottery tools, cut out the drawings. You don’t have to be a pro to use these tools. Just experiment.

Step 6:
Set it over your light.


