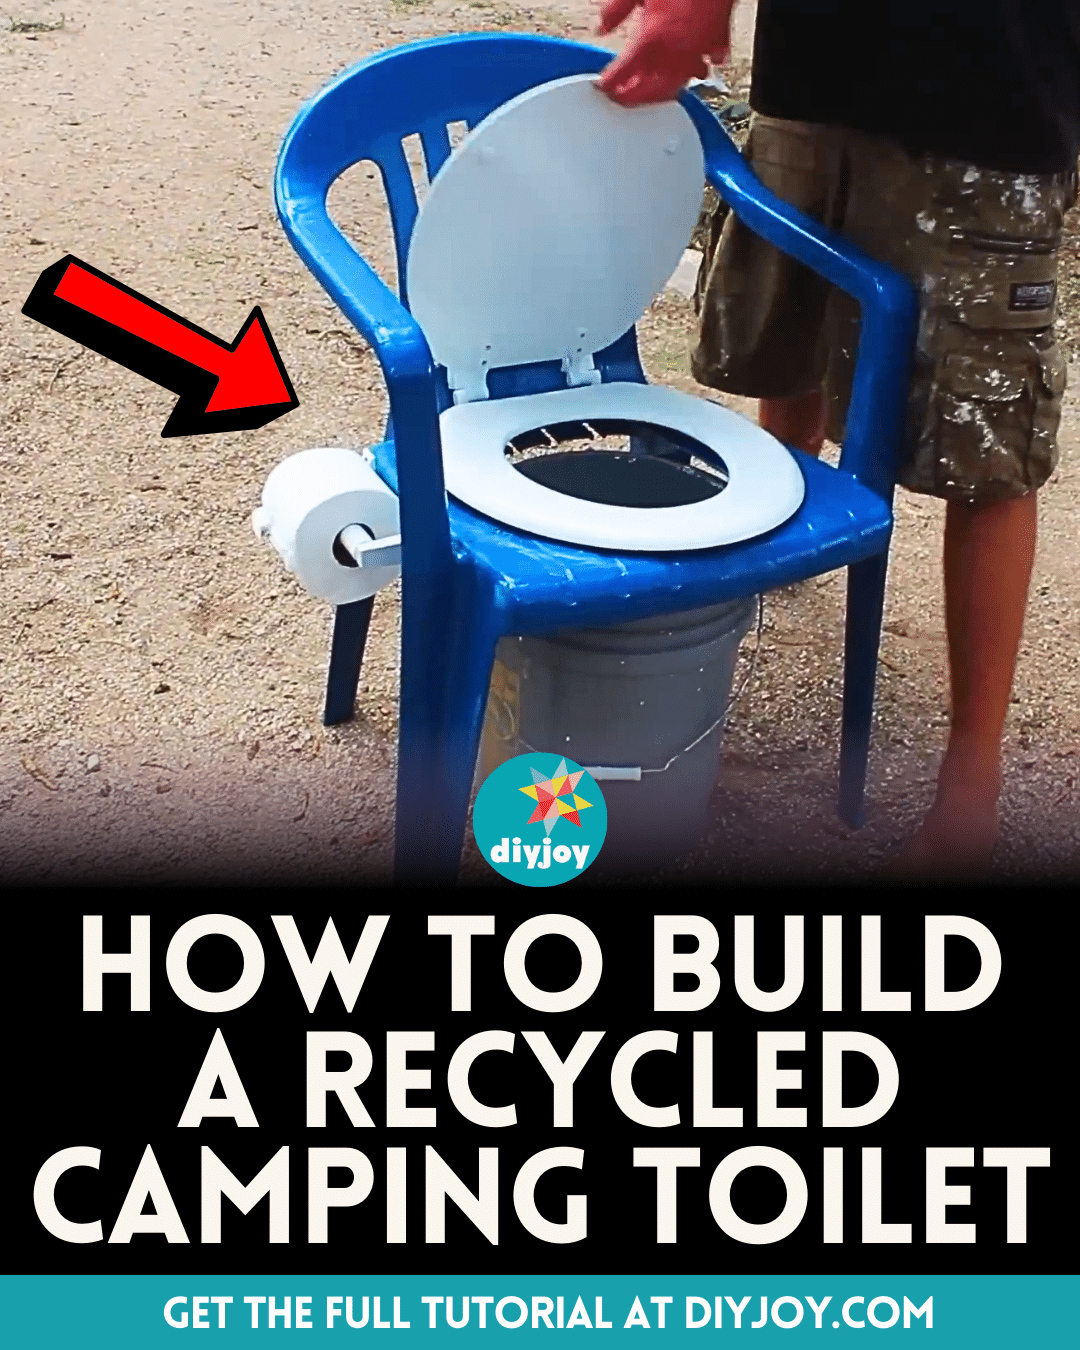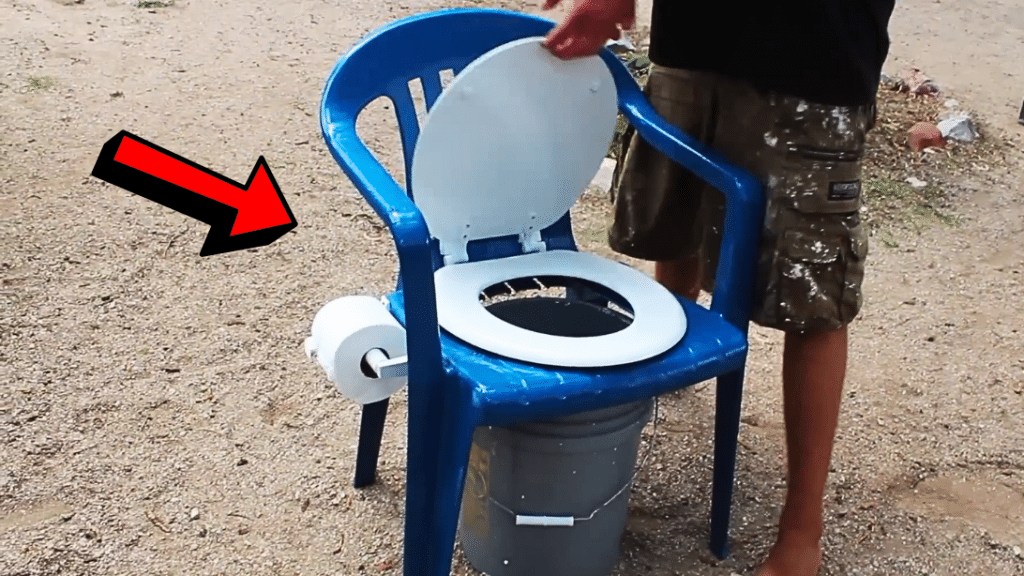
Camping is a fun activity that you can do with your family or friends, but there are a lot of things that you have to be prepared for apart from food, shelter, water, and fire. You also have to know how you can take a bath if needed or when nature calls, and for that problem, we already tried lots of solutions and DIY toilets and bathrooms that we found online. But, so far one of my favorite DIY toilets is this one by mylittlehomestead on YouTube.
RELATED: Easy DIY Camping Glow Bucket Light Tutorial
What I love about this project is how easy it is to build and the fact that all of the materials used are recycled, so what you really need to spend on is just the toilet seat cover, but if you also have an old one that you’re not using anymore, then you can use and recycle that instead. This DIY camping toilet offers some kind of comfort when you badly need to use the toilet and you can also easily throw out the collected waste that goes directly to the bucket.
Materials for DIY Camping Toilet:
- An old plastic chair
- Toilet seat cover
- Bolts
- Drill
- Bucket
- Plastic
- Tissue holder
- Tissue roll
How to Build a Recycled Camping Toilet:
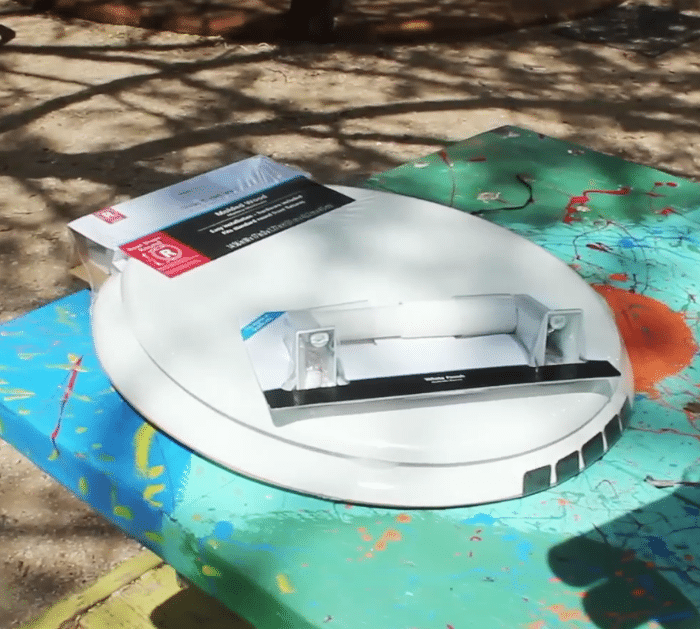
Step 1
Place the toilet seat cover on the seat of the plastic chair to see where the bolts would go and how large the hole at the seat should be.
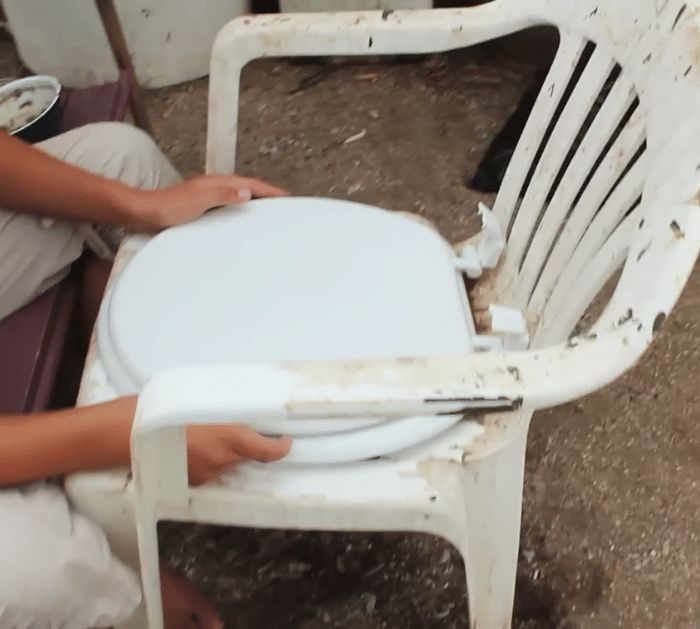
Step 2
Next, drill holes for the bolts so you can attach the toilet seat cover, then make a hole at the seat, and start attaching the toilet seat cover securely.
Step 3
Attach a tissue holder at the side of the chair, then line the bucket with plastic, and place it underneath the chair. Watch the video tutorial to learn how to build an enclosure so you can have some privacy.
*All these images are credited to mylittlehomestead via YouTube. Give their channel a visit and subscribe for more!
