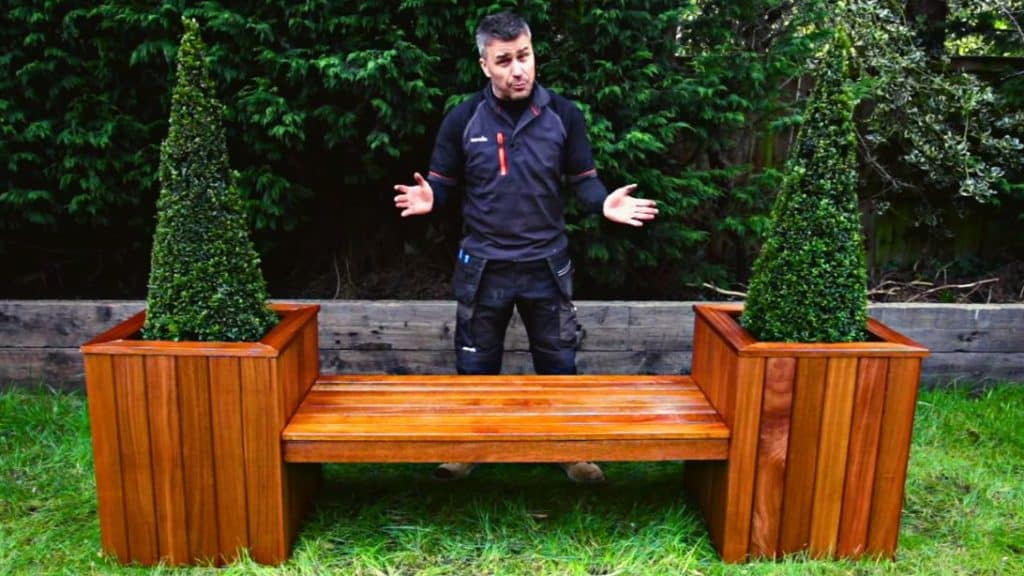
This project by Silverline Tools on YouTube teaches you how to easily build an outdoor bench and planter boxes in one! This beginner-friendly tutorial is already made easy to follow and has simple but straightforward steps.
Materials:
- Miter saw
- Ruler
- Drills
- Pencil
- Screws
- Glue and a caulk gun
- Hammer
- Spirit level
- 2 by 2 lumber
- 2 by 3 lumber
- Hardwood
Directions:
Step 1
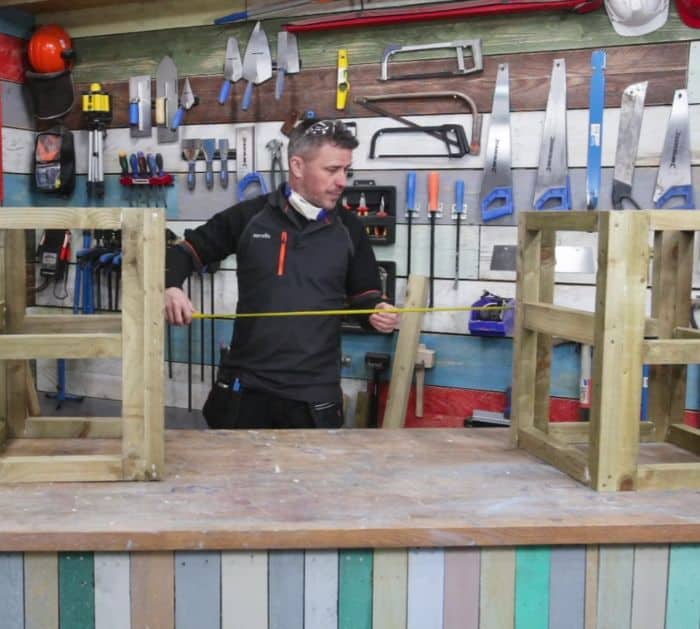
Make your first planter box, cut 2 by 2 lumbers to about 650mm (25.5″) tall and 500mm (19.6″) 2 pieces each, then build a frame connecting the 2 longer pieces with the shorter pieces on each end, make sure to apply wood glue on them before screwing them in place. Cut a piece of 3 by 2, then attach it across the center of the frame to make it more stable. Create a smaller version of this frame with the same height but the width at about 400mm (15.7″), then make 1 more piece of each frame, and you’ll have a total of 4 pieces. Now, assemble these 4 pieces of the frame, then glue and screw them together to create a box. Repeat all of the processes above and create another planter box.

[social_warfare]
Step 2
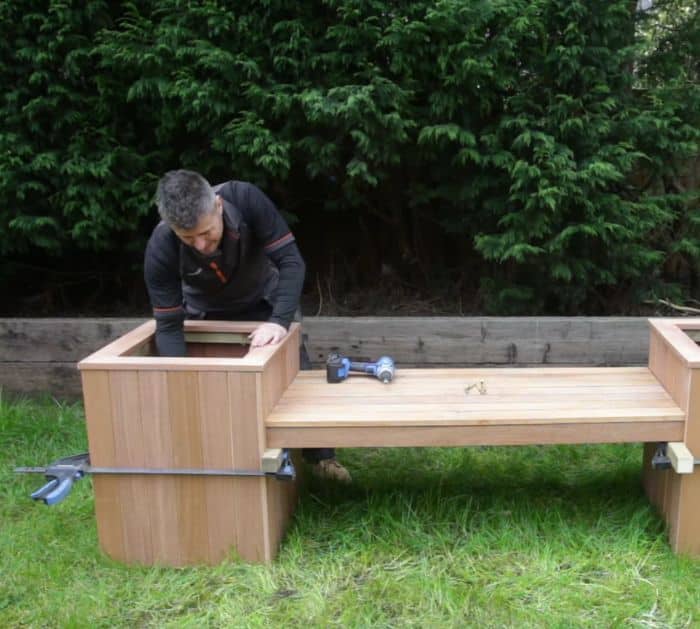
Decide how far apart you want your planter boxes to be or how long you want the seat of your bench to be, then measure the gap between each planter box, and cut 3 pieces of 3 by 3 lumber of that size. Space these 3 wood pieces evenly, then connect them together at both ends with 2 short wood pieces and attach more small pieces of wood in between the gaps to make them more stable. Cut some wood pieces of the height of your box to create the cladding, then attach them all around the boxes, cut 4 pieces of hardwood, and attach them all around the top of the boxes for a more finished look. Next, cut hardwood pieces the same length as your bench seat, then attach them to each side before filling the gaps in the middle and completing the slats. Assemble these 3 pieces right in the area where you want them to be, simply glue and screw the beach seat between each side of the planter boxes.

*All image credit belongs to Silverline Tools via YouTube. Follow and subscribe to his channel for more!


