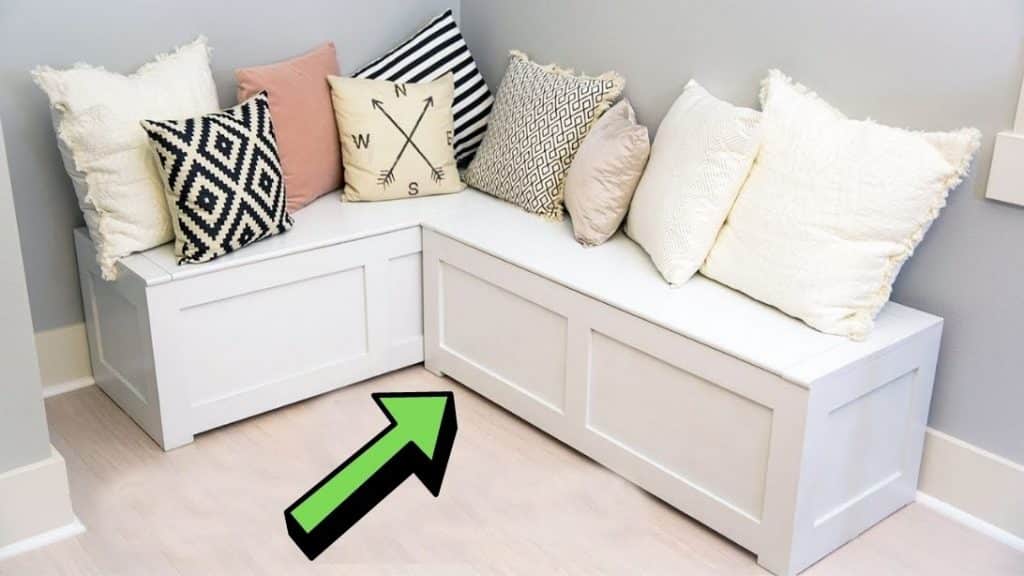
I’ve always wanted to try to make a simple multipurpose storage bench but thought that they might be too difficult or more expensive to make than store-bought. Just recently, I found this channel, Paul Tran DIY, and immediately change my mind. His instructions were pretty clear, simple, and straightforward. I knew I had to try this one, and I did! The result was pretty impressive, not bad for the first try. You should give this project a try as well, it’s so fun to do.
Materials:
- 2*4*8 Lumber
- 0.5″ Plywood
- Kreg Screws
- Wood Screws 2 Inch
- Furniture Felt Pads
- Wood Glue
- Sand Paper
- White Paint + Primer
- Piano Hinge
- Bench Lid Hinge
- Soft Close Dampers
- Power Drill
- Brad Nail Gun
- Circular Saw
- Miter Saw
- Router
- Kreg Jig
Directions:
Step 1
Cut the lumber into 11.5 inches (6 pieces), 50 inches (4 pieces), and 13.5 inches (6 pieces). Attach the 50″ boards to the 13.5″ boards using wood glue and 2-inch wood screws from the top and bottom. Use 1.5″ Pocket holes on the bottom of the frame and attach them with wood glue and 2.5-inch Kreg screws. Measure your plywood and cut the panels, then apply wood glue and nail on all of the edges. To create the bench lid, cut out 2.5″ x 20.25″ x 0.75″ (2 pieces) and round over the edge.

[social_warfare]
Step 2
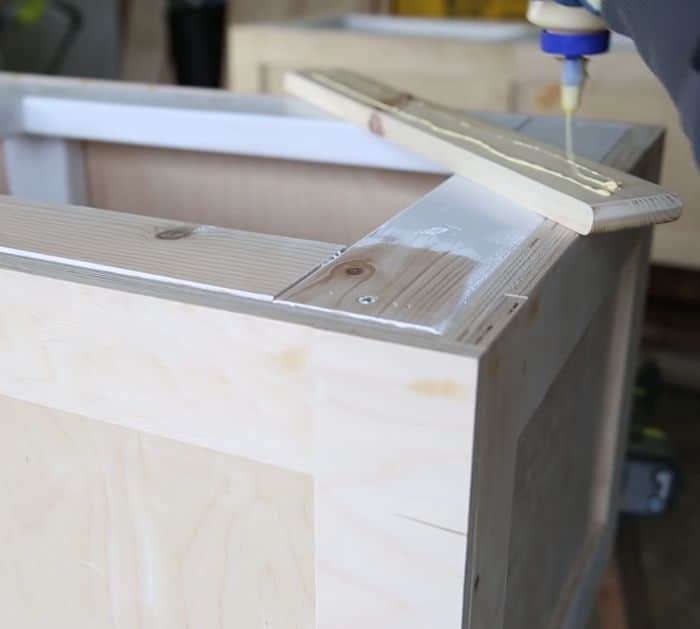
Attach to the top with wood glue and brad nails. The back border piece will need to be cut to the length of 2.5″ x 46″ x 0.75″. Attach the bench lid using the piano hinge. Now, for the bench feet, cut 2 pieces of 3″ x 20″ x 0.75″, then attach them using wood screws and glue, and apply the furniture felt pads. Fill in all your brad hole nails with caulking or wood filler before painting. Do a light sanding on all surfaces, then apply white primer and paint.

*All these images are credited to Paul Tran DIY via YouTube. Give his channel a visit and subscribe for more!


