
Are you tired of the usual look of your quilt project? Level it up by adding this beautiful border from Tamara’s Joy // Sewing Channel on Youtube. This tutorial has two different ways of adding this border to your quilt project. It’s a new idea for you to try on! Learn the step-by-step process by watching the video tutorial below.
Materials:
- your rag quilt
- iron
- clips
- scissors
Directions:
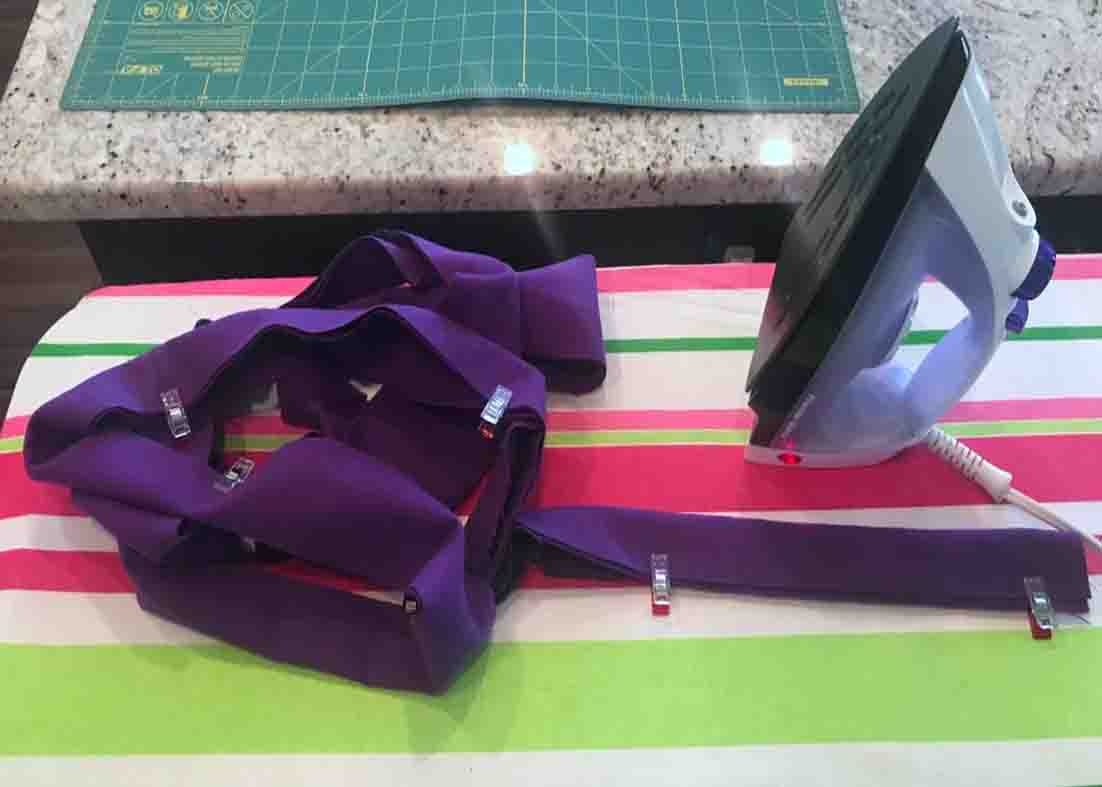
Step 1
Get the rag quilt that you’ve sewn, then fold your outer pieces open. Next, take a 3-inch piece of fabric. (In this case, the fabric was a double.) Cut out two strips that measured 3 inches wide. Take that strip that you’ve created, fold it in half, and then iron it. Now, in attaching it to the edge, there are two ways to do this. First, fold your 2-piece strip of fabric over the outer edge, then sew a half-inch seam all the way around and you will end up with an edge that you will snip and rag. (For the corners, just make sure that they are folded and nested together. That way, when you’re going through your sewing, the added bulk is evenly distributed instead of all in one section.)
[social_warfare]
Step 2
Once everything is pinned, take it to the sewing machine and do that half-inch seam all the way around. After sewing along the outer edge and essentially adding the binding, snip all the way along there and snip also along the back. Now, for the second way to add a border, take a piece of fabric that is intended for the border, leave the outer edges alone on the front of your fabric but on the back, instead of leaving it like that, fold that fabric in, then clip it. This way, on the back side, your seam is just gonna neatly go along and you won’t have any ragging on the back side of your blanket, but you’ll still be able to do the ragged look on the front.

How To Add A Border To Your Rag Quilt


