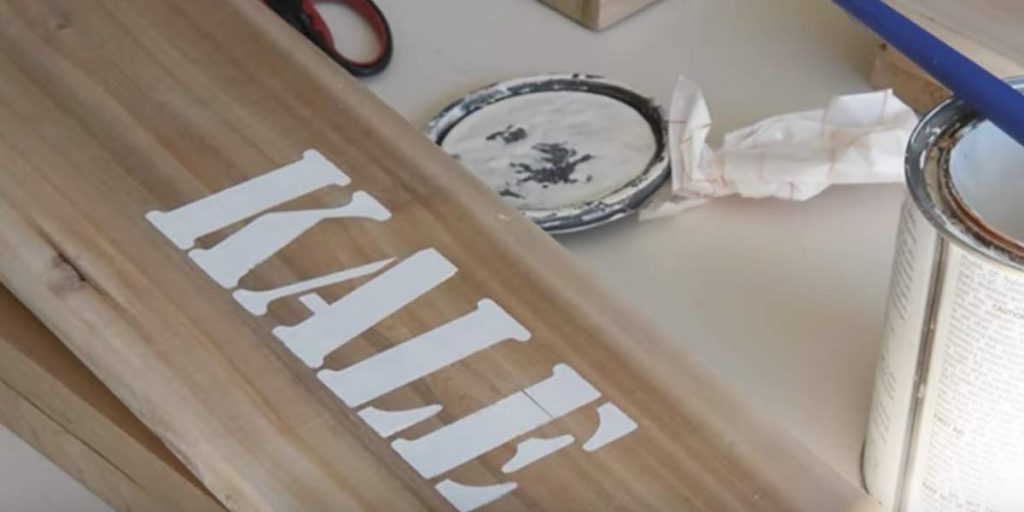
I came to a screeching halt when I ran across this cool tutorial! Now this is a clever idea and it never would have occurred to me to do this…guess that’s what all those brilliant people out there are for, right?
This is not only a great idea, but it’s really cute hanging on a wooden privacy fence, don’t you think? Well, I simply had to do this…that’s all there is to it!
I love the way she painted the fence the nice gray color. It really makes the garden boxes, with the white stenciling, pop and makes it look ultra rich and super chic!
She uses cedar because it is weather resistant, so she highly recommends using this for your plant boxes. This is what you want to use when you’re making anything for outside because it’s gonna be susceptible to moisture.
MATERIALS NEEDED
To complete this project, you’ll need:
- KILZ Over Armor Wood and Concrete Cedar Resurfacer
- Paint roller
- Paint brush
- Paint tray
- Cedar (enough to make 4 planters: 4 boards @ 1″x6″x8′ and 2 boards @ 1″x4″x8′)
- Exterior screws (1 – 1/4″)
- Pressure washer
- Power drill with drill bits (3/8″ and 9/64″ drill bits)
- Jigsaw
- Circular saw (optional)
- Exterior wood glue
- Nailer (or hammer and nails)
Make sure to power wash your fence before painting it. You’ve gotta get it super clean! The paint will not adhere to a dirty fence.
I don’t know about you, but I find pressure washing to be addicting and very satisfying, yet super messy!
Fences are one of the most dramatic things to clean because over the years, they grow green and black gunk.
Watch how Thrift Diving does this cool DIY project in her step by step tutorial!


