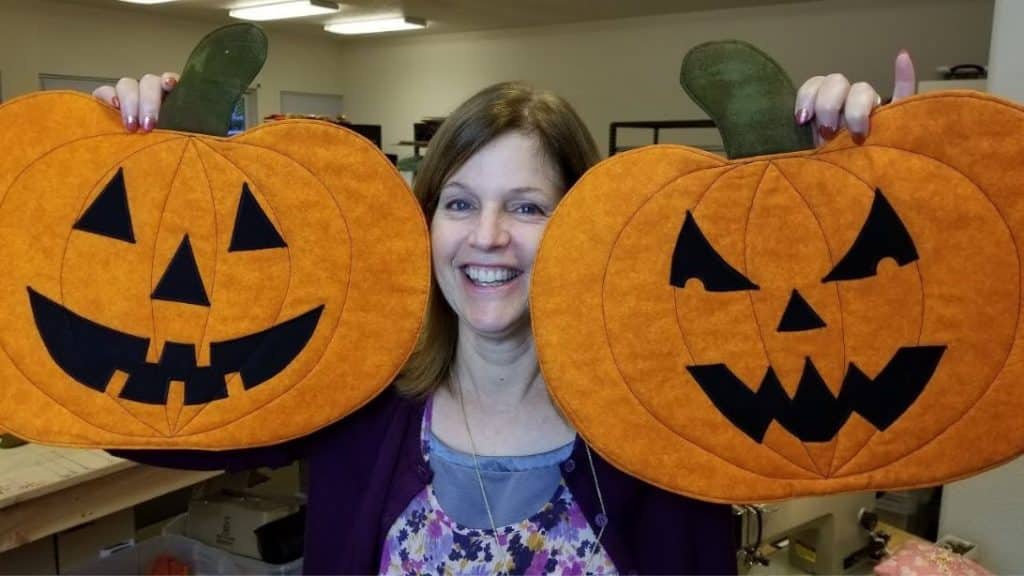
Celebrate the spooky season by making these Halloween jack o’ lantern pumpkin placemats by Jordan Fabrics. It’s an easy and fun sewing project you can do at home to decorate your dining table. Learn how to make these lovely decor pieces by watching the video below. Happy sewing!
Materials:
- pattern (click here to visit the website)
- placemat tops: 1/2 yard
- placemat backings: 1/2 yard – split along the fold
- jack O’ lantern faces: 1/4 yard
- stems: 1/8 yard
- batting: 2 pieces of 18″ x 20″ and 2 pieces of 5″ x 5″
Instructions:
Step 1:
Download and print the face, stem, and pumpkin. Cut 2 pieces of pumpkins from the fabric for the top of the placemat and 2 pairs of stems.
Step 2:
Take the two pieces of stems and place them right sides together. Place them on top of the batting scrap with the stem base overhanging 1/4″ beyond the edge of the batting. With a scant 1/4″ seam and back-tacking at the start and the finish, sew around the edge of the stem and leave the whole base edge open. Cut the excess batting, then pull the stem right side out and press flat. Sew the edges all around the stem. Repeat the other stem.
Step 3:
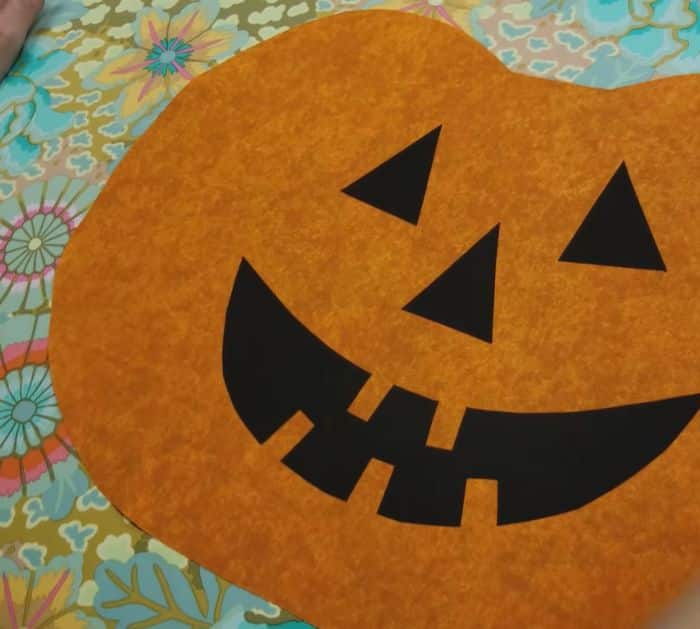
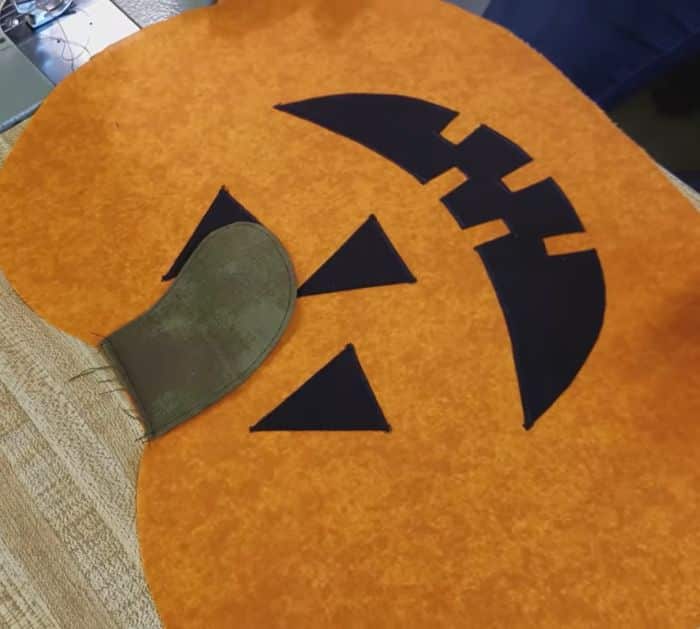
Place the jack o’ lantern pieces on your shaped pumpkin and applique. Stitch the stem onto the top of 1 pumpkin placemat with the raw edges.
Step 4:
Place 1 backing on top of 1 batting piece right side up, then place 1 pumpkin top on the top of the backing right side down. Secure with pins all around. Stitch the placemat from to back with a 1/4″ seam and leave a 6″ opening at the bottom.
Step 5:
Remove the excess batting and backing with the raw edge of the top. Snip close to the stitching line through all layers where the stem meets the pumpkin. Flip the placemat right side out and press very flat. Close the opening with pin and edge stitch around the edges of the placemat, with the backside facing up. With a marking device, use the template to draw lines to create a pumpkin surface on the placemat. Pin along the lines and sew using a straight stitch, zig-zag, or decorative. Repeat the same process for the second placemat.
