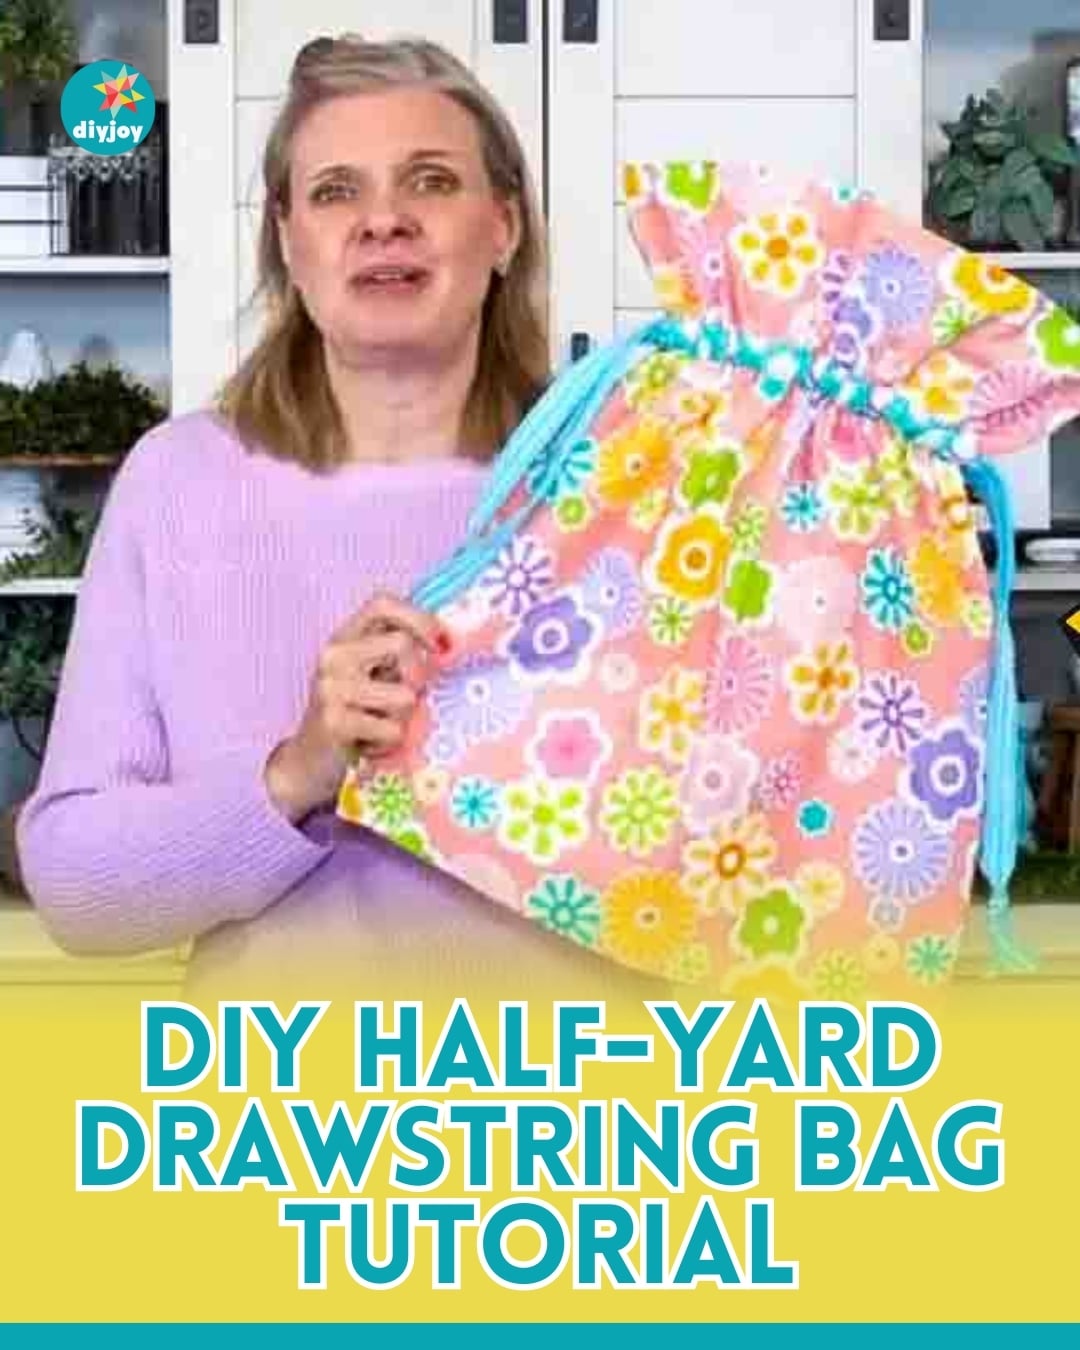
Are you thinking of ways to use your extra ½ yard fabric? Why not turn them into a drawstring bag from Fat Quarter Shop? This project is so quick and easy to make and only needs a ½ yard of fabric, some strips, and a ribbon – so easy, right? Even beginners would be able to do this project.
RELATED: Super Easy Drawstring Bag Tutorial
In this step by step tutorial, Fat Quarter Shop will demonstrate how to easily turn your ½ yard fabric into a gorgeous drawstring bag. It’s perfect for a personalized gift or just use it for yourself! Watch the video tutorial below to learn how.
Materials:
- 1/2 yard of fabric
- 3″ width of fabric strip
- 3/4″ wide ribbon
- easy-pull bodkin
Directions:
Step 1
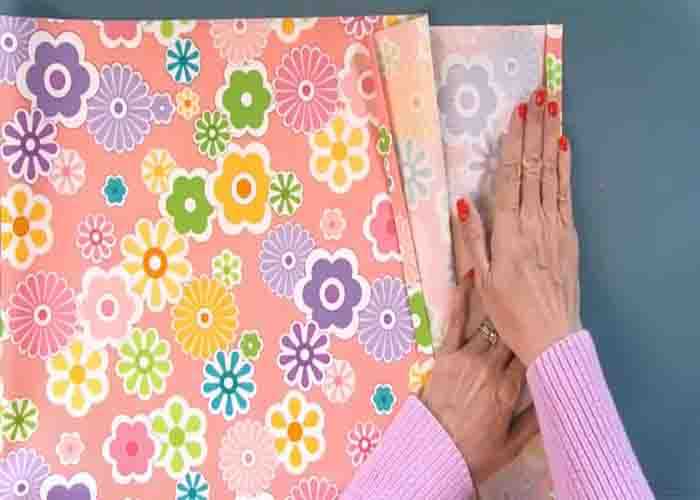
Take the 1/2-yard fabric and trim all the sides. Cut the selvage off as well. Next, create a hem on both the short ends by folding them down 1/4″, then press. Fold them once again, then press. Secure the hem by stitching it onto it. Set it aside. Now, take the strip fabric. Place the ruler over it and cut it down to 3″. Place it on top of the bag, then trim the excess ends. Next, fold both short ends of the strip into 1/2″, then press. Stitch right along the raw edge just like earlier. After this, fold it lengthwise, wrong sides together, then sew with a 1/4″ seam all the way down.
Step 2
After sewing, finagle the fabric where it folds down and keep the center seam in the center. Finger-press it open and iron from one side to the other. Repeat these steps to the other strip. Next, take one end of the bag, place the ruler over at 4″, then place one strip with about 1″ on each side. Pin it in place, then stitch on both long edges all the way down. Repeat these steps to add the second channel on the opposite side.
Step 3
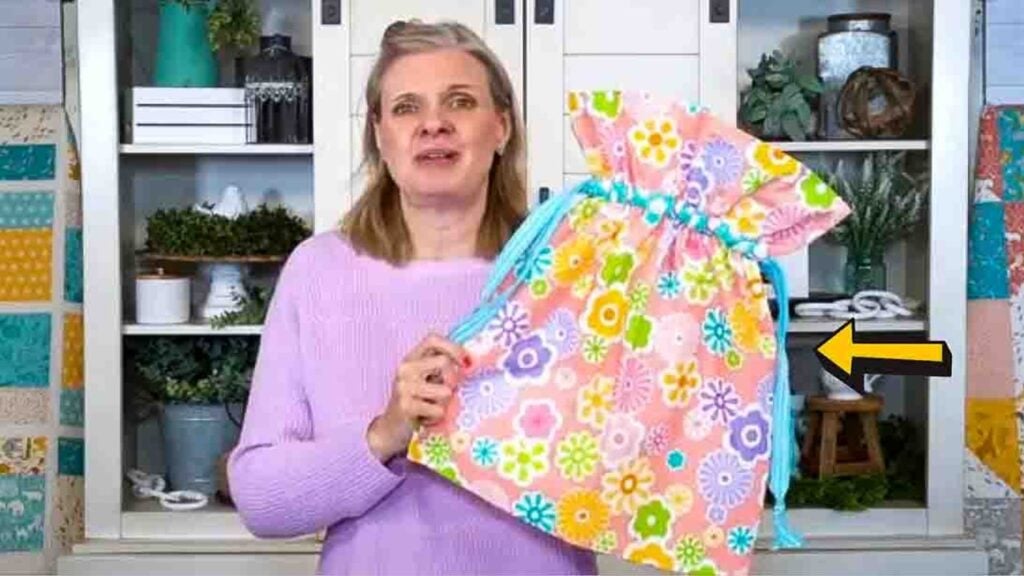
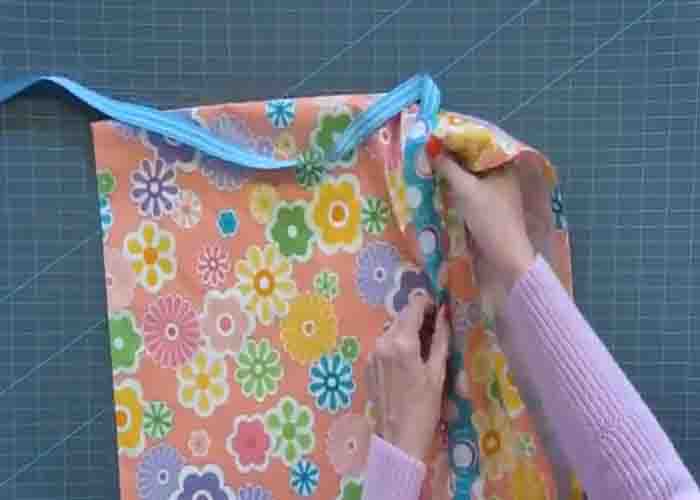
Now, take your bag, put the wrong sides together, and start sewing at the open end with a 1/4″ seam allowance all the way down to the fold. Repeat it on the other side. Once done, turn the bag inside out, press both long sides to make them flat and nice, then sew a 3/8″ seam, making sure you’re not covering the channel. After sewing, turn it right side out. Now, take two ribbons cut in 3/6″ length, then put them in the bag. Once you put them through the channel, tie a knot on the ends to secure them in place.
Half-Yard Drawstring Bag Tutorial