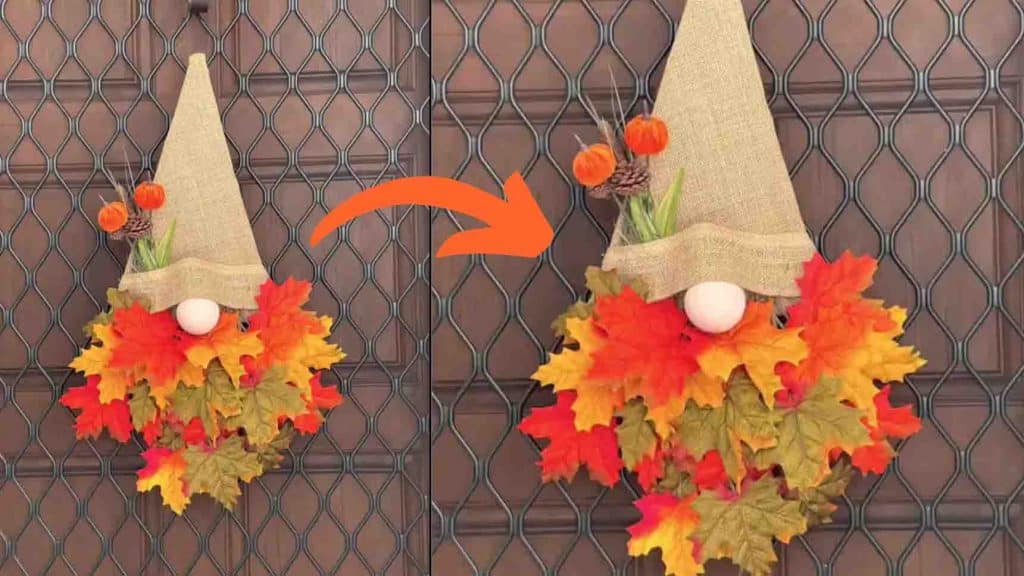
This gnome wreath decor from I Felt Crafts on Youtube is the perfect front door hang for your this season! This wreath is super easy to make and only needs a few materials to do. What’s more, you can still use this decor for years to come. Learn how to make this by watching the video tutorial below.
Materials:
- Cardboard
- Hot glue gun
- burlap
- scissors
- old Christmas ball ornament
- old white sock
- faux autumn leaves
Directions:
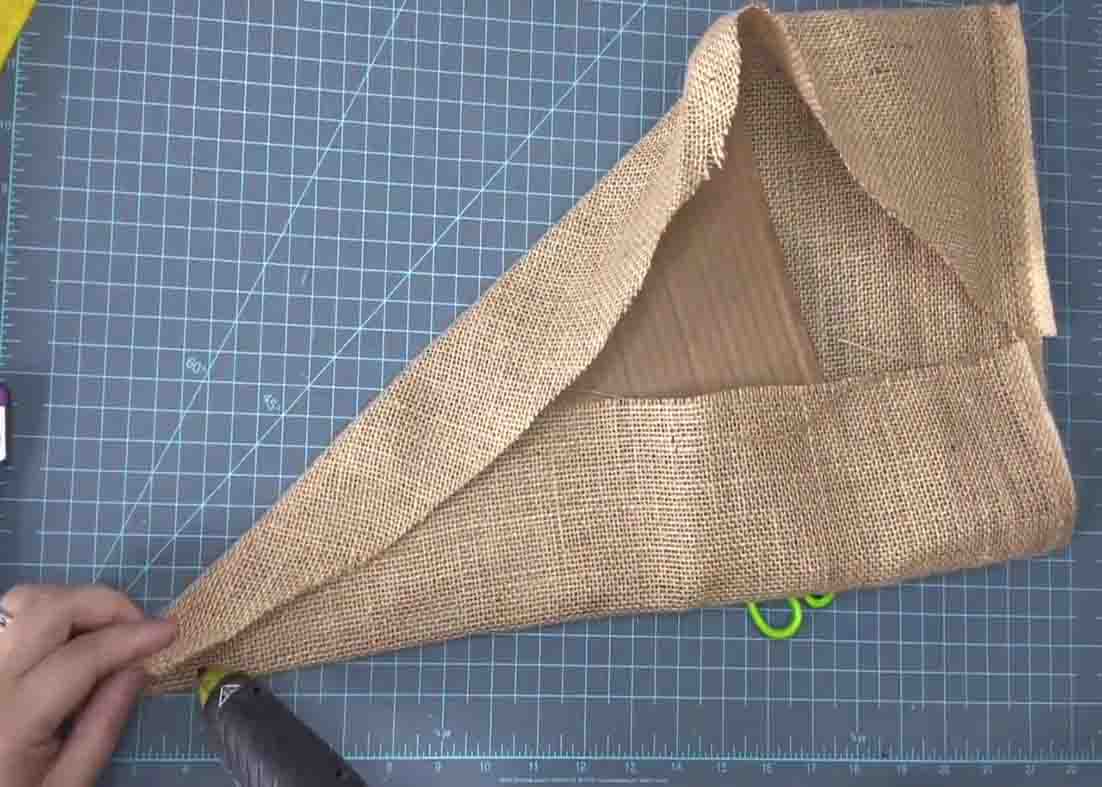
Step 1
First, shape your cardboard into a triangle and cut it. Next, put hot glue on the edges of the cardboard and attached the burlap. After this, cut the excess. Next, to make the nose of the gnome, grab some old Christmas ball ornament and a white sock. Put the ball inside the sock, cut the excess, then put some hot glue on the ball inside to attach the sock and secure it. Cut the excess again, then color the ball using a crayon. After this, attach the ball to the lower end center of the triangle. This will be the nose of the gnome. Next, get your faux autumn leaves and separate the branches so it’s easier to arrange.
[social_warfare]
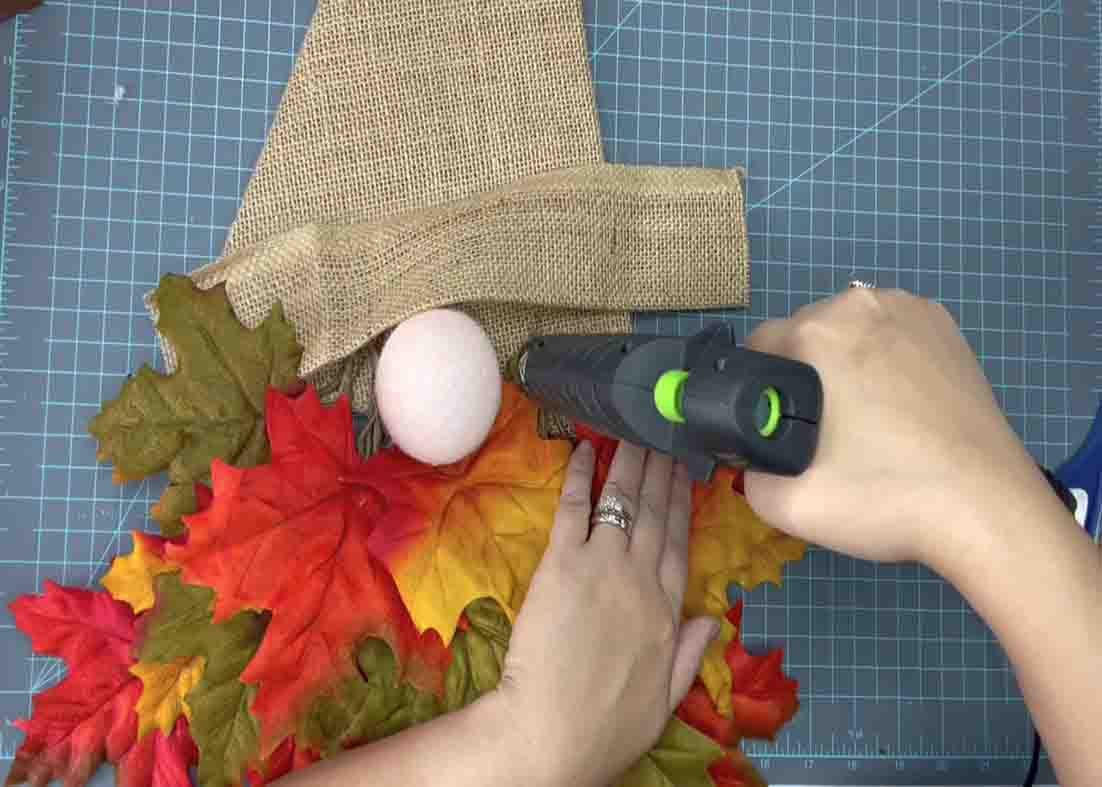
Step 2
After this, attach the autumn leaves branches on the lower end of the triangle, this will be the mustache of the gnome. Next, get a piece of burlap and place it on top of the upper part of the nose, covering it. Secure it with hot glue. This will also cover the part where you glue down the autumn branches. Attach some details on the hat part like faux pinecones and flowers as you like.
Gnome Wreath Decor For Fall Tutorial


