Looking for an easy pattern to sew this week? Try this four patch lattice quilt by Missouri Star. The block is very simple, but when you assemble several pieces, it creates this stunning design. Read on or watch the video below for full instructions. Happy sewing!
Materials
- 4 packs of 5″ squares
- 1 yard of background fabric (includes inner border)
- 1 1/2 yards of outer border fabric
- 4 1/2 yards of backing fabric
[social_warfare buttons=”facebook,pinterest,twitter,whatsapp”]
Instructions
Step 1:
Get four 5″ squares and put them together to make a four patch. Make sure you have different colors. Sew them in rows first with a 1/4″ seam allowance. Once done, press them in opposite directions and sew the rows together. Press the block flat.
Step 2:
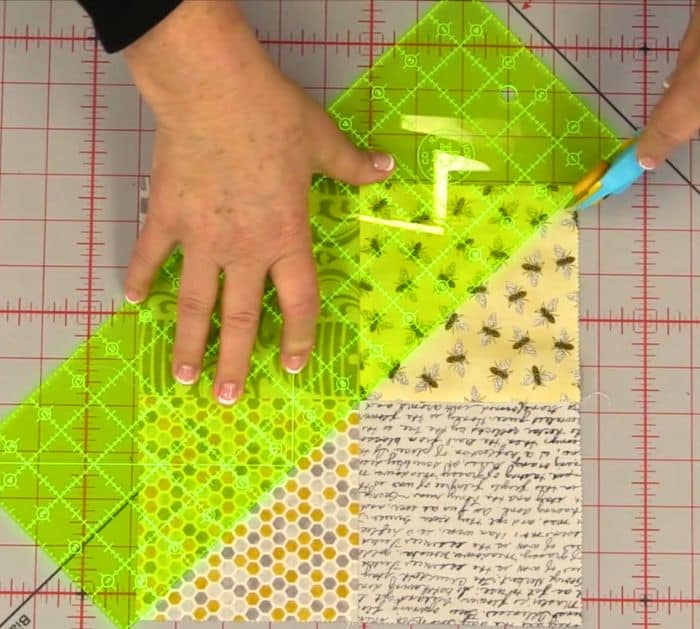
Cut the four patch diagonally from corner to corner.

Step 3:
Cut 1 1/2 strips from your background fabric. Then cut 14-inch strips out of each strip.
Step 4:
Get one strip, fold it in half, and finger-press it to make a center line. Place it in the center of the triangle. Make sure they are lined up. Sew a 1/4″ seam allowance to the side. Make sure that your strip does extend beyond your block, then finger press it.
Step 5:
Take another triangle, then line it up to the same crease. Sew with a 1/4″ seam allowance, then press it flat. Flip it over and press the seams out from the center.
Step 6:
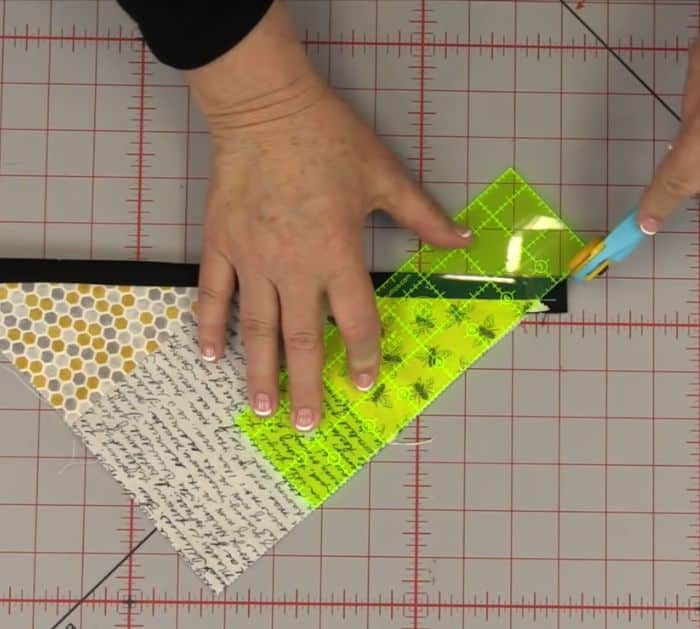
Fold it in half into a triangle, line your ruler to the edge of the block, and cut the excess on both sides.

Step 7:
You need 7 rows with 6 blocks each for a total of 42 blocks. When you assemble them, make sure they form a lattice. Sew them in rows first and press them flat. Once done, sew the rows together to make the quilt. After that, add the 1/2-inch inner border, and then your 6-inch outer border.


