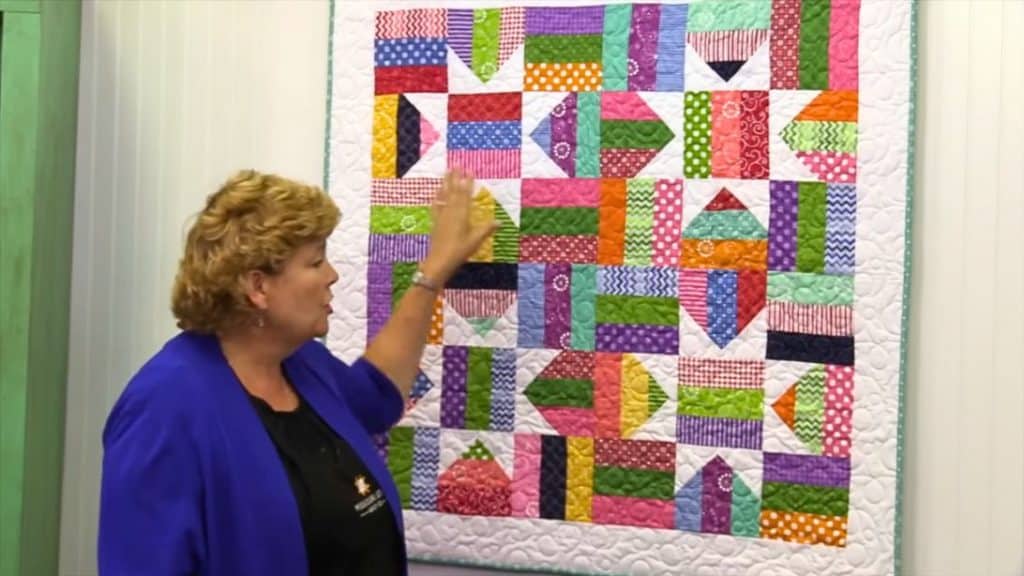
A fence rail quilt is one of the easiest quilt projects that you can make at home. It is easy and fun to make, especially when made with bright colors. If you find it too simple and want something a bit different, I suggest you make this fence rail star quilt by Missouri Star. Just by adding those star points, the quilt transformed into a new design that absolutely looks stunning.
RELATED: Ribbon Star Quilt With Jenny Doan
Making this quilt block is super easy. The first thing you need to do is make a three by three block. Sew three strips together to make a unit, then cut them into squares. Once you have the squares, arrange them into a 9 patch. Arrange them in an alternating orientation. After that, add the star points by sewing 4-inch squares on two corners of the middle blocks.
It is a quick and easy block. If you already made a fence rail quilt before, you can finish this block in a day or less.
Easy Fence Star Quilt Materials
- 1 roll of 2 1/2″ strips
- 1 yard of background fabric
- 3 yards of backing
How to Make a Fence Star Quilt
Step 1:
Take 3 strips and sew them together with 1/4″ seam allowance to make a 3-unit strip. Press it flat. Repeat with the other strips.
Step 2:
Measure how tall the unit is and cut them with that measurement to make squares. Repeat with the other strip units.
Step 3:
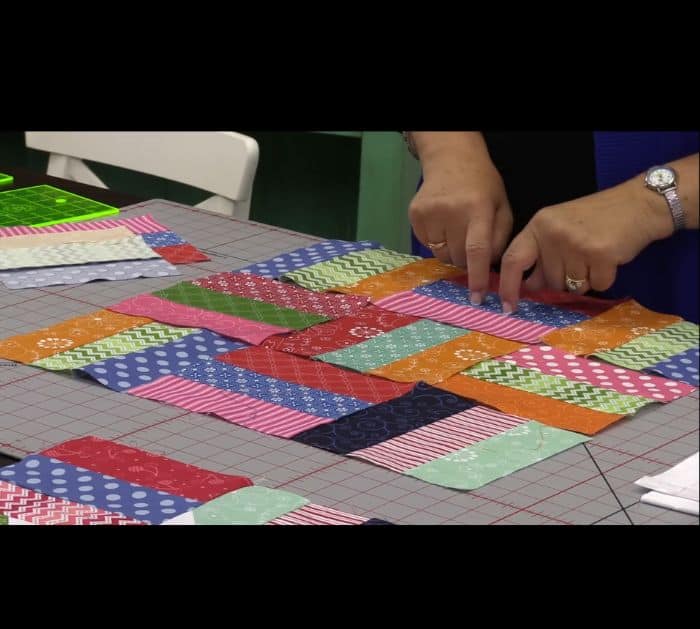
Get 9 squares and arrange them just like in the photo below.

Step 4:
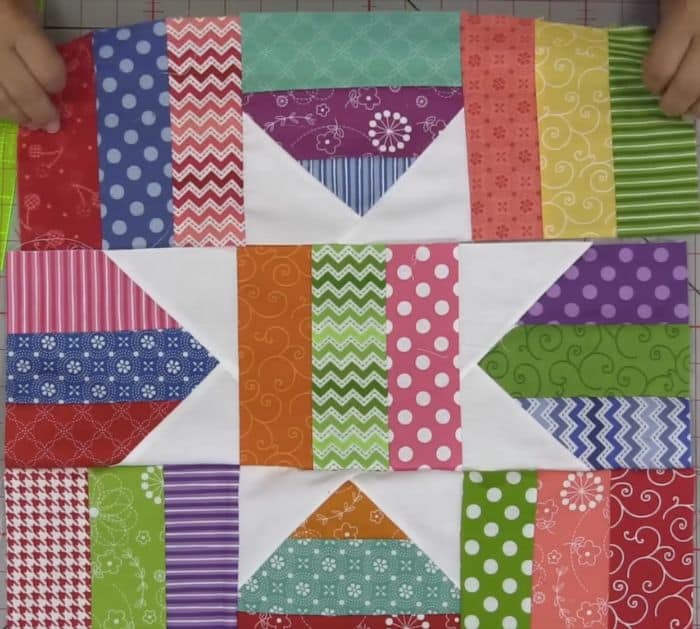
Pick the middle ones on each side and set the other aside. Cut 8 pieces of 4-inch squares from your background fabric. Fold them in half diagonally to make a crease. Sew two star points on the horizontal and two on the vertical. Lay one square on the corner, sew on the line, and half an inch away from the line. Trim the excess in between the sewn lines (you’ll get a square, save that for another project) and press open. Do the same for the other corner.
Repeat the process for other middle blocks.
Step 5:
Arrange all the blocks just like in the photo below. Make sure they are alternating. Sew them together to make the block.


