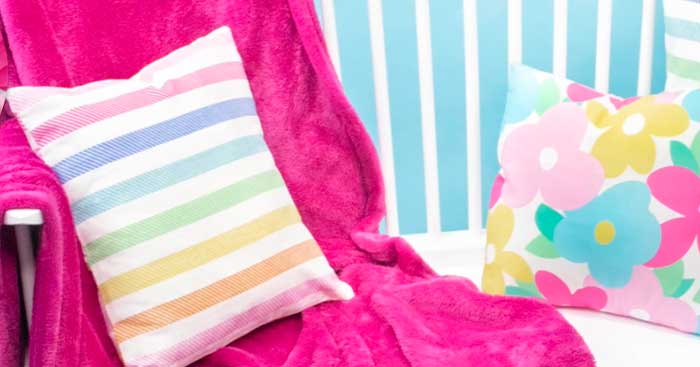
Are you struggling to find the perfect pillow covers for your home throw pillows? Why don’t you just make some? This pillow cover tutorial by Sweet Red Poppy is cute, simple and can be done in less than 15-minutes. Now you can create envelope-style pillow covers for all your decorative pillows. The covers can be removed easily for washing and will slide right onto your throw pillows easily.
Materials Needed For This DIY Project:
- Fabric
- Sewing Machine
- Scissors
- Iron
Directions:
Step One
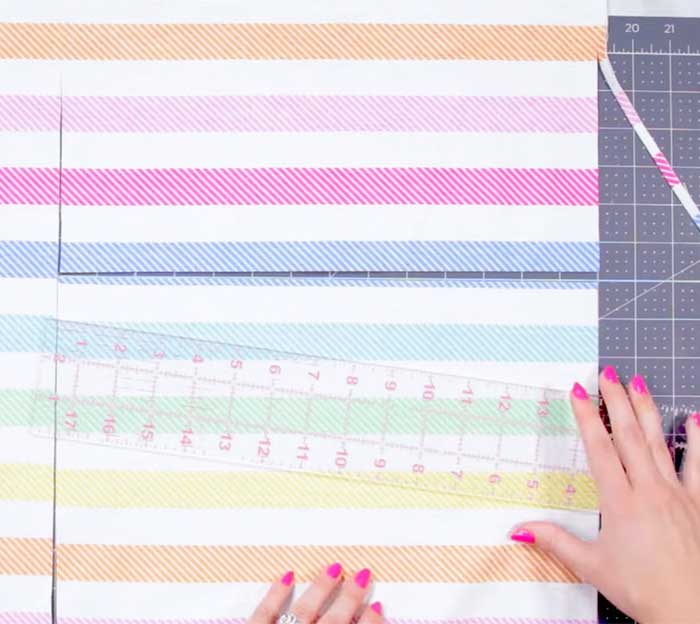
Cut your fabric. Start by cutting your first piece of fabric to the same size as your pillow form. Then cut the back two pieces in the full width of the form and 1/2 the height with a three-inch seam allowance.
Image by. Sweet Red Poppy via YouTube video.
Step Two
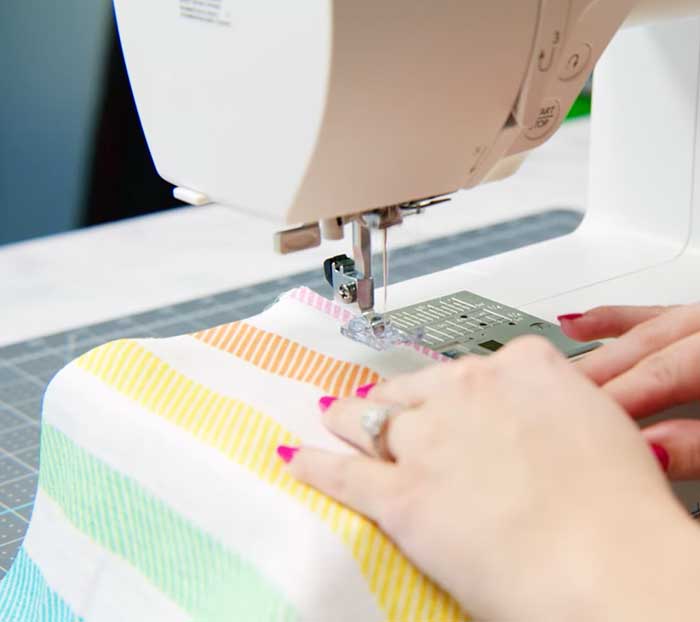
Take one of your back pieces of fabric and press it on one edge at 1/2 inch and then repeat it flipping the edge over again and pressing a second time. Repeat this step on your second back piece of fabric as well. Sew along the middle of the fold, 1/4 inch from the edge of the fabric.
Step Three
Lay the back pieces of your fabric on top of your front piece of fabric, connecting the raw edges. The front piece should be right side up and the backside is right side out. The patterned sides should be touching.
Step Four
Pin and sew the edges of the fabric together, leaving the middle pocket open. Then flip your pillowcase right side out and slide your pillow inside of the pillow cover.
Image by. Sweet Red Poppy via YouTube video.
[social_warfare]
Yes, it is that simple. Enjoy your new pillow cover that was made in just 15-minutes.


