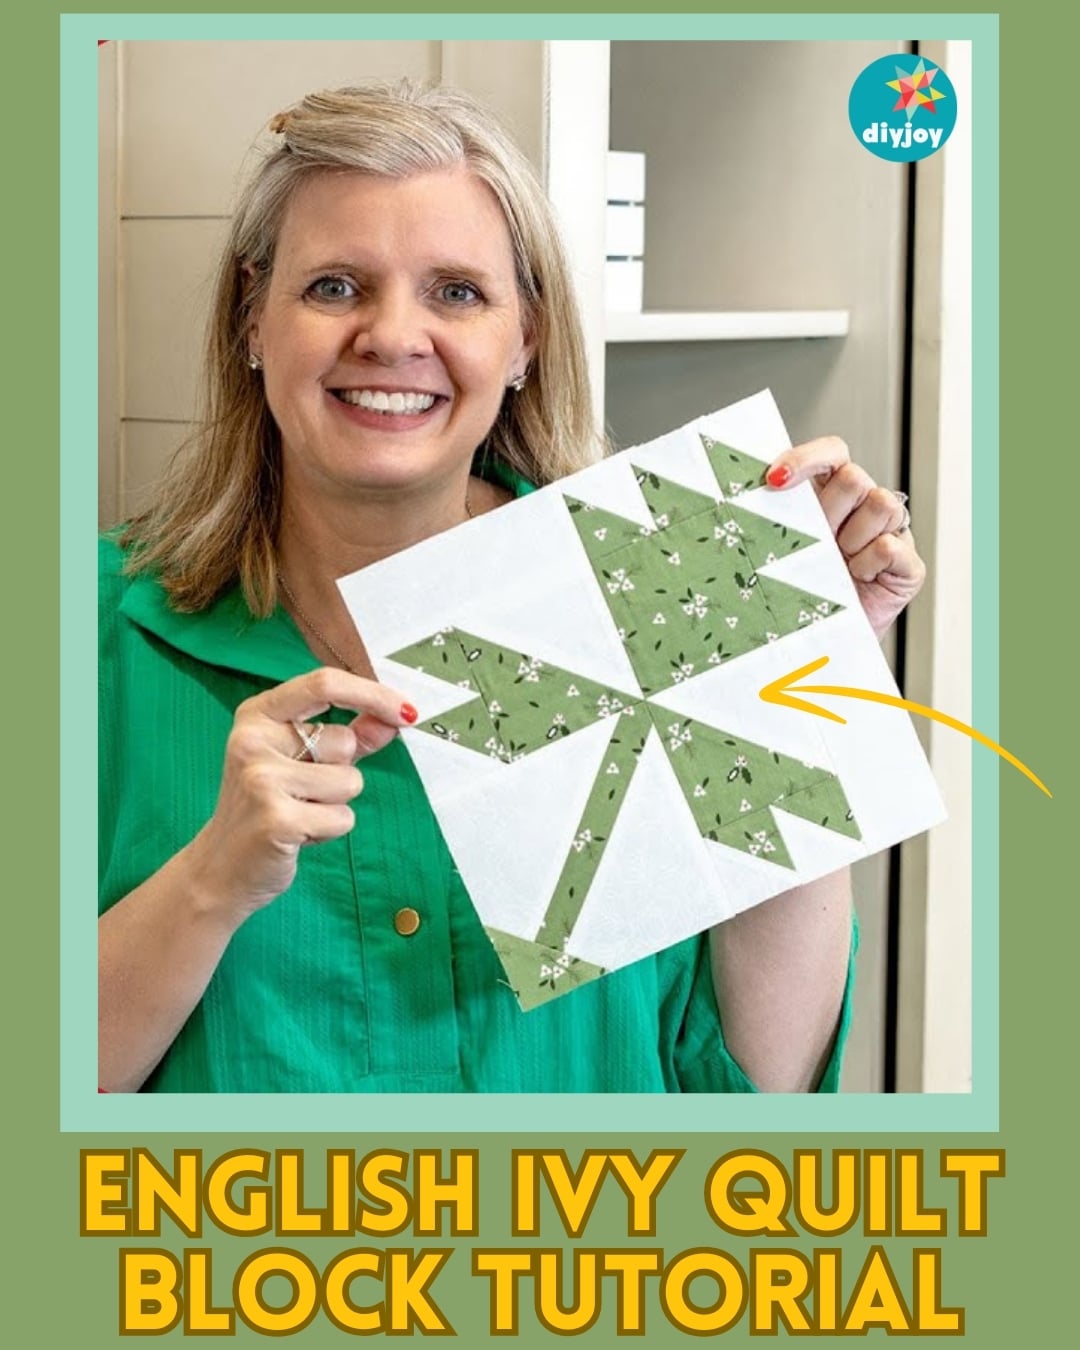
If you’re looking for your next quilt project, try this English ivy quilt block from Fat Quarter Shop on YouTube. It may look complex, but it’s actually beginner-friendly and so fun to do. This is one of my favorite quilts to make, especially if I need something for gifting.
RELATED: English Garden Quilt With Jenny Doan
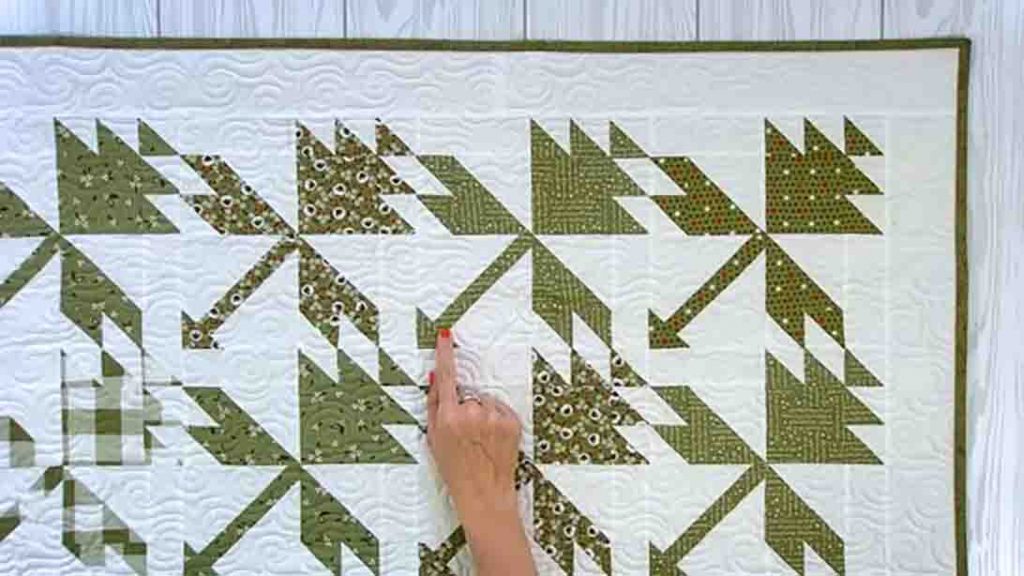
In this step by step instructions, Fat Quarter Shop will teach you how to make this quilt block from start to finish. It’s pretty quick and easy and I bet you’ll be able to finish this in no time. Learn how to make it by watching the video tutorial below for the step by step procedure.
Materials:
- (click here for the free pattern)
- triangle paper
Cutting Instructions:
Print (one block)
- A) 1 – 5″ square
- B) 1 – 4″ square
- C) 1 – 3 1/2″ square
- D) 5 – 2 1/2″ squares
- E) 1 – 2″ square
Background (one block)
- F) 2 – 4 1/2″ squares
- G) 1 – 4″ square
- H) 5 – 2 1/2″ squares
- I) 2 – 2″ x 5″ rectangles
Directions:
Step 1
Start by cutting all the needed fabrics and set them aside accordingly. Next, line one fabric D and fabric H right sides together, then cut out five squares from your triangles on a roll of paper. Pin them down to secure them in place, then lower your stitch length to about 1.5, and stitch on the dotted lines. After sewing, cut on the solid lines as well as the center line (this will give you ten half-square triangles and you’ll only need nine). Now, pull the paper off, press them on one side, cut off the dog ears, then press them open.
Step 2
Next, take a fabric G square and a fabric B square. Line them right sides together, then draw a line from corner to corner, draw a line 1/4″ from each side, then stitch on the outside lines. After sewing, cut in the center, giving you two half-square triangles.
Step 3
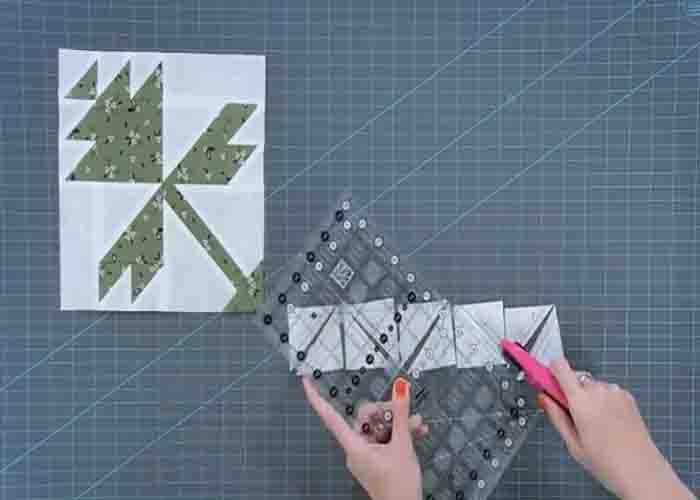
Now, take a fabric C square and place five of your half-square triangles around. Sew these together to make the upper right unit. Next, take the fabric I rectangle, two small half-square triangles, and one of the large half-square triangles. Arrange them according to the pattern, then sew them to make the upper left unit. Make the lower right unit just like how you did the upper left, just arranging the blocks differently (see the free pattern).
Step 4
For the last unit, take a fabric A and a fabric F. On the wrong side of your fabric F, draw a line from corner to corner. Place it over fabric A, stitch directly on the line, trim a 1/4″ away, then press open. Next, take another fabric F, draw a line on the wrong side, place it on the bottom right, pin it in place, and then stitch directly on the line and press. Lastly, take a fabric E square, draw a line from corner to corner, then place it at the bottom corner. Pin in place, stitch on the line, and trim a 1/4″ away. Once done, put all the units together to make the quilt block.
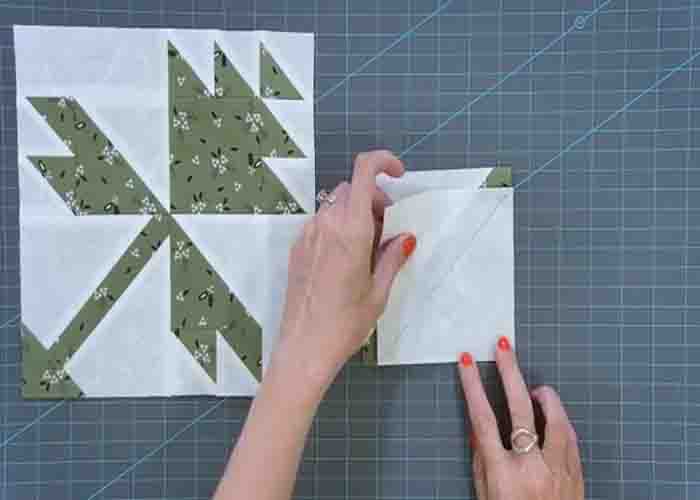
English Ivy Quilt Block Tutorial