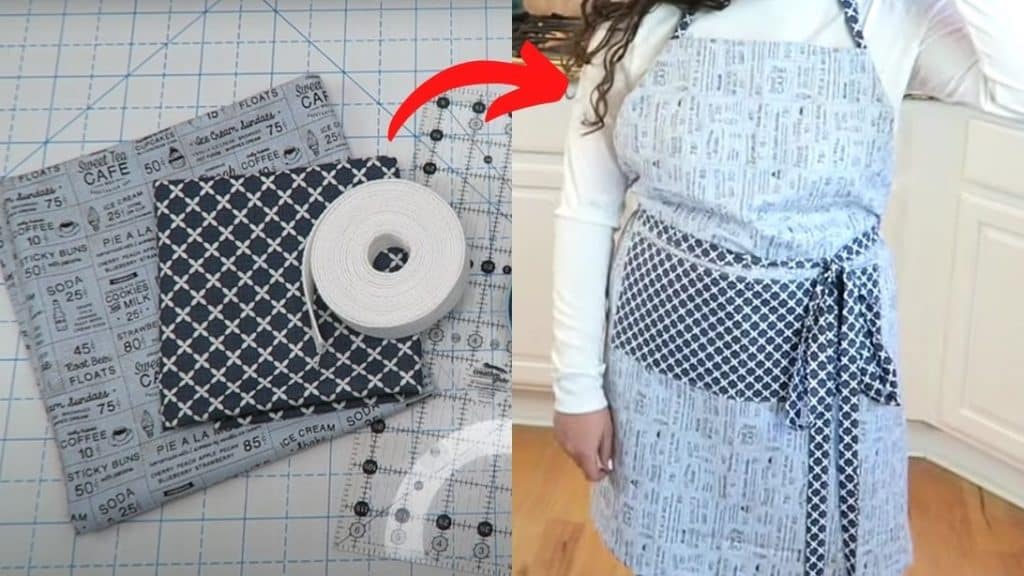
Have you ever wanted to sew an apron by yourself? Well, this is that tutorial! This DIY sewing project is perfect for beginners who love a good and low-cost sewing project to hone their skills on. This simple and pretty handmade apron is also sturdy and easy to adjust, if you have a lot of fabrics that you want to repurpose, might as well try doing that in this DIY apron. Thanks to Erica Arndt from YouTube for this easy-to-follow tutorial, truly her creativity never ceases to amaze me!
Materials:
- 1-yard Main fabric
- ½ yard Accent fabric
- Ruler
- Clip and/or pin
- Fabric trimmer
- Safety pin
Directions:
Step 1
Fold your main fabric in half and cut it to a 32 inches long and 13 inches wide size. For the bib section, fold the fabric in half and mark 6½ inches from the folded section and the mark another 10½ inches. Connect those marks and lines, cut them off then set them aside. Take the accent fabric and prepare it for the pocket and straps. Fold the fabric in half with the wrong sides together. Cut 4 strips of 2½ inches wide size then set aside. Unfold the leftover fabric and cut 8 inches by 17 inches.
[social_warfare]
Step 2
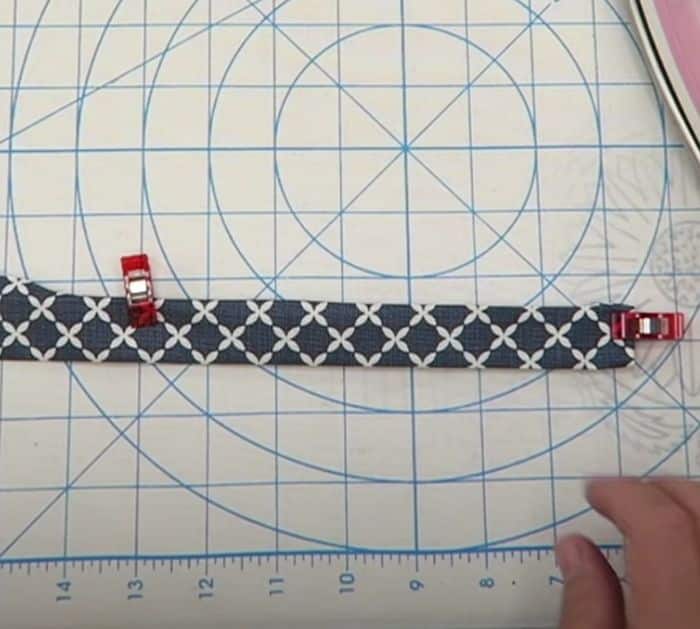
Take the strips and sew them together to create a long fabric for the strap. Fold it in half lengthwise and press with an iron, fold both sides about ¼ inch, and press. Clip-in place and sew with a ¼ seam allowance, do this all around the strap. For the pocket fabric, press each edges about ¼ inch and press, then sew with a ¼ seam allowance.

Step 3
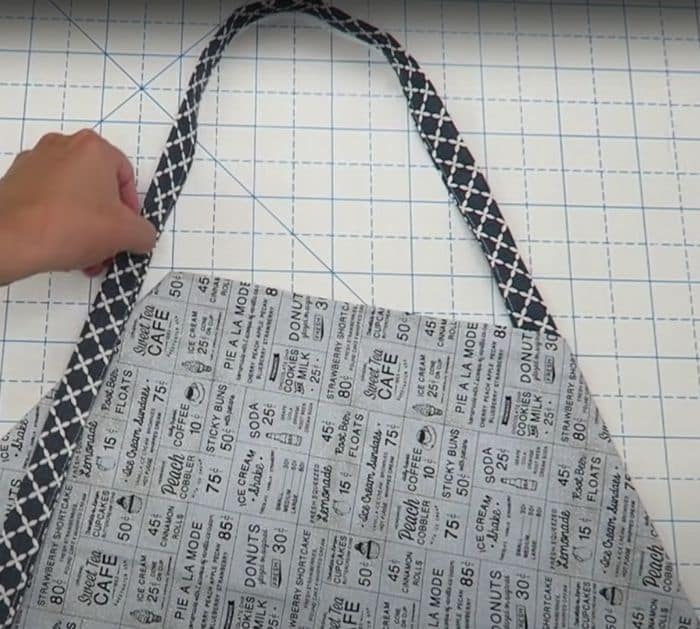
Get the main fabric and press all sides about ¼ inch thick except the top edges. Now for the casing on the top edges, make the first fold of ¼ inch, press, then fold another full inch and press. Sew the top edges with a ¼ inch seam allowance but make sure that you leave a hole for the strap to pass through. Lastly, add the front pocket anywhere you like on the main fabric, pin it in place before sewing around. Insert the straps on the casing using a safety pin.

*All these images belong to Erica Arndt via YouTube. Visit her channel and follow for more sewing tutorials like this.


