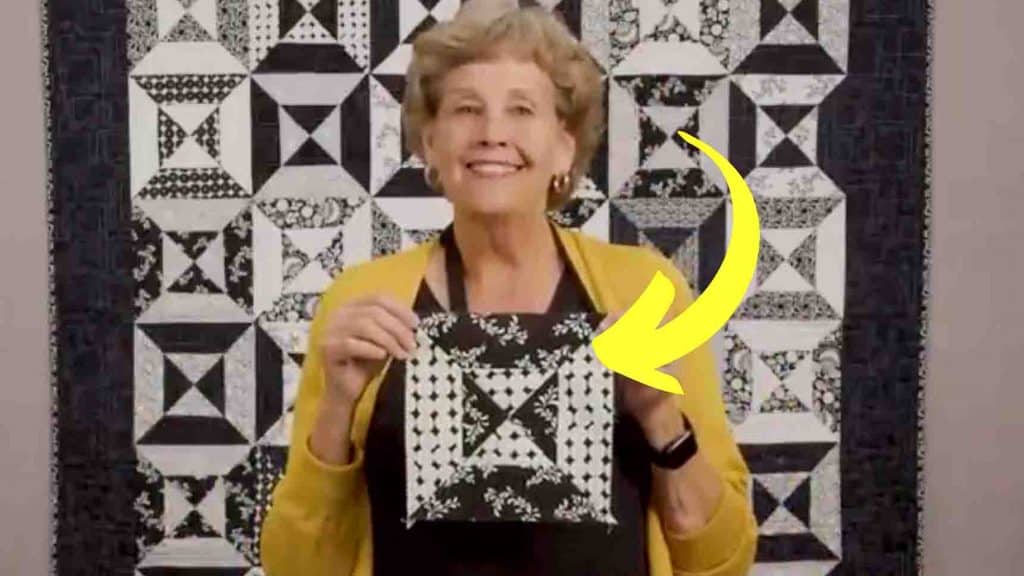
Are you a beginner at quilting? Then, this easy hourglass quilt from Missouri Star Quilt Company on Youtube is the perfect project for you. With this quilt tutorial, you will learn how to make an hourglass pattern block for your quilt project – perfect if you’re looking for a unique yet easy quilt pattern. Watch the video tutorial below to learn the step-by-step process.
Materials:
- 1 jelly roll 2 & 1/2″ print strips
- clearly perfect slotted trimmer a
- rotary cutter
- iron for pressing
Directions:
Step 1
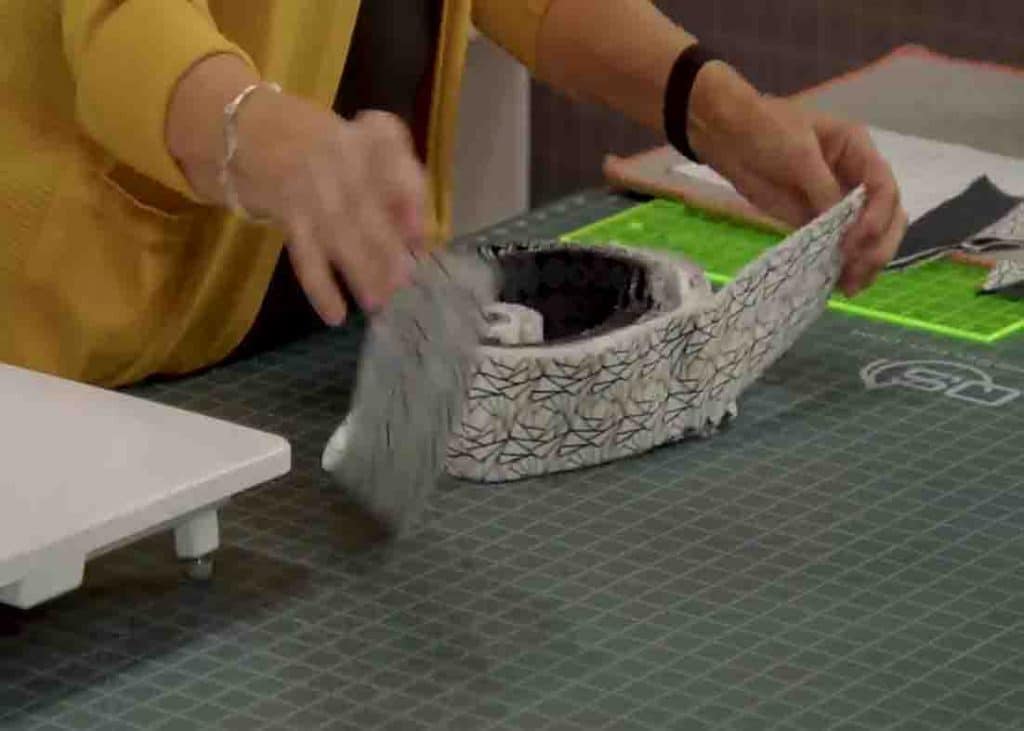
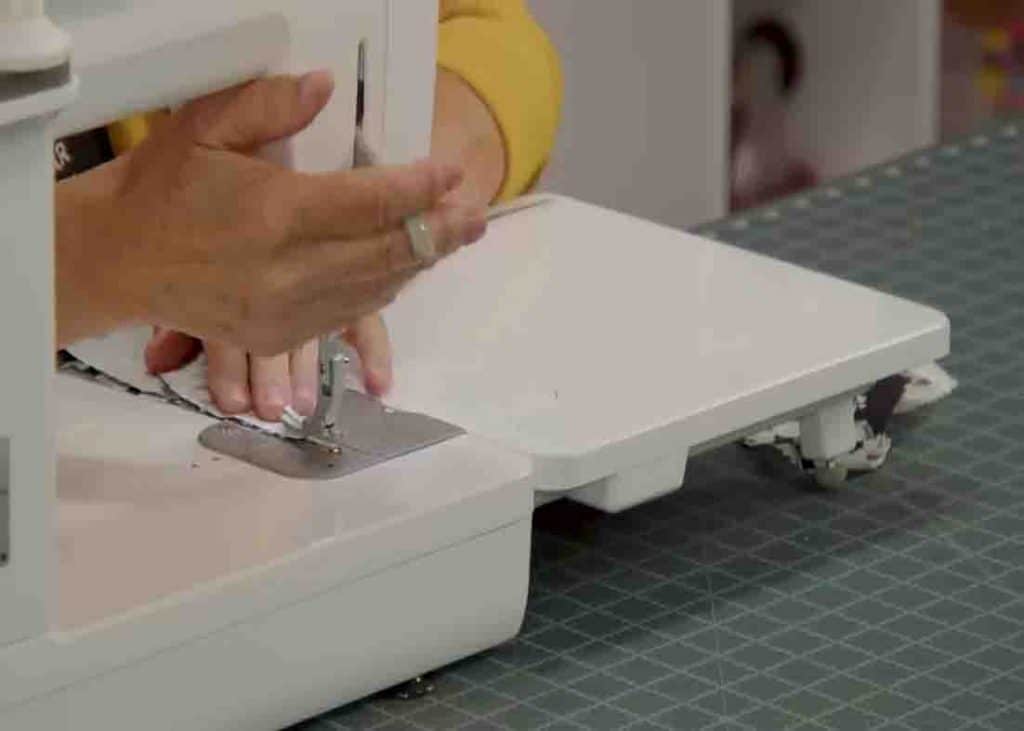
First, choose 18 light and dark strips from the jelly roll. Get two pieces, line them with right sides facing each other, and sew them together with a 1/4-inch seam. After sewing, press them open. Next. get your perfect slotted trimmer, put the sewing line on the sewing line of the trimmer, and cut it using a rotary cutter. Move over the cut-up piece, flip the ruler, and do the same process. (Go down the whole strip like this, you should end up with 8 pieces.)

[social_warfare]
Step 2
After this, put two pieces from the top and two from the bottom in the same one. The pattern will end up like a double hourglass. Now, line up the sides and make sure that the seams are perfectly lined up, then sew together. Next, press the block open. Do this process until you have enough blocks for your quilt.


