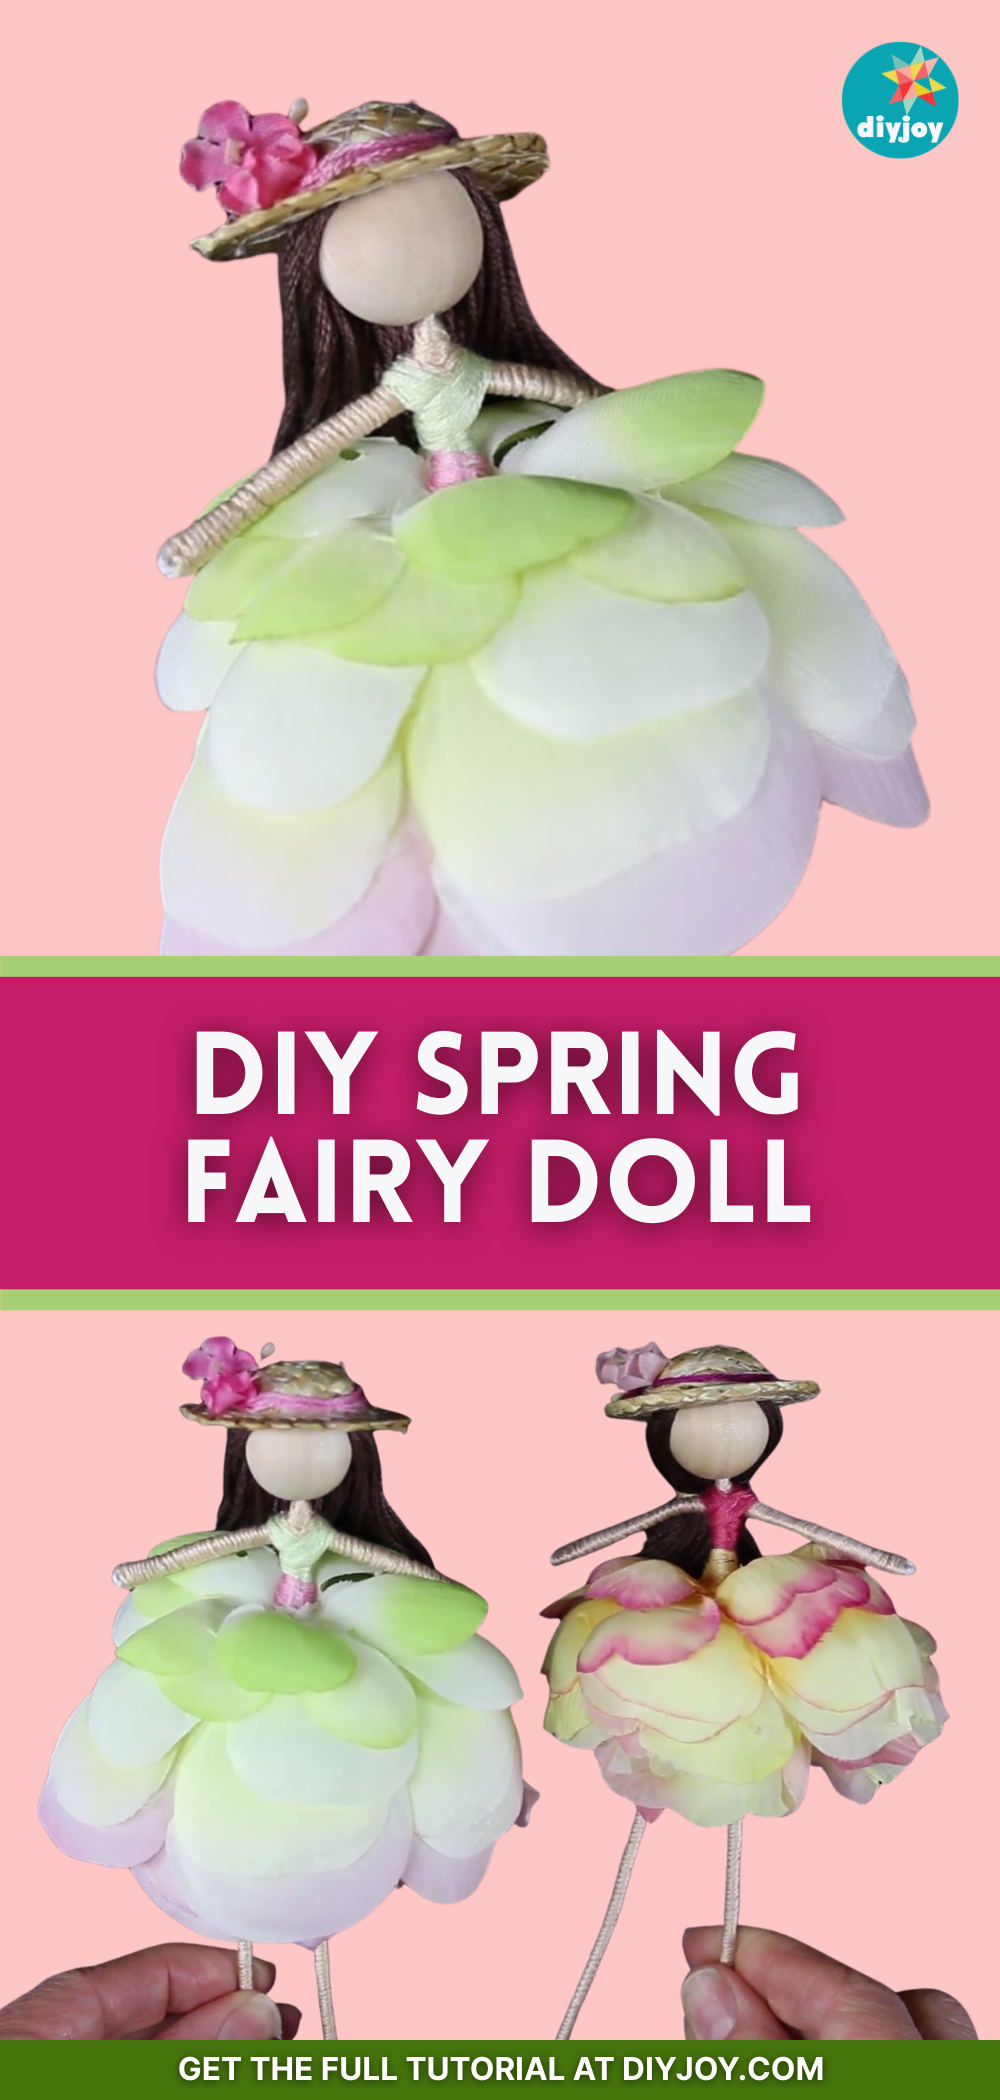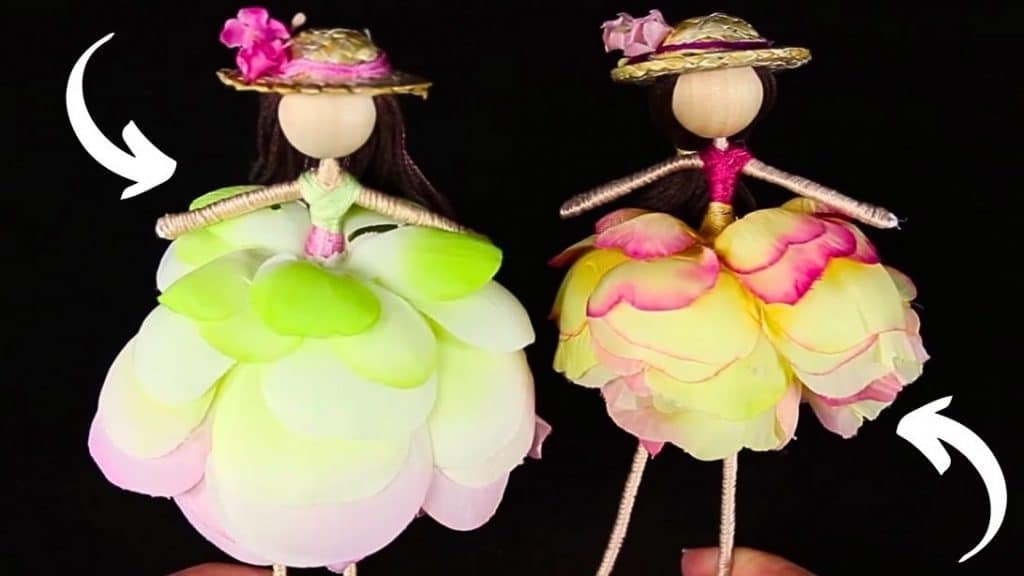
This fun doll-making video tutorial by Emilie Lefler on YouTube is a great project to try for spring! This pretty doll is super easy to put together and they look magical, too. You can also use different types of artificial flowers for this project and you can decorate these dolls however you want. Run to the nearest craft store now and learn how to make this by reading the written instructions down below and while you’re at it, watch the video tutorial as well for more details.
Materials:
- Floral wire
- Wooden bead
- Embroidery thread
- Matching flower
- Doll hat
- Small flower
- Scissors
- Hot glue gun and glue sticks
Directions:
Step 1
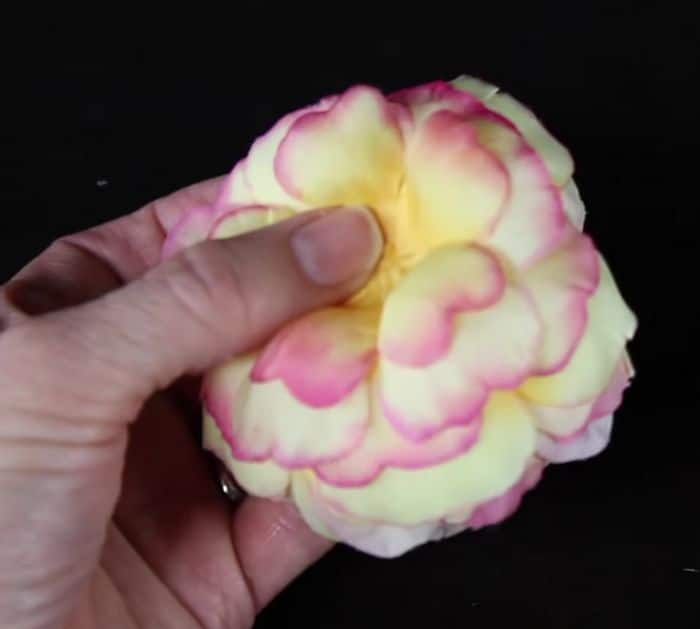
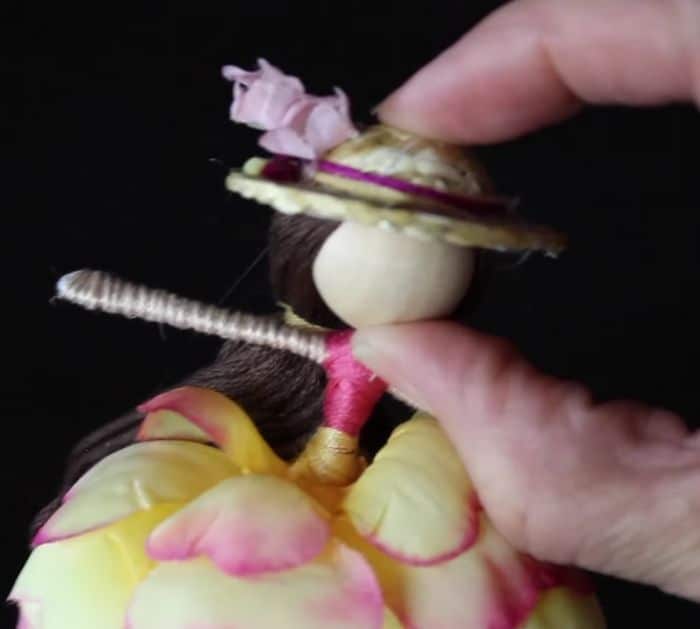
Create a basic fairy doll body using floral wire and some embroidery thread with this video tutorial, then wrap an embroidery thread around the top and waist to clothe the fairy’s body and wrap a different color of thread around the waist for the sash. Pull the flowers apart, then arrange and line them up with the largest petal at the bottom and the smallest at the top, and fold the group of petals in half.
[social_warfare]
Step 2
Cut an “X” at the center, then slide the petals into the doll one at a time starting from the smallest ones up to the largest, and make sure to dab a tiny amount of hot glue in between each layer to keep them in place. Gather the ends of the doll’s hair together, then hot glue them to the back of the head, and decorate the doll’s hat as shown in the video before attaching it to the doll’s head.
*These amazing images are all credited to Emilie Lefler via YouTube. Check her other content and follow for more!

