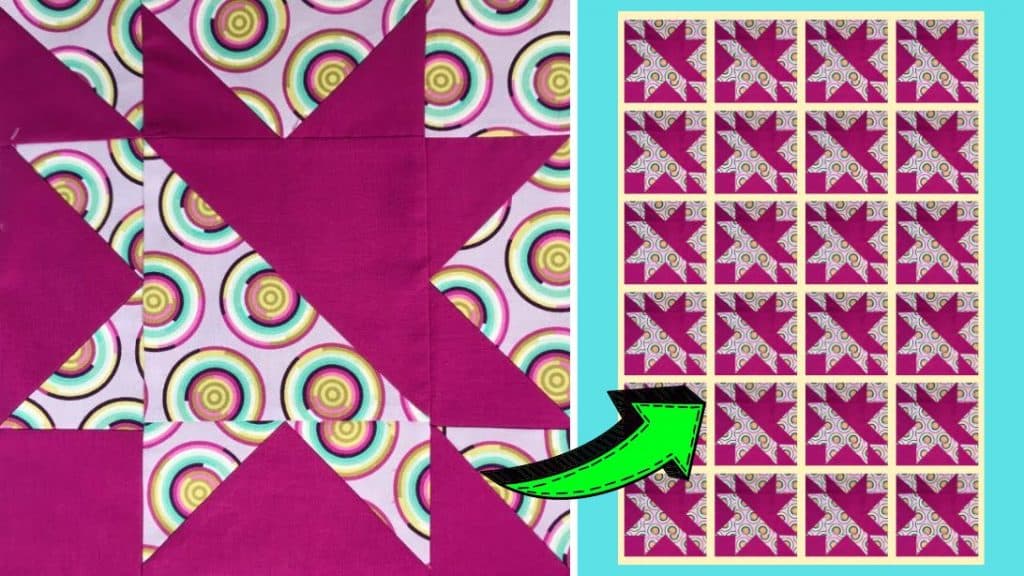
Here’s a challenging yet super fun and simple quilt for beginners and seasoned seamstresses alike that you’ll all surely enjoy! You only need to use 2 fabrics for this project along with this easy step-by-step tutorial by Teresa DownUnder on YouTube. This pretty quilt is easily one of the best I have ever tried, it looks neat, and makes a perfect gift, too. If you haven’t done something like this yet, then you better not miss out on the opportunity to give this one a try.
Materials:
- Patterned fabric
- Solid fabric
- Marking pen, pencil, or chalk
- Ruler
- Scissors or rotary cutter and a cutting mat
- Iron, for pressing
- Sewing machine
Directions:
Step 1
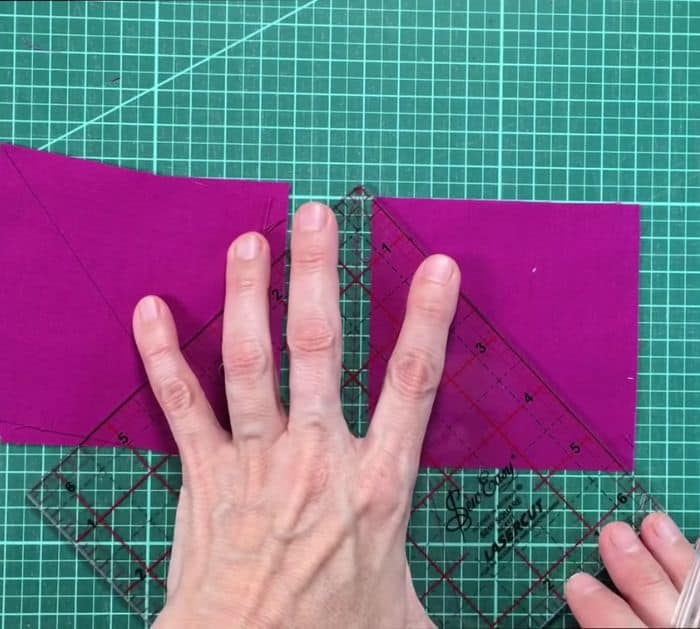
Cut 1 patterned and 1 solid square fabric at 7×7 inches, then stack them together matching the edges nicely and with their right sides facing and pin them together in place. Draw a diagonal line in the middle from corner to corner on the wrong side of the fabric, then sew on each side with a ¼ inch seam allowance, and cut the fabric along the marked line before trimming the fabric into a 6½ inch square. Repeat the same process with 1 patterned and 1 solid fabric square at 4 inches, then cut 4 solid squares at 3⅞ inches, and draw a diagonal line from corner to corner on their wrong side.

[social_warfare]
Step 2
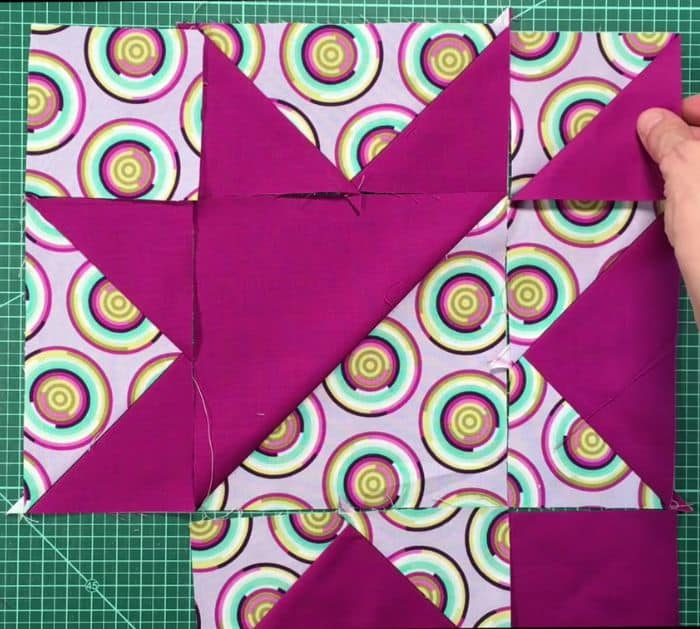
Cut a patterned fabric square at 7¼ inches, then rotate it so it looks like a diamond, then lay a solid square each at the top and bottom corner as shown in the video, and pin them in place. Sew ¼ inch away on each side of the line, then cut through in half, and press open nicely. Lay another solid square to the center edges, then pin them in place, and sew on each side before cutting through the line. Give them a good press, then repeat the process with the remaining pieces, and make another set with patterned small squares and a large solid square this time. Assemble the pieces together as shown in the video, then place the 3½ inc squares at the corners, and sew them one piece at a time until you’ve put together the whole block.

*These amazing images are all credited to Teresa DownUnder via YouTube. Check her other content and follow for more!


