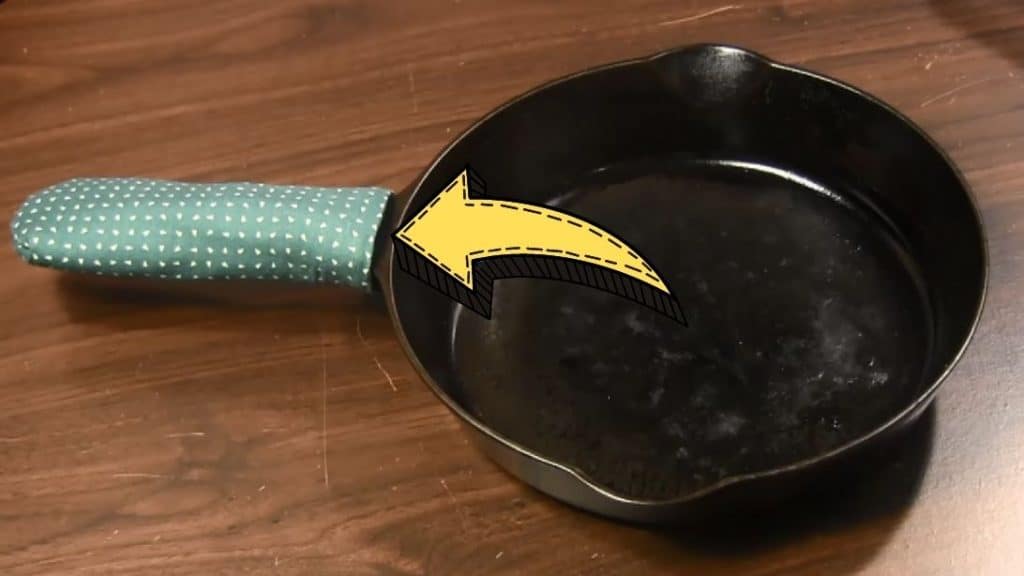
Instead of sewing potholders, I decided to try an idea that I saw on Pinterest, it’s a custom-made handle cover for skillet pans! Luckily, I found this detailed yet simple tutorial by Sewn By Nikki on YouTube. I’ve already sewn a few pieces for each of my pans, and am planning to make more for my sister!
Materials:
- 1 piece of 5*6 inches outer fabric
- 1 piece of 5*6 inches lining fabric
- 1 piece of 5*6 inches Insul-Bright interfacing fabric
- Chopstick or turning tool
- Scissors
- Sewing machine
- Pins or clips
*You can change and adjust the sizes according to the length and width of your skillet’s handle.
Directions:
Step 1
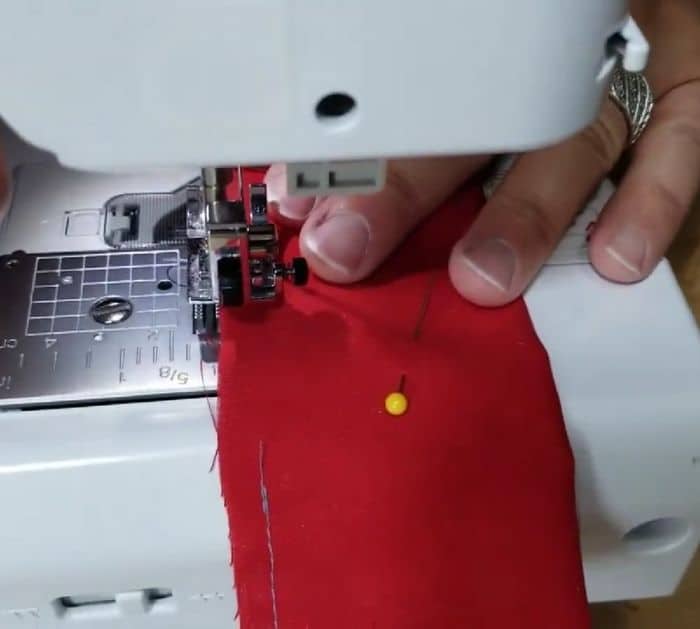
Lay the interfacing fabric underneath the outer fabric with its right side facing up, then place the lining fabric on top facing down so that the lining and outer fabrics’ right sides are facing together. Sew them straight on one short side with about half an inch seam allowance, spread the lining fabric out, then fold the whole piece together in half lengthwise with their right sides facing inside. Pin them around in place, then sew them together with a quarter of an inch seam allowance starting from the shorter side of the lining fabric, pivot and sew down.

[social_warfare]
Step 2
Skip about sewing the side of the lining fabric with about 2 or 3 inches for turning later, continue sewing down to the outer fabric, pivot, and finish the stitch. Cut off the corners diagonally making sure to avoid cutting the stitchings. Trim the excess fabric around really close to the seams, then start turning the whole fabric to its right side out. Grab a chopstick or turning tool to poke the corners nicely, tuck the seams of the hole in nicely, then topstitch the gap close with about an eighth of an inch seam allowance. Push the lining piece into the outer fabric and tuck it in nicely, use the chopstick or turning tool again to push the corners well.

*Thanks to Needlepointers via YouTube for all images used here. If you loved this tutorial, then you’ll surely love her other videos too, so give her channel a visit and subscribe!


