When I was a beginner and new to sewing, one of my struggles was perfectly stitching a bias tape to my quilt. There are a lot of tutorials that you can find online, but out of all the techniques that I’ve tried myself, this one by Melly Sews on YouTube is the most helpful!
RELATED: Easy Continuous Bias Tape Tutorial for Beginners
It was a very detailed and easy-to-follow tutorial that is perfect, especially for beginners, and it was super easy to understand, too. So, if you want to master the technique of sewing a double-fold bias tape to a quilt, then check out this video tutorial now.
Materials for Sewing Double-Fold Bias Tape:
- A double-fold bias tape
- Scissors
- Fabric pins
- Needle and thread
- Sewing machine
How to Sew Double-Fold Bias Tape:

Step 1
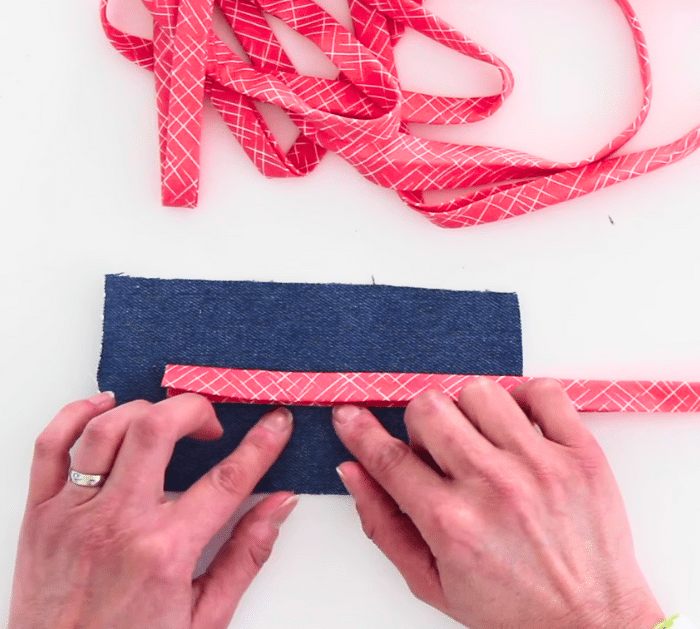
Most store-bought bias tape has one side folded slightly shallower or overlapping the other side, you should also do this when making your own bias tape. Now, the first thing that you have to do is to unfold the bias tape, then place it on top of the fabric with their right sides facing and raw edges matching, and pin them in place.
Step 2
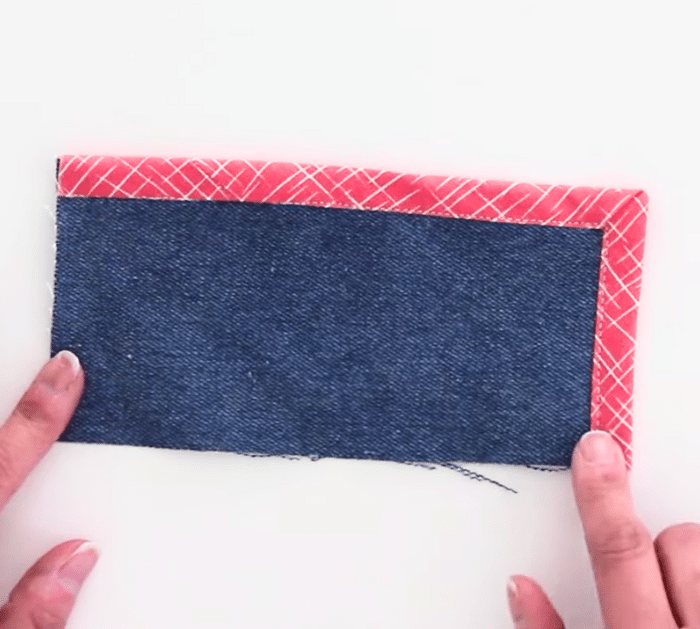
At the corner, insert the pin at an angle, then fold the tape away from the fabric, and fold it back so the raw edges are even again. Pin the tape in place and continue matching the pinning the raw edges of the fabric with the bias tape in that direction.
Step 3
Stitch right in the gold line closest to the raw edge, then keep stitching until you hit the pin where the fabric is folded, and backstitch before cutting the thread. Pick up the needle, then gently put it down right next to the fold, and continue to stitch in the other direction where the tape is pinned.
Step 4
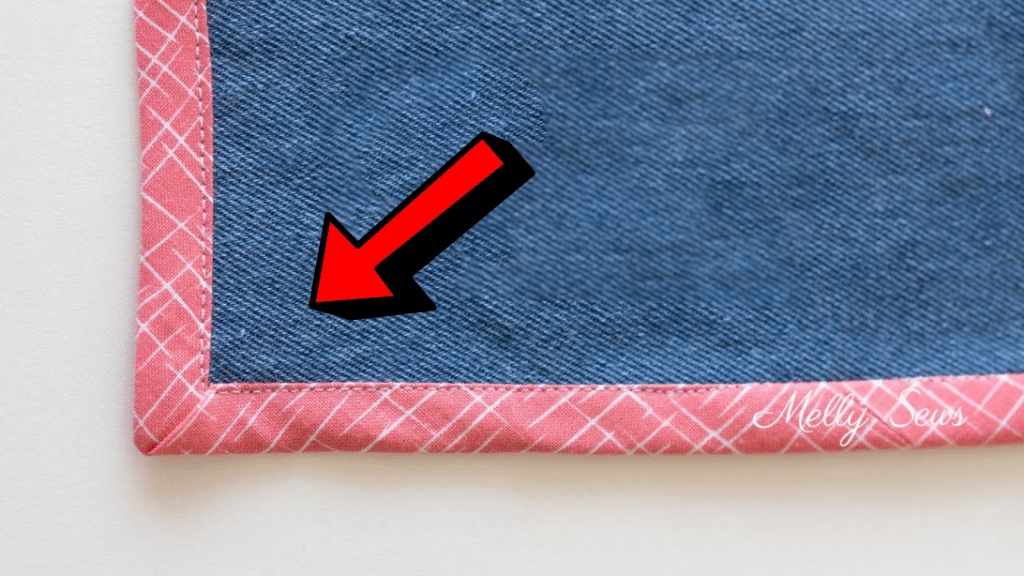
Make sure to backstitch twice before cutting the thread and to fold the folded fabric at the corner out of the way, then fold the bias tape over to the other side, and adjust the corner nicely so it looks mitered on both sides as shown in the video. Pin them in place, then stitch the bias tape right next to the edge, and you’re done!

*All these images are credited to Melly Sews via YouTube. Give her channel a visit and subscribe for more!


