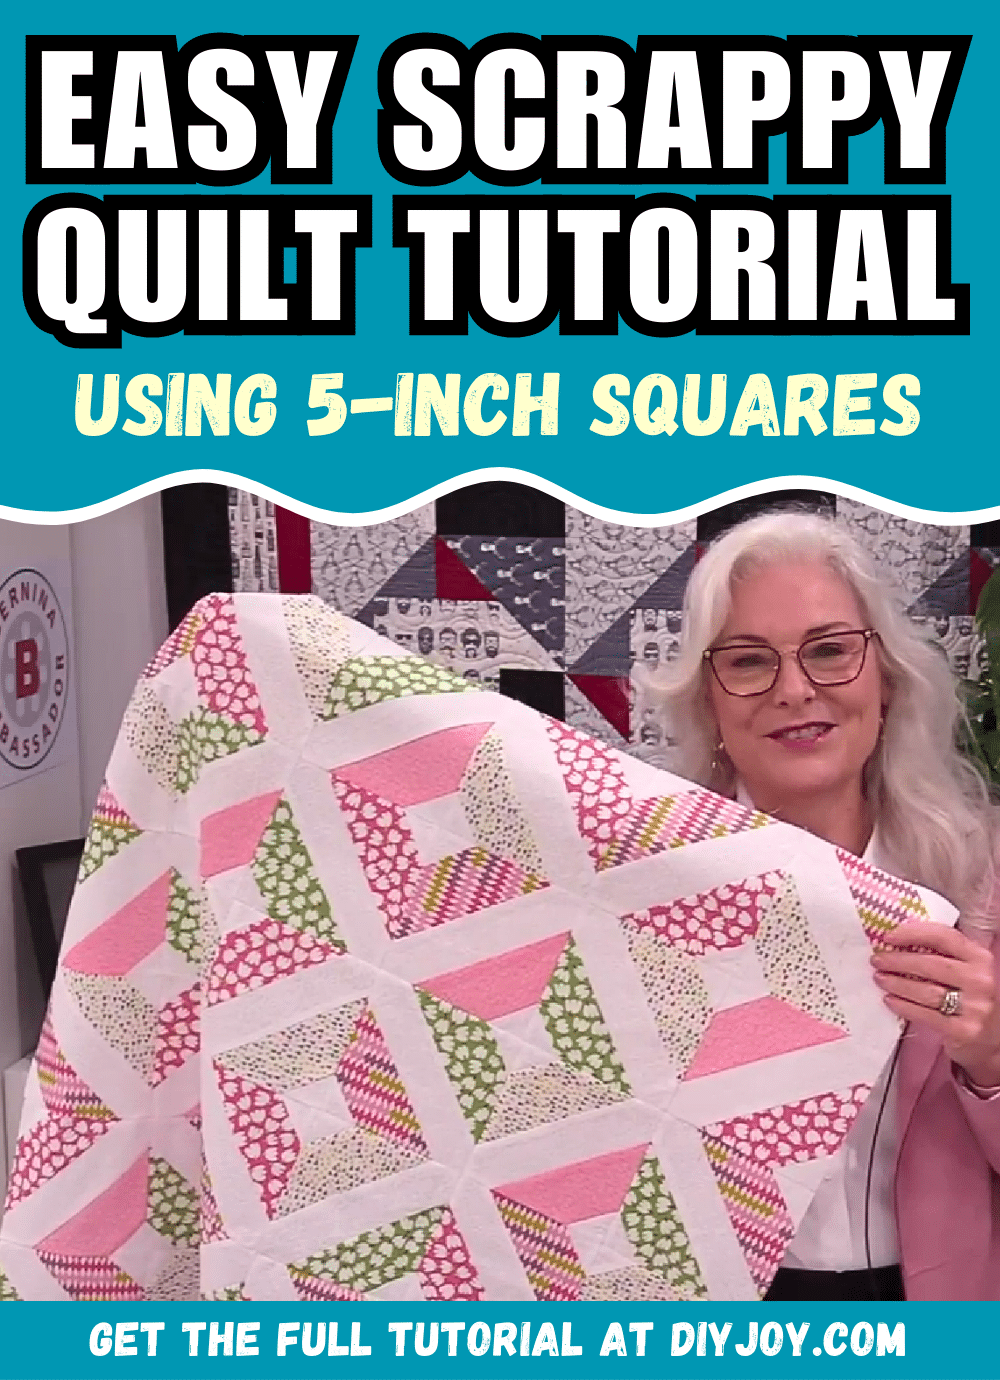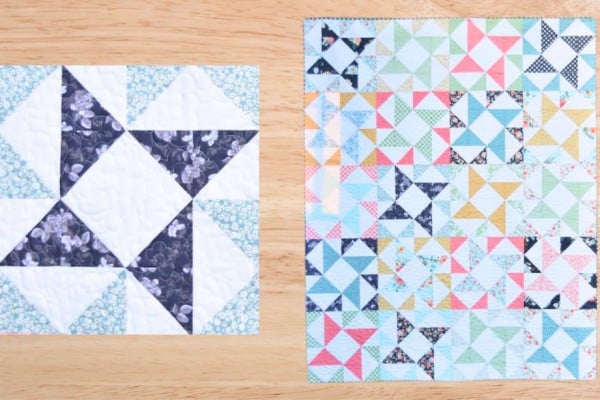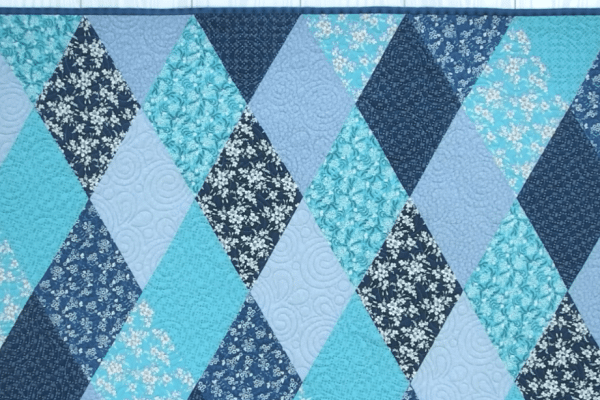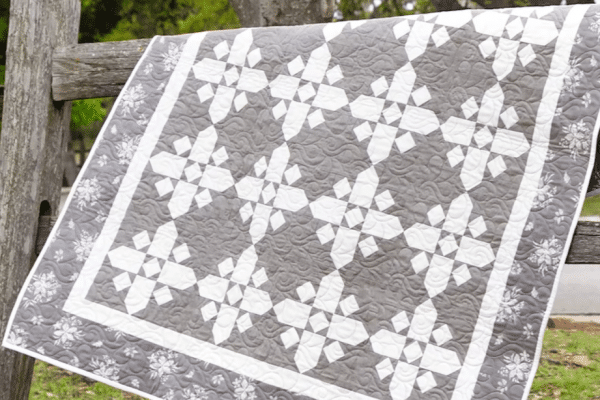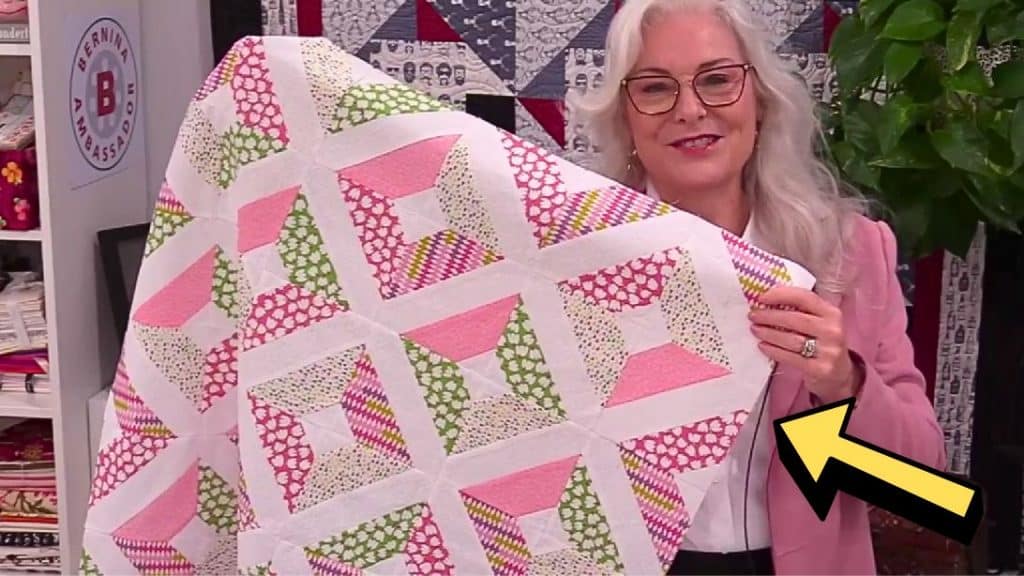
This quilt project idea by SewVeryEasy on YouTube is perfect for beginners that are looking for something simple and easy to try. But, if you’re a seasoned quilter, this is also a good project for you to try because you can use your fabric scraps and leave little to no leftovers. So if you want to learn how now, then proceed to read the written instructions down below and watch the video tutorial as well while you’re at it.
Materials:
- Print fabrics
- Background fabric
- Marking pen, pencil, or chalk
- Ruler
- Scissors or rotary cutter and a cutting mat
- Needle and thread
- Iron, for pressing
- Sewing machine
Directions:
Step 1
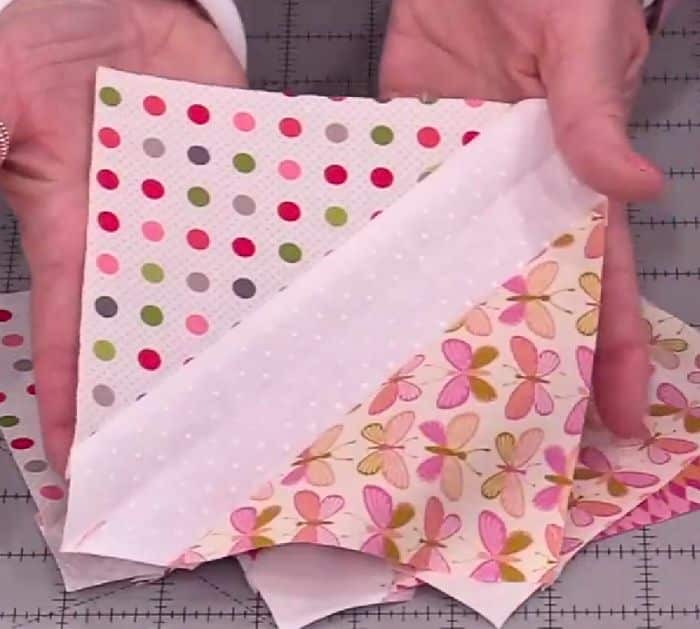
Pick the print fabrics that you want to use, then cut them into 5-inch squares, and then cut the background fabric into 2×8 or 2×9 inches making sure that the number of strips is the same number as the print squares. You also need to cut two 2-inch squares for each print square, then cut the large print squares in half diagonally, and divide the pile of triangles into two. Fold the background strip in half to find the midpoint, then fold the triangles in half as well, and place them on each side of the strip making sure to match the midpoint and edges nicely. Sew them together, then press the seams toward the same direction, and square them into 5½ inches.
[social_warfare]
Step 2
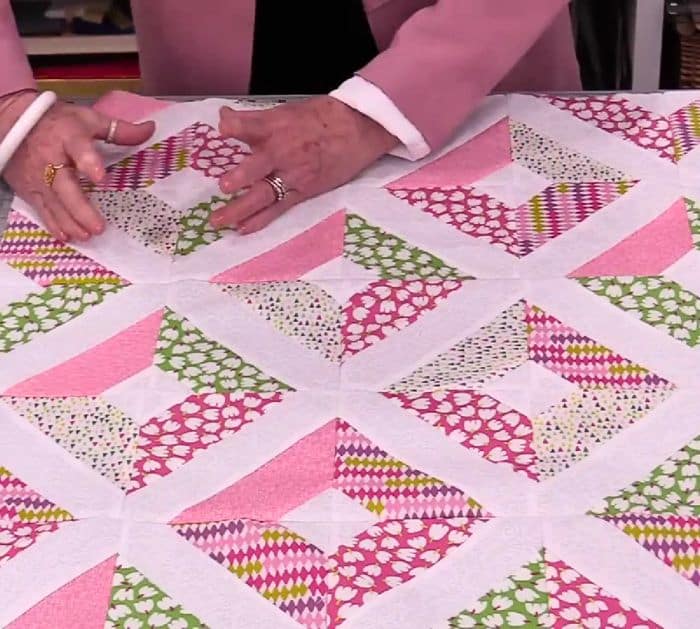
Repeat the same steps with the rest of the fabric pieces, then draw a line on the small background squares diagonally from corner to corner, and place one on opposite sides of the block unit as shown in the video. Stitch them along the marked lines, then trim off the excess, and press them open. Continue to sew the rest of the units, then lay 4 block units together to form a larger block, and sew them together making sure to press every now and then. Continue to sew the rest of the blocks, then sew the blocks together, and finish the quilt however you want.
*These amazing images are all credited to SewVeryEasy via YouTube. Check her other content and follow for more!
