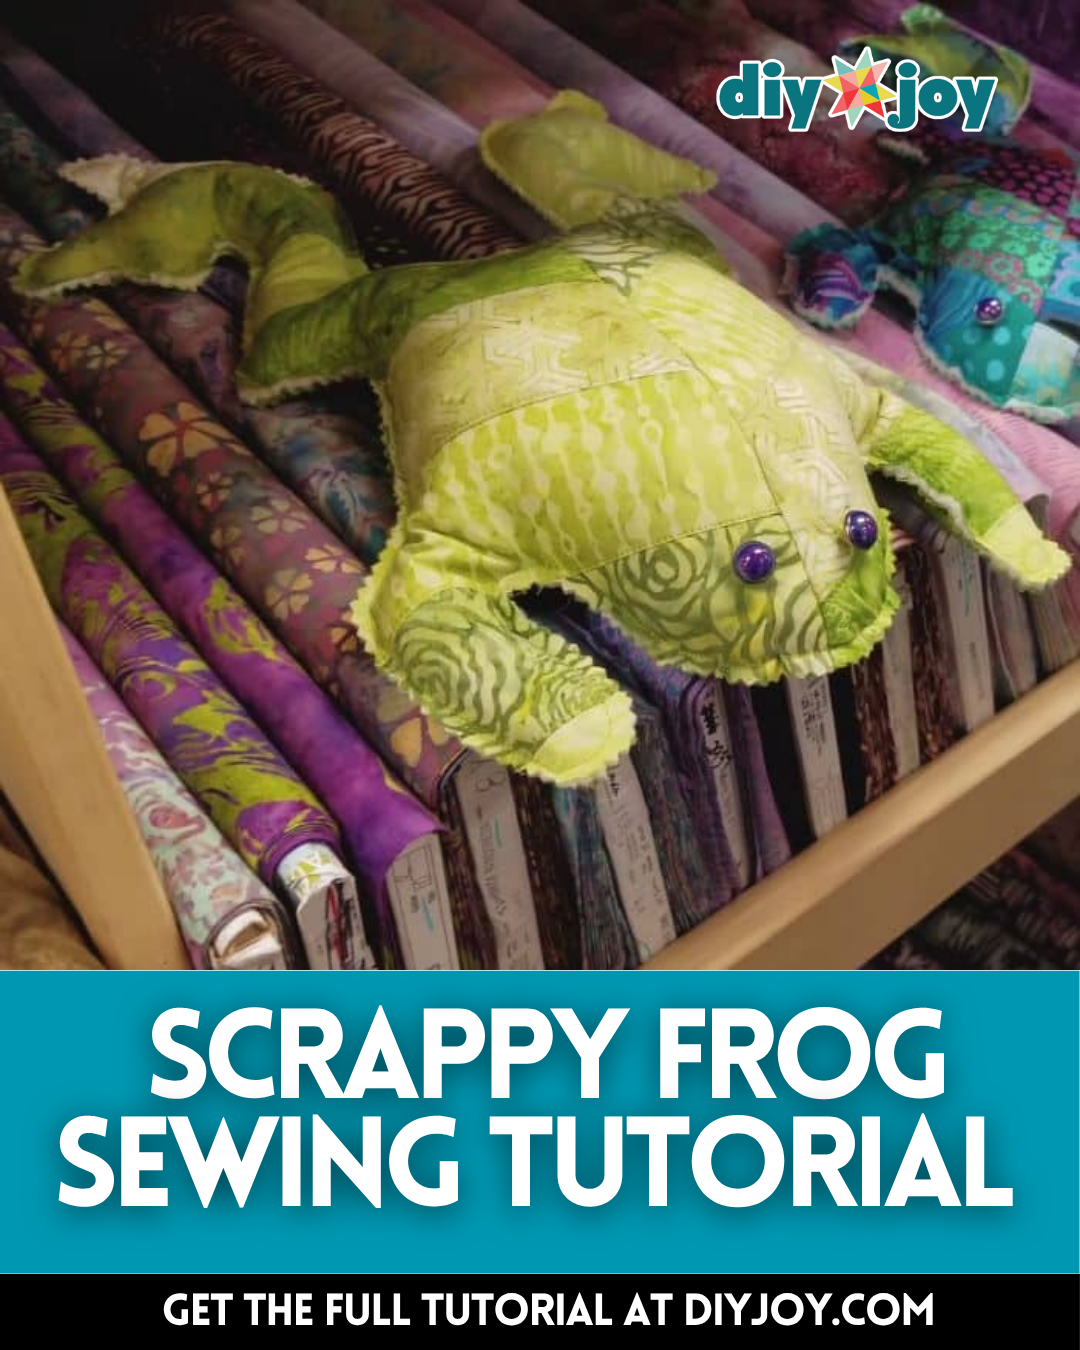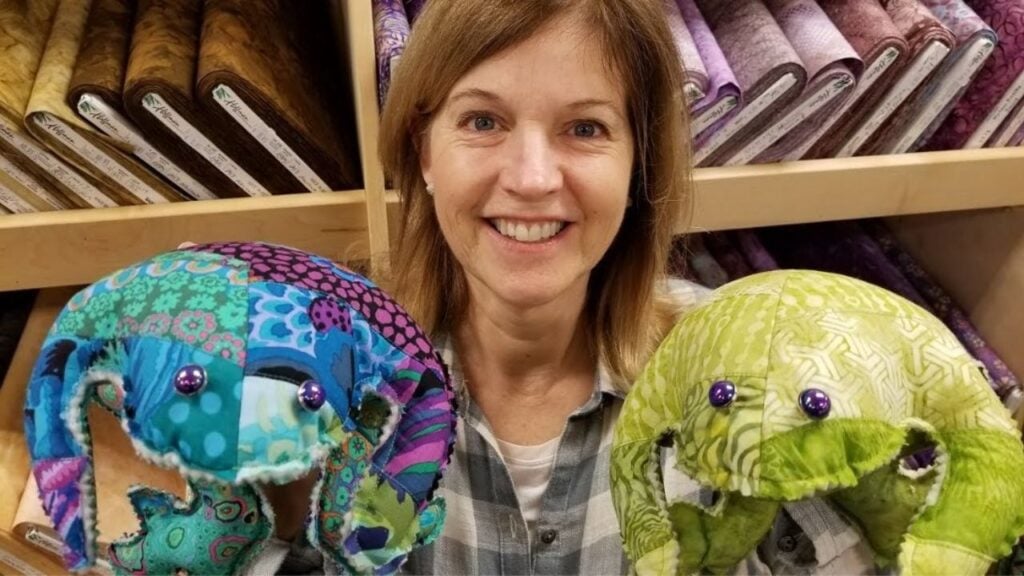
This lovely frog by Jordan Fabrics on YouTube is a good practice for your sewing skills, you only need a few fabric scraps or strips to make your own scrappy frog. Watch the video tutorial and read the instructions below to see just how easy and simple this sewing project is.
Materials:
- 20 pieces of 5×5″ charm squares or 9 pieces of 2½x21″ strips or scraps to equal an 18×21″ rectangle
- 1 fat quarter, for quilting frog top
- 1 fat quarter, for frog bottom
- 18×21″ rectangle batting
- 32-ounce bag of poly-pellets
- Buttons, for the eyes
- Pattern (Click here to download and print the pattern)
Directions:
Step 1
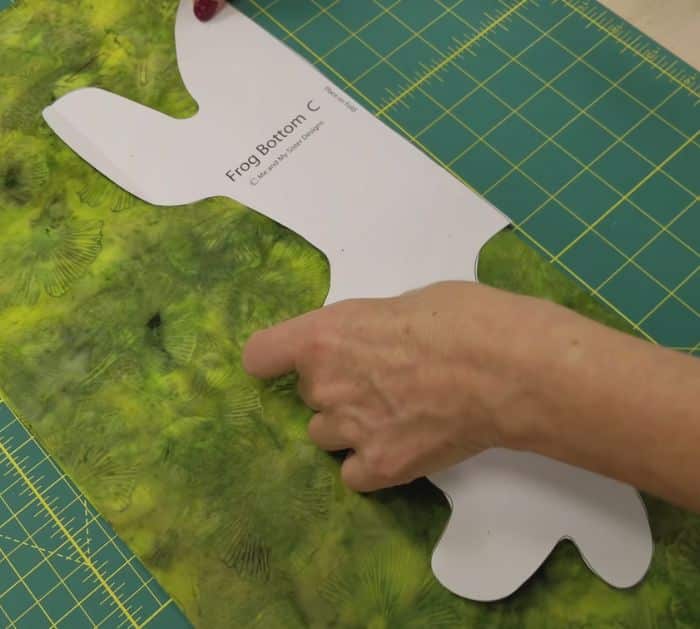
Pick the fabric pieces that you want to use and cut them accordingly, then start sewing them together into one piece, and steam press flatly. Place a piece of batting on the wrong side of the patchwork, then pin them together in place, and quilt making sure to sew on top of the seam, steam press, and set aside. Precut the pattern, then place the top piece of the frog on top of your patchwork, and position them however you like. Pin the pattern in place, then start cutting around the edges with sharp scissors, and set them aside. Now, pick the fabric for the bottom of the frog, fold it over, then place the bottom pattern on top and along the fold, and cut around the edges.
[social_warfare]
Step 2
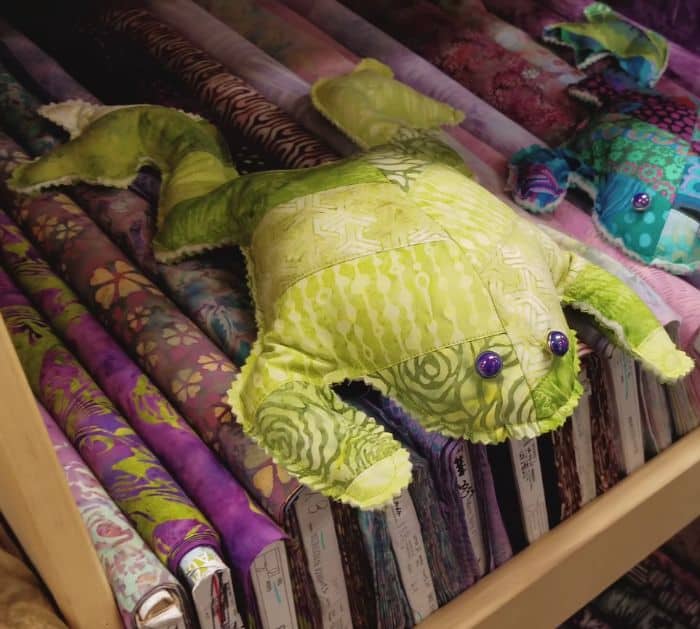
Remove the pins and pattern, then lay the top pieces together with their right sides facing and edges matching, and sew them with a ¼” seam allowance back tacking at the start and finish. Open and pull the piece nicely, then place the frog bottom piece on top with their wrong sides facing together and edges matching, hold them in place using fabric pins. Stitch around the whole frog piece leaving a gap for later, then once done sewing, fill the frog with pellets through the allotted gap, pin the opening together, and stitch close. You can trim around the edges of the frog using pinking shears if you like, then sew the buttons for the eyes, and you’re done.
*All image credit belongs to Jordan Fabrics via YouTube. Follow and subscribe to her channel for more!
Simple Scrappy Frog Sewing Tutorial