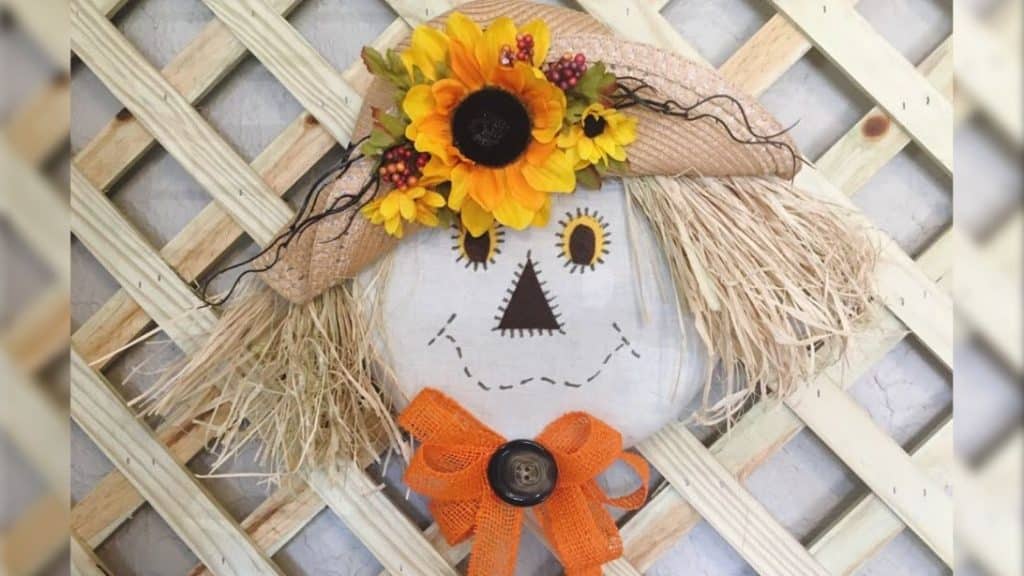
Just in time for the Fall season, give this DIY project idea by Maymay Made It Crafts on YouTube a try, and display it in your house. This adorable scarecrow wreath may look difficult to make but you’ll be surprised by how easy it actually is to put together. You only need a few simple materials that you can find in the nearest Dollar store, try it out now, and see for yourself!
Materials:
- 12-inch foam wreath
- Floral pins
- ½ yard beige muslin fabric
- Felt scraps
- Rafia
- Straw hat
- Flowers
- Ribbon
- Large button
- Marker
- Hot glue gun and glue sticks
- Scissors
- Pipe cleaners
Directions:
Step 1
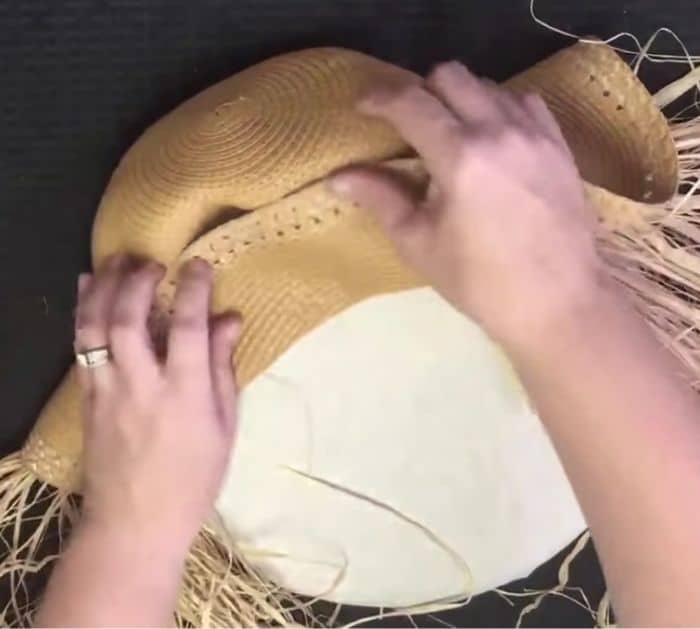
Wrap the foam wreath nicely with the fabric, then secure it with floral pins, and trim off the excess fabric at the edges. Flip the wreath over, then gather the Rafia, and tie them together with 3 pipe cleaners spaced evenly about 1½ inches apart. Create another set of this for the hair of the scarecrow, then adhere the first one at the upper edge and slightly on the left side of the wreath using hot glue, and adhere the other piece below the first one. Wear the hat on top of the scarecrow’s hair, then secure it with floral pins, lift the front flap of the hat, and adhere it to itself using hot glue.

[social_warfare]
Step 2
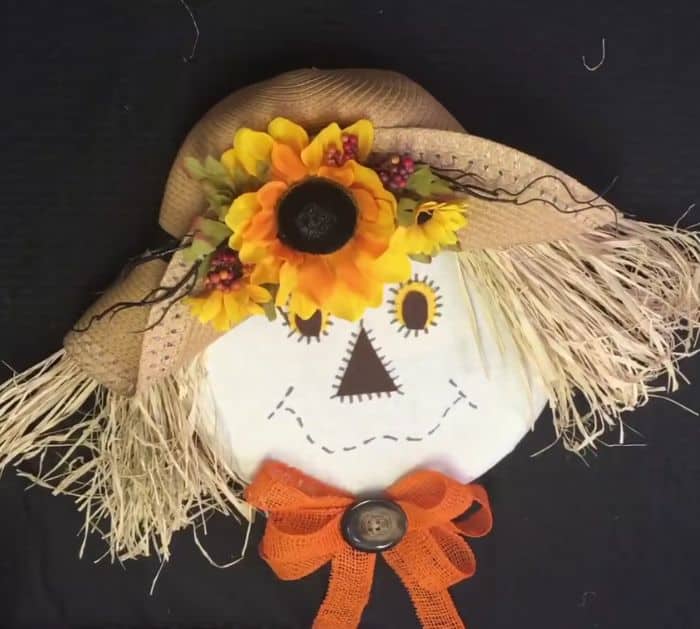
Trim off the excess ends of the hair, then glue a piece of flower at the center of the hat, and decorate around the flower with leaves and more flowers. Cut the brown felt into a triangle for the nose and two oval-shaped for the eyes, then cut another two oval-shaped pieces with yellow felt slightly larger than the brown ones, and then glue them onto the wreath. Draw the mouth of the scarecrow as shown in the video, then add more lines around the nose and eyes. Loop the ribbon over several times, then tie it at the center with a pipe cleaner, and attach it at the bottom of the wreath using floral pins. Glue a piece of a button at the center of the ribbon, then trim off the ends of the ribbon, and you’re done.

*All image credit belongs to Maymay Made It Crafts via YouTube. Follow and subscribe to her channel for more!


