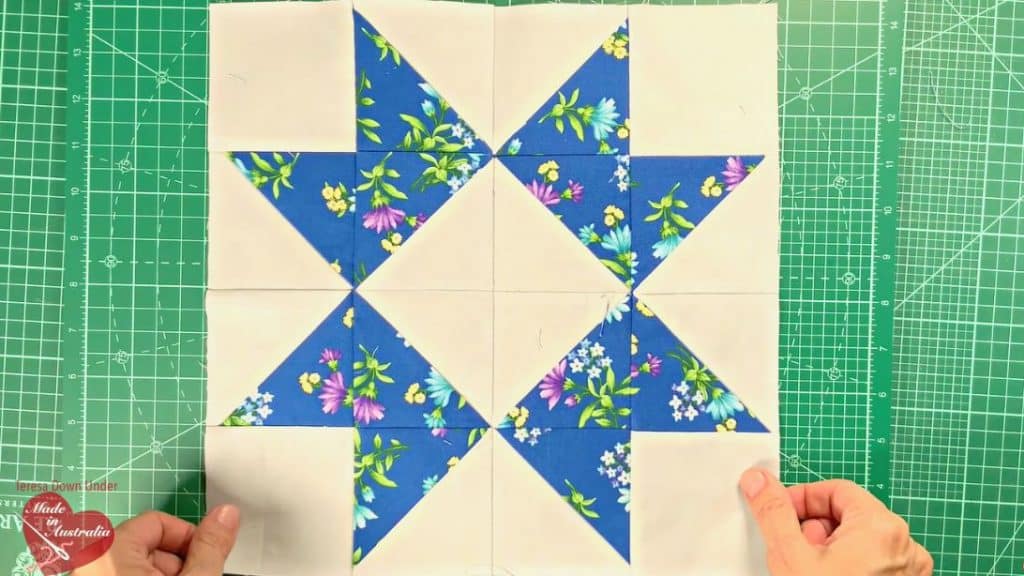
This pretty ribbon star quilt block tutorial by Teresa DownUnder on YouTube is the simplest star quilting technique you’ll ever find! Even beginners in quilting will find this so easy to make, so if you’ve come to practice your quilting skills, you’ve come to the right tutorial. Proceed down below to read the full instructions and watch the video tutorial as well. Try making it today and tell us the results of your first try, enjoy!
Materials:
- Main fabric
- Lining fabric
- Rotary cutter
- Scissors
- Seam ripper
- Pins
- Sewing machine
- Needle and matching thread
- Ruler
- Marking pen or pencil
Directions:
Step 1
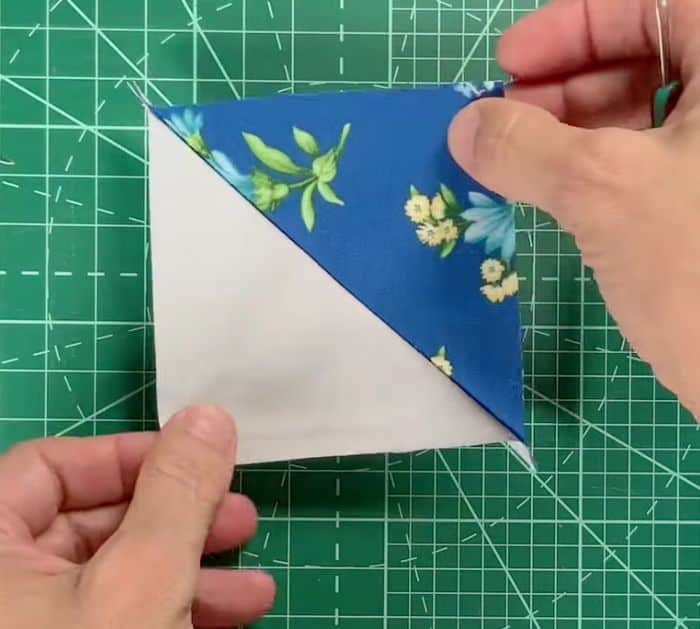
Cut 1 piece each of the exterior and lining fabric with an 8½”*12½” size. Stack the 2 fabrics together with their right sides facing, and the lining on top. Draw a line in every 4″, then draw a diagonal line from corner to corner on each box, and pin the fabrics together. Next, sew on both sides of the diagonal lines with a ¼” seam allowance. Cut along the lines, then trim off the excess fabric, some pieces will have the corners stitched, unpick the seam, then open the fabric up.

[social_warfare]
Step 2
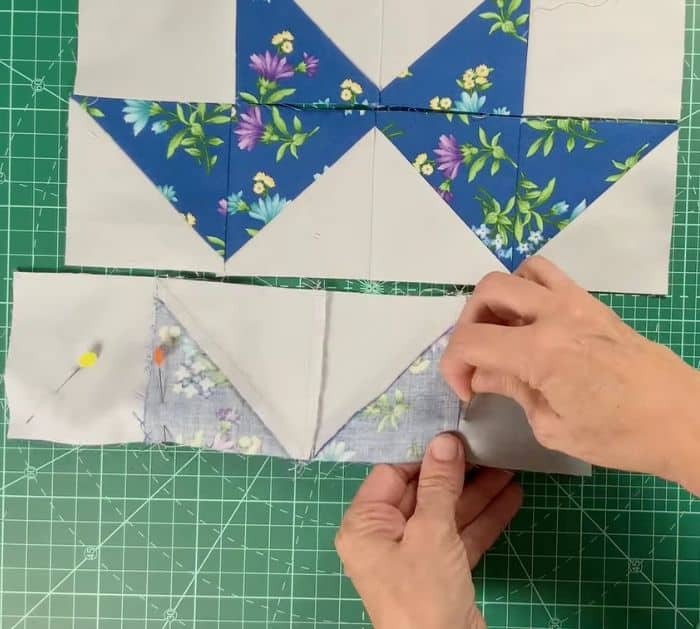
Place the ruler at a 45-degree angle along the diagonal line, then trim the fabric square to 3½”*3½”. Cut 4 squares with a 3½”*3½” size in the lining fabric, then arrange the squares and form the star, pinning is optional but it helps with sewing accuracy. Sew the squares together with a chain stitch, and you’re all done! This has a finished size of 12″*12″.

*Thanks to Teresa DownUnder via YouTube for all images used here. If you loved this video tutorial, then you’ll surely love her other sewing projects too, so give her channel a visit and subscribe!


