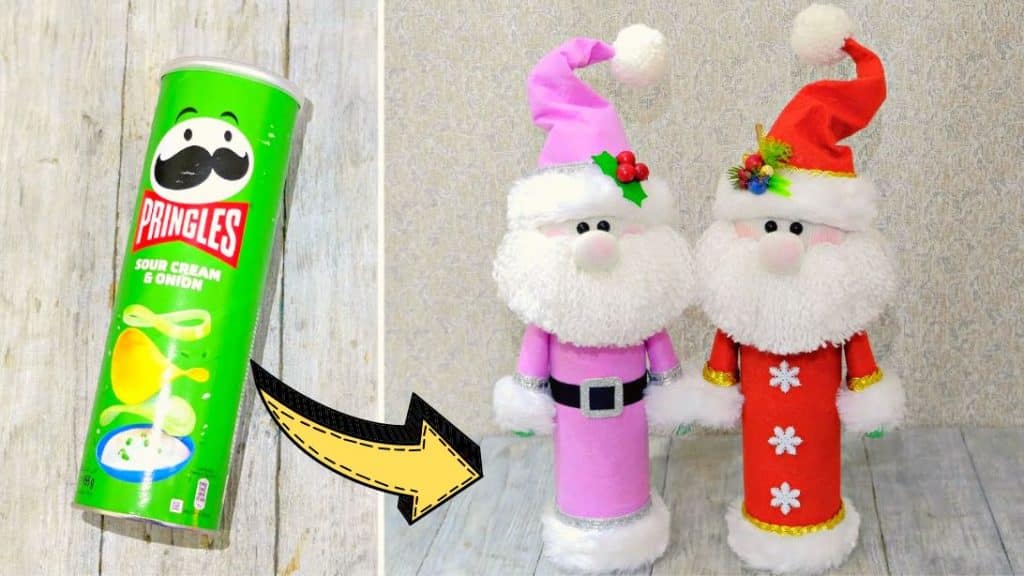
You don’t need to purchase high-end expensive decorations for your home for Christmas because you can now make one on your own using recycled pringles cans and other materials that you can easily find in the nearest Dollar store. Learn how with this amazing video tutorial by Moth Art on YouTube!
Materials:
- Pringles can
- Socks
- Felt fabric
- Black half beads
- White yarn
- Faux fur
- Wire
- Golden braid
- Poly-fil fiberfill
- Scissors
- Hot glue gun and glue sticks
- Plastic snowflakes or other embellishments
Directions:
Step 1
Cut a sock through and use only the top part, then wear it on top of the can, and hot glue the edges around to keep it in place. Open the sock at the top, then stuff it nicely, and gather the ends at the top before wrapping and tying it tightly with string or thread. Cut another sock, then use the lower part, and cut out the flat area into a square. Gather the ends of the square piece at the top, then stuff it nicely, and tie the ends together tightly. Trim off the ends of the ball, then adhere it to the center of the stuffed sock at the top of the can for the nose, and hot glue the black beads on each side of the nose. Dab a strip of hot glue along the bottom and one long side of the can, then adhere the felt, and wrap it around the can while dabbing some glue every now and then until completely covered.
[social_warfare]
Step 2
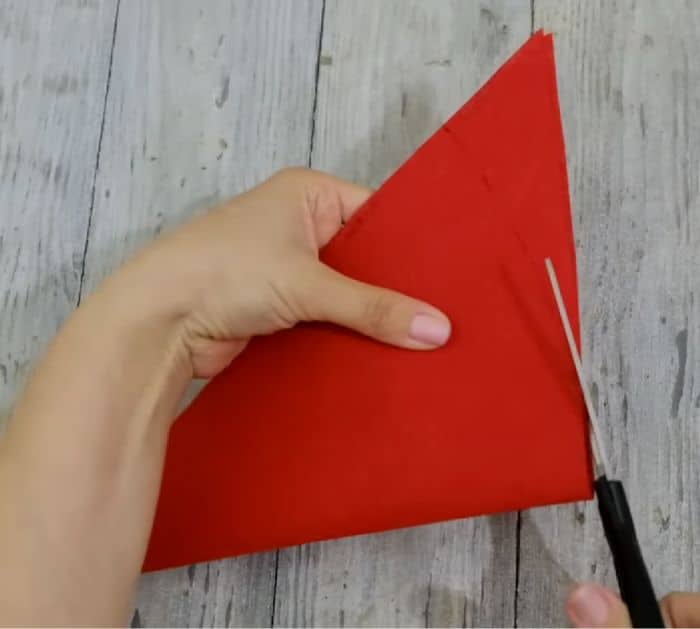
Next, attach the fur strip along the bottom, then push the fur ends down, and adhere the golden braid along the top of the fur. Wrap yarn around a 7cm or 2.7 inches cardboard piece a couple of times, then cut it through and unravel the thread of the 5 yarn pieces. Grab 1 set of unraveled yarn, then use it to wrap the and tie 4 sets of unraveled yarn together in the middle, and then repeat this with the rest of the yarn pieces. Add some pink blush on the cheeks, then hot glue the yarn pieces for the beard, and trim the ends nicely once done. Fold a whole felt piece in half, then from the fold, mark 1cm or 0.39 inch, and from that point, draw a diagonal line going all the way down to the other corner.

Step 3
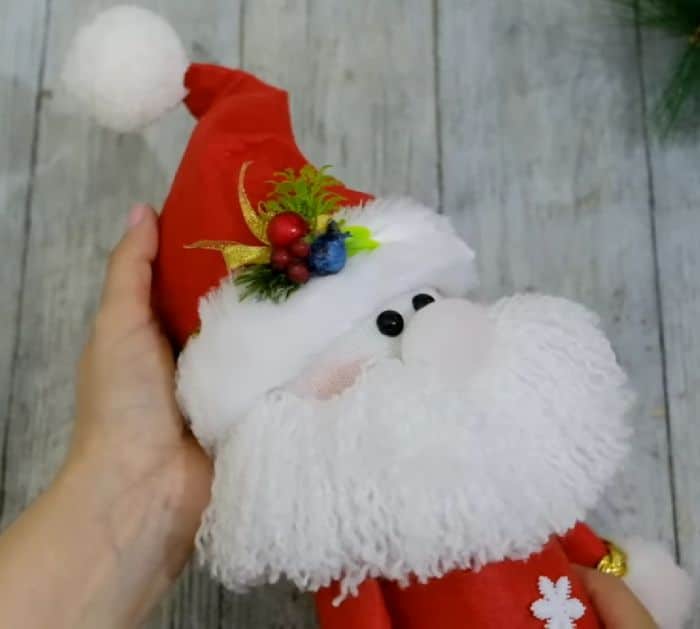
Cut off along those lines and hot glue the tip as well as the cut sides together, then from the bottom pointed corner, measure 5cm or 1.9 inches, and draw a curved line from that point towards the fold. Cut along those lines, then turn the cone hat right side out, and poke the tip nicely. Hot glue the fur and golden braid along the bottom of the cone hat the same way that you did with the bottom of the can, then cut a piece of wire curving one end, and then insert it into the hat with the curved end facing down. Secure the wire in place with hot glue, then stuff the hat nicely, and wear it on Santa’s head. Dab hot glue all around the bottom of the hat to adhere it to the head securely, curve or fold the hat as you like, and lastly, hot glue a pompom ball at the tip of the hat. Now, you can finish the project by adding the arms and decorating the body with some embellishments.

*All image credit belongs to Moth Art via YouTube. Follow and subscribe to her channel for more!


