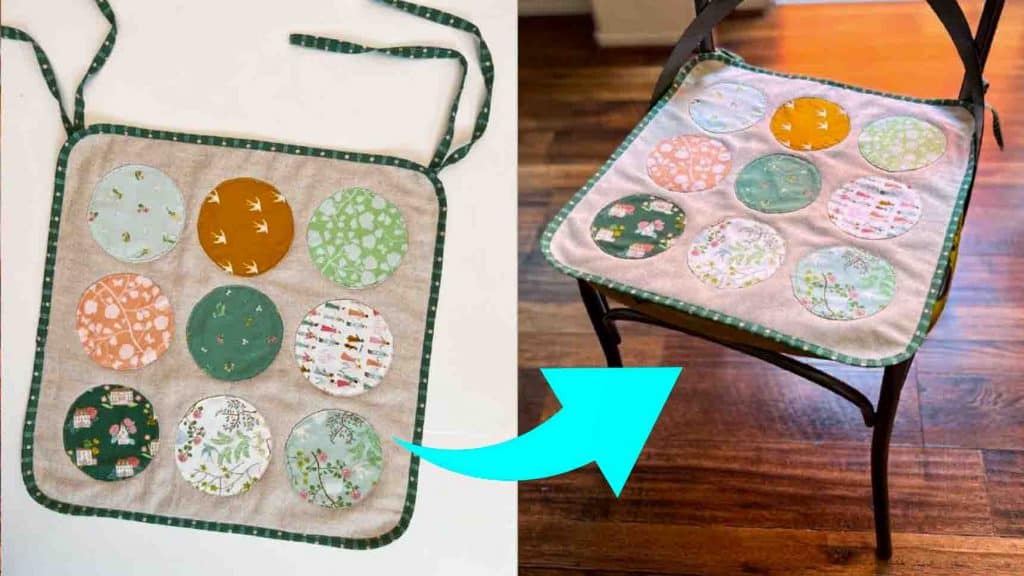
This quilted seat cover from Minki Kim on Youtube is the perfect quilting project you can make next. It’s an easy tutorial with basic materials that you can do right away or on the weekend. It’s also super cute – a perfect gift you can give to your family or friends! Make this easy quilt project today by watching the video tutorial below.
Materials:
- some fabrics (for the circles)
- big enough fabrics (for front and back)
- baste glue
- fusible interfacing Pellon
- cotton batting
- marker
- iron
Directions:
Step 1
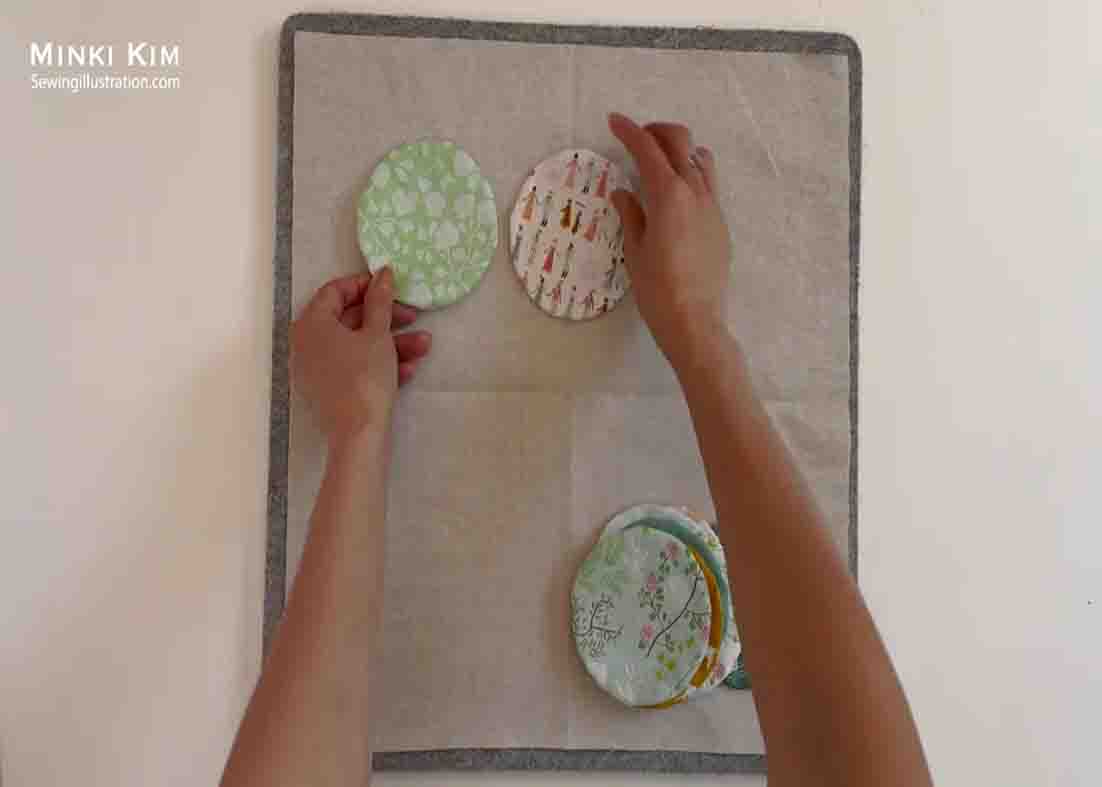
Cut a 4 & 1/2″ x 4 & 1/2″ fabric and fusible interfacing in the same size. Also, get a 4″ circle and a marker. Next, trace the 4″ circle to the non-sticky side of the fusible interfacing, then place it on top of the fabric. Stitched along the traced line, then snip the center of the interfacing. Trim off the excess fabric and interfacing, leaving a 1/8″ seam. Turn it right side out through the opening and shape the circle. Repeat this process and make a total of nine circles. Next, cut 16″ x 16″ base fabric and mark the center. Arrange the circles inside and press them to fuse. After this, cut another backing fabric with 16 & 1/2″ x 16 & 1/2″ measurements and 16 & 1/4″ x 16 & 1/4″ cotton batting. Lay the backing fabric first, top it with the cotton batting, then put the fabric with the circles on the top. Bring it to the sewing machine and starting from the center circle, stitch the circle through the layers. Next, draw a quarter of a circle of each corner and sew it on the sewing machine together with the edges of the seat cover. Trim off the excess fabric. After this, make 2 pcs. 1/2″ x 25″ strips, fold each in half, then attach these to opposite corners of the seat cover.
[social_warfare]
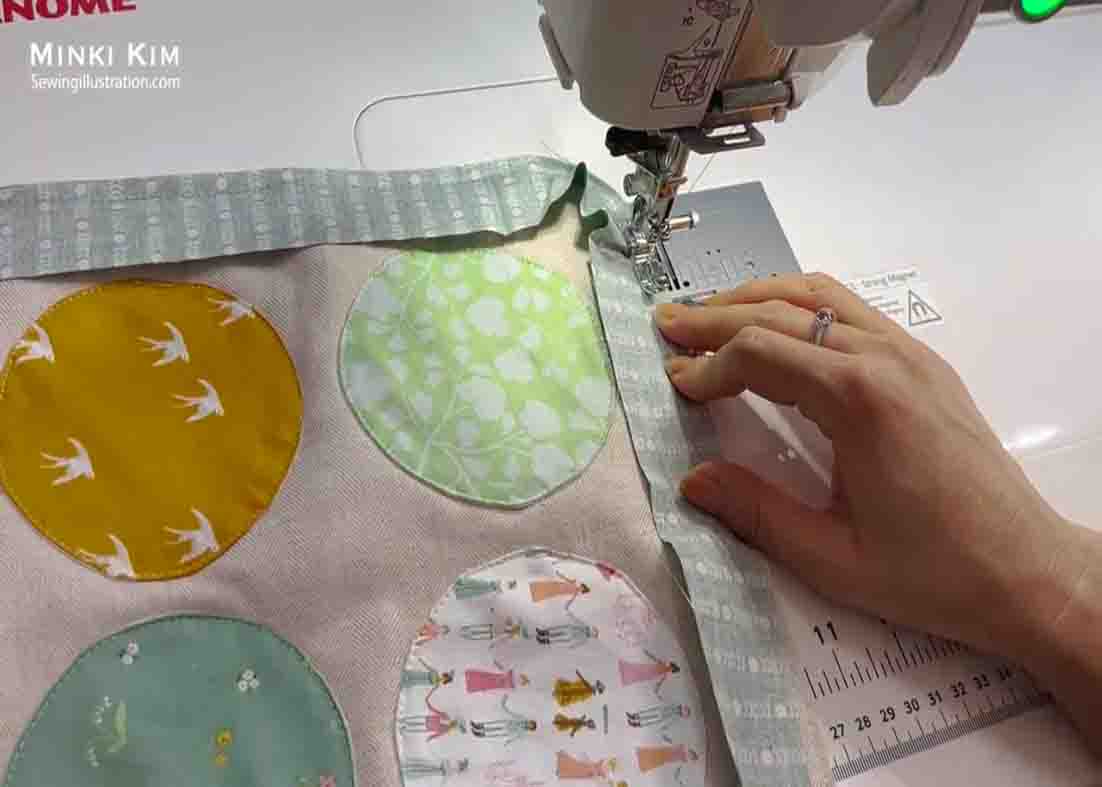
Step 2
Next, cut another strip that has enough width and sew it to the edges of the seat cover all the way around. (Make sure to attach it with the right side down.) After this, put basting glue on half of the strip, then fold it while pressing. After this, topstitch the seat cover with a matching color thread.
Easy Quilted Seat Cover Tutorial


