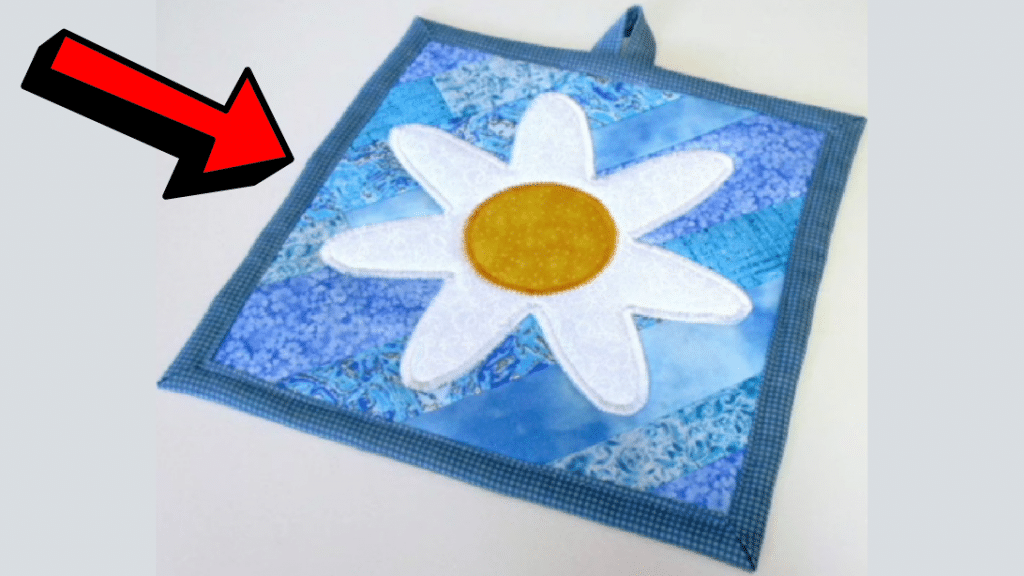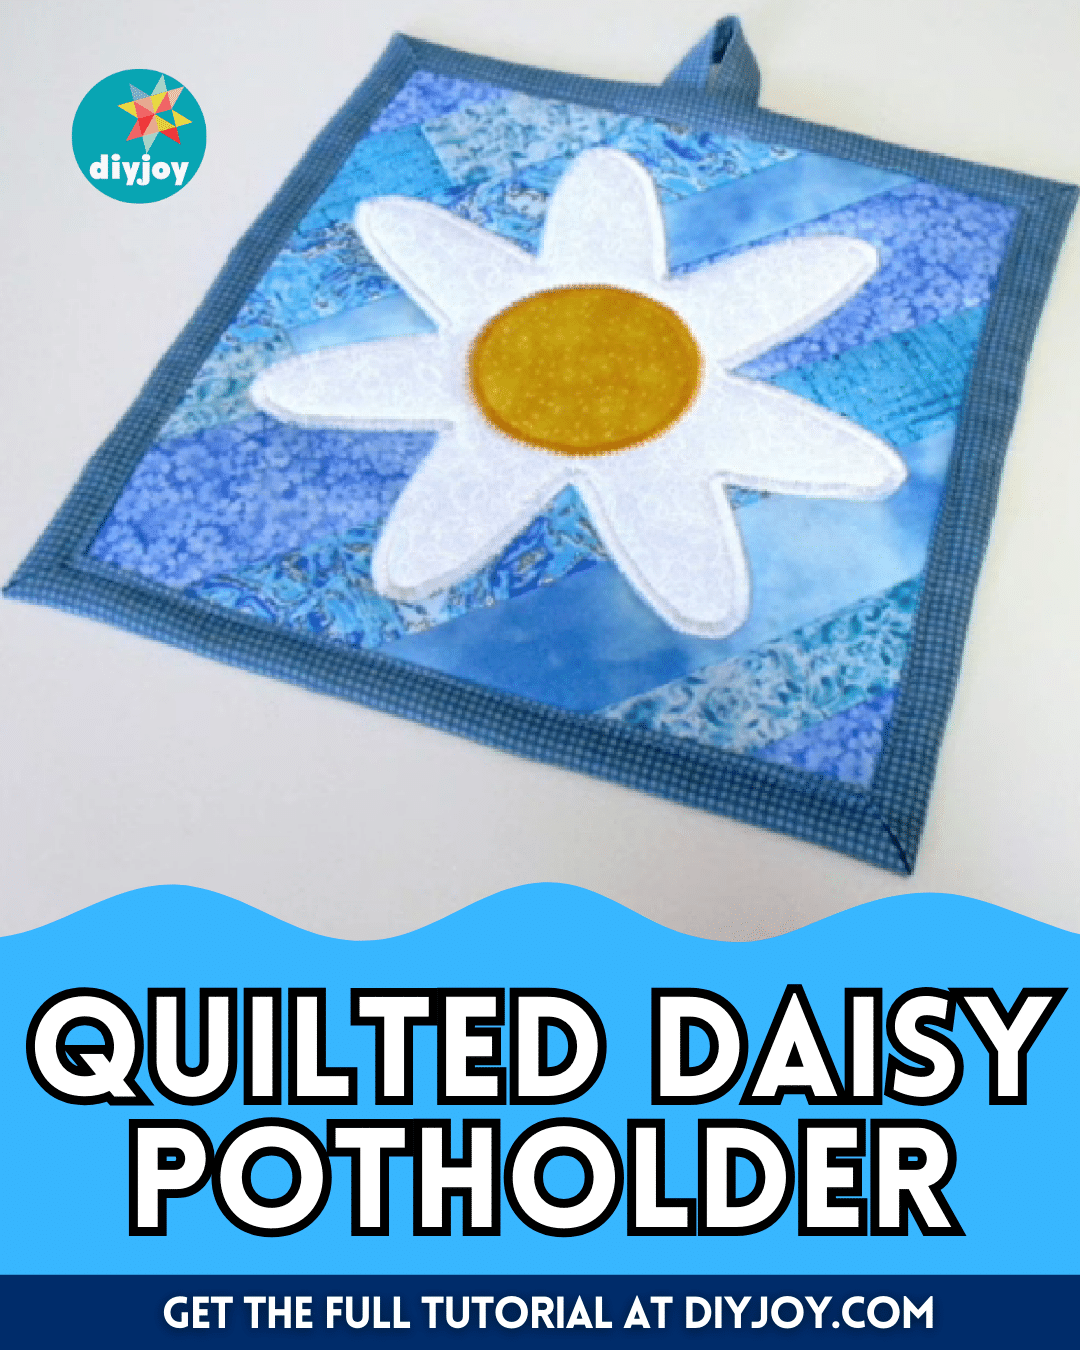
I love making quilted potholders because they are super easy to piece together and it’s a great project where you can use any fabric that you want, even leftovers would look amazing in this. This quilted pot holder boasts a simple but lovely daisy at the center and it uses a paper piecing technique so it’s guaranteed that you can make this perfectly every time.
RELATED: Scrapbuster Log Cabin Potholders Sewing Tutorial
You can make a couple of pieces of this potholder within a day which is perfect if you’re planning to make a set. This is also a great gift idea to give to a loved one or an item to make and sell. If you want to learn how to make this daisy potholder now, then go ahead and read the instructions down below, and make sure to watch this video tutorial by Debs Days on YouTube as well.
Materials for Quilted Daisy Potholder:
- Fabric strips
- Backing fabric
- Fabric for the daisy
- Fabric for the hanging loop, optional
- Cotton batting
- Fusible web
- Marking pen, pencil, or chalk
- Ruler
- Scissors or rotary cutter and a cutting mat
- Fabric pins
- Needle and thread
- Iron, for pressing
- Sewing machine
- Template (Click here to download the template)
How to Make a Quilted Daisy Potholder:

Step 1
Place the backing on your work surface with its wrong side up, then place the batting and fusible web on top making sure it is centered, and place the first fabric strip in the middle diagonally with its right side. Place another strip on top with its right side down and align the raw edges on the long side, then stitch them with ¼ inch seam allowance, and make sure not to stitch beyond the batting.
Step 2
Press the fabric strip open, then place another strip on top with its right side down, stitch and press, and continue adding strips until you reach the corner of the batting. Turn the piece around, then following the same technique, add the strips until you reach the corner, then fold the backing out of the way, and trim off the excess strips.
Step 3
Now, trim the backing so it is 1¼ inches away from the edge, then fold the corner so it meets the corner of the batting, and press it nicely. Open the backing and cut along the crease line, then do the same for the other 3 corners, and then fold the cut corners. Fold each side of the raw edges and press, then fold the backing over one more time so it becomes the binding, and adjust the mitered corner if necessary.
Step 4
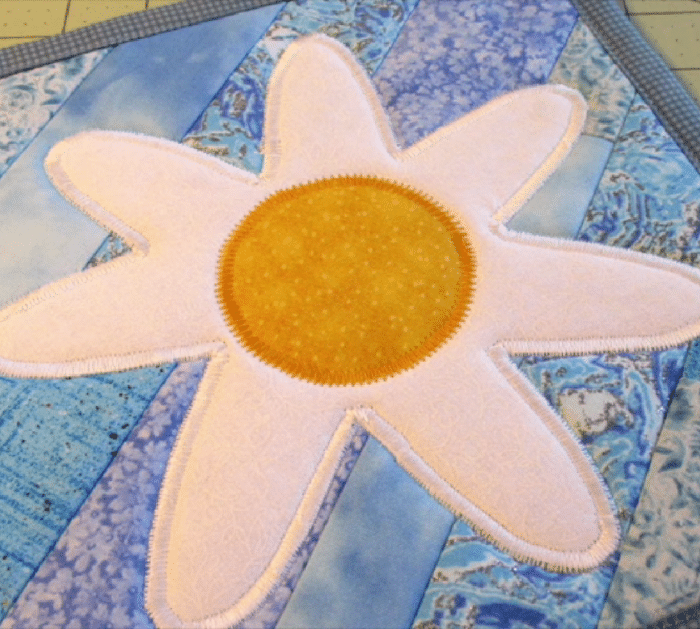
Topstitch near the edges of the backing, then trace the design of the daisy on a fusible web, cut it out ¼ inch outside the line, and fuse it to the fabric. Cut out along the traced line, then remove the paper at the back, and arrange the pieces on top of the potholder. Fuse them into place, then stitch around the edges of the daisy, and add the hanging loop if you want.

*All image credit belongs to Debs Days via YouTube. Follow and subscribe to her channel for more!


