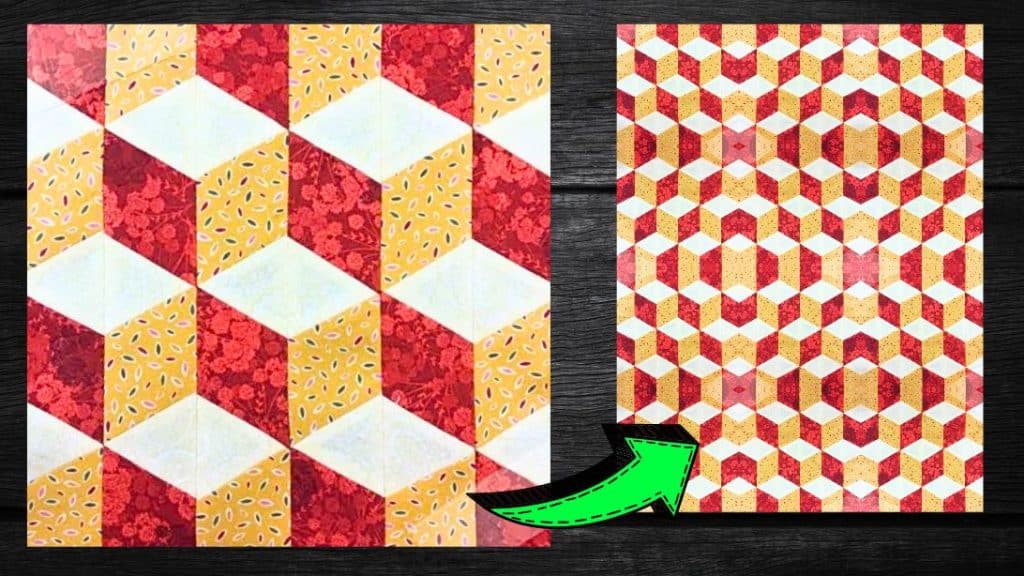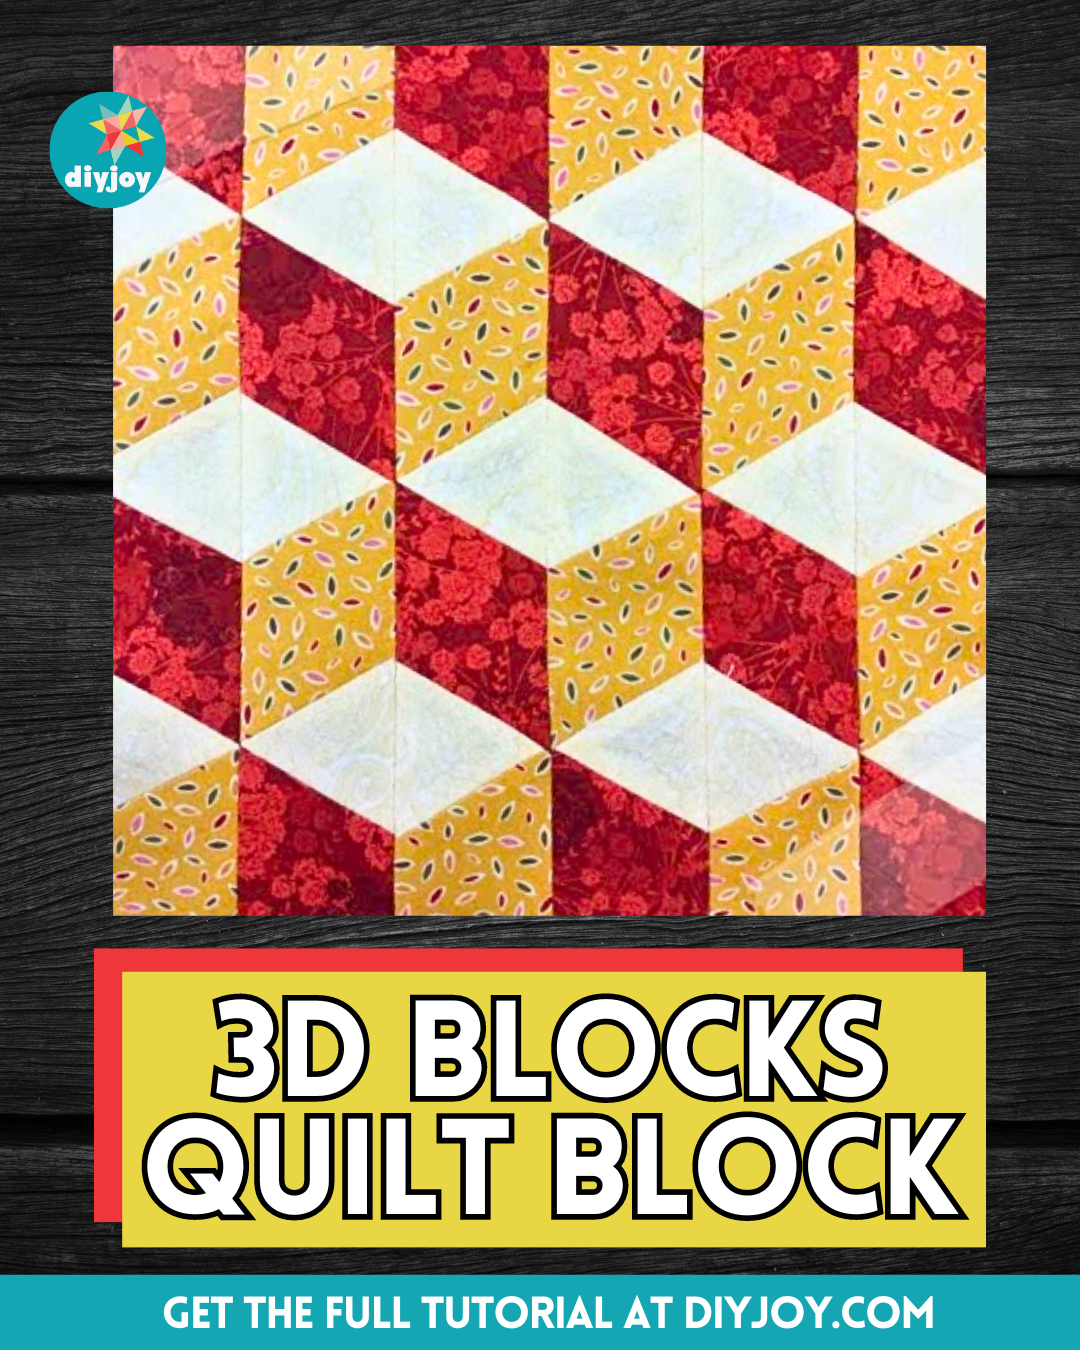
You can achieve this beautiful 3D quilt block, too, even if you’re a beginner, and you only need to follow a few simple steps. So, if you’re up for a challenge, then put your quilting skills to the test, and try out this quilt block today.
RELATED: Easy 3D Friendship Star Quilt Block Tutorial
Learn the steps to making this 3D effect quilt block with the help of this video tutorial by Teresa DownUnder on YouTube. Read the written instructions below now and try making your version of this quilt block today. I hope you love this project idea as much as I did!
Materials for 3D Blocks Quilt Block:
- Low-volume print fabric, for the background
- Medium print fabric
- Dark print fabric
- 60° ruler
- Marking pen, pencil, or chalk
- Scissors or rotary cutter and a cutting mat
- Needle and thread
- Iron, for pressing
- Sewing machine
How to Make a 3D Blocks Quilt Block:

Step 1
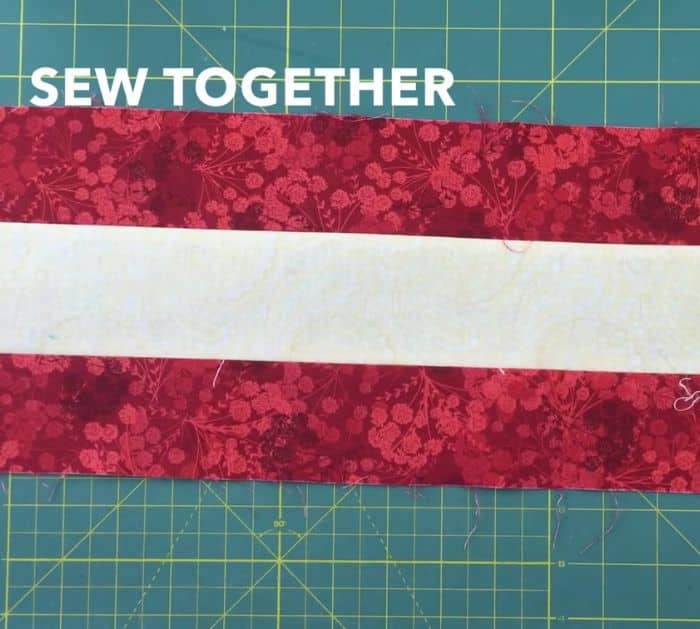
Cut the background fabric into a strip at 3 inches wide, then cut two dark print strips at 2.5 inches wide, and repeat the same cuts on the medium and background fabric.
Step 2
Lay the group of fabric strips together with the background strip in the middle, then stitch them together. Get the medium strip unit, then cut it at a 60° angle as shown in the video, and make sure to cut them 2.5 inches per piece.
Step 3
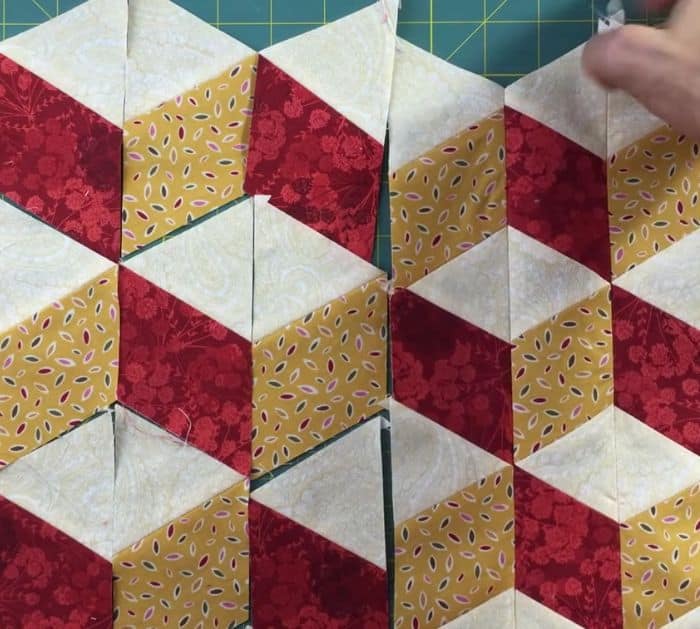
Now, trim off the corner of the dark strip unit in the opposite direction and cut them at 2.5 inches per piece as well. Subcut them in half at a 60° angle again, assemble them as demonstrated in the video, and start stitching them one at a time, make sure to press the seams as you go.

*All these images are credited to Teresa DownUnder via YouTube. Give her channel a visit and subscribe for more!


