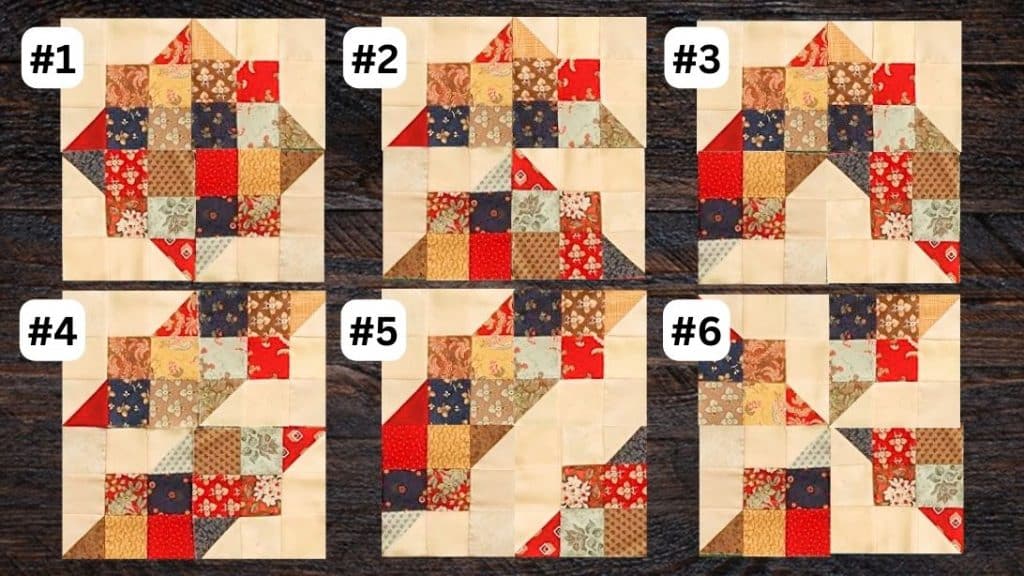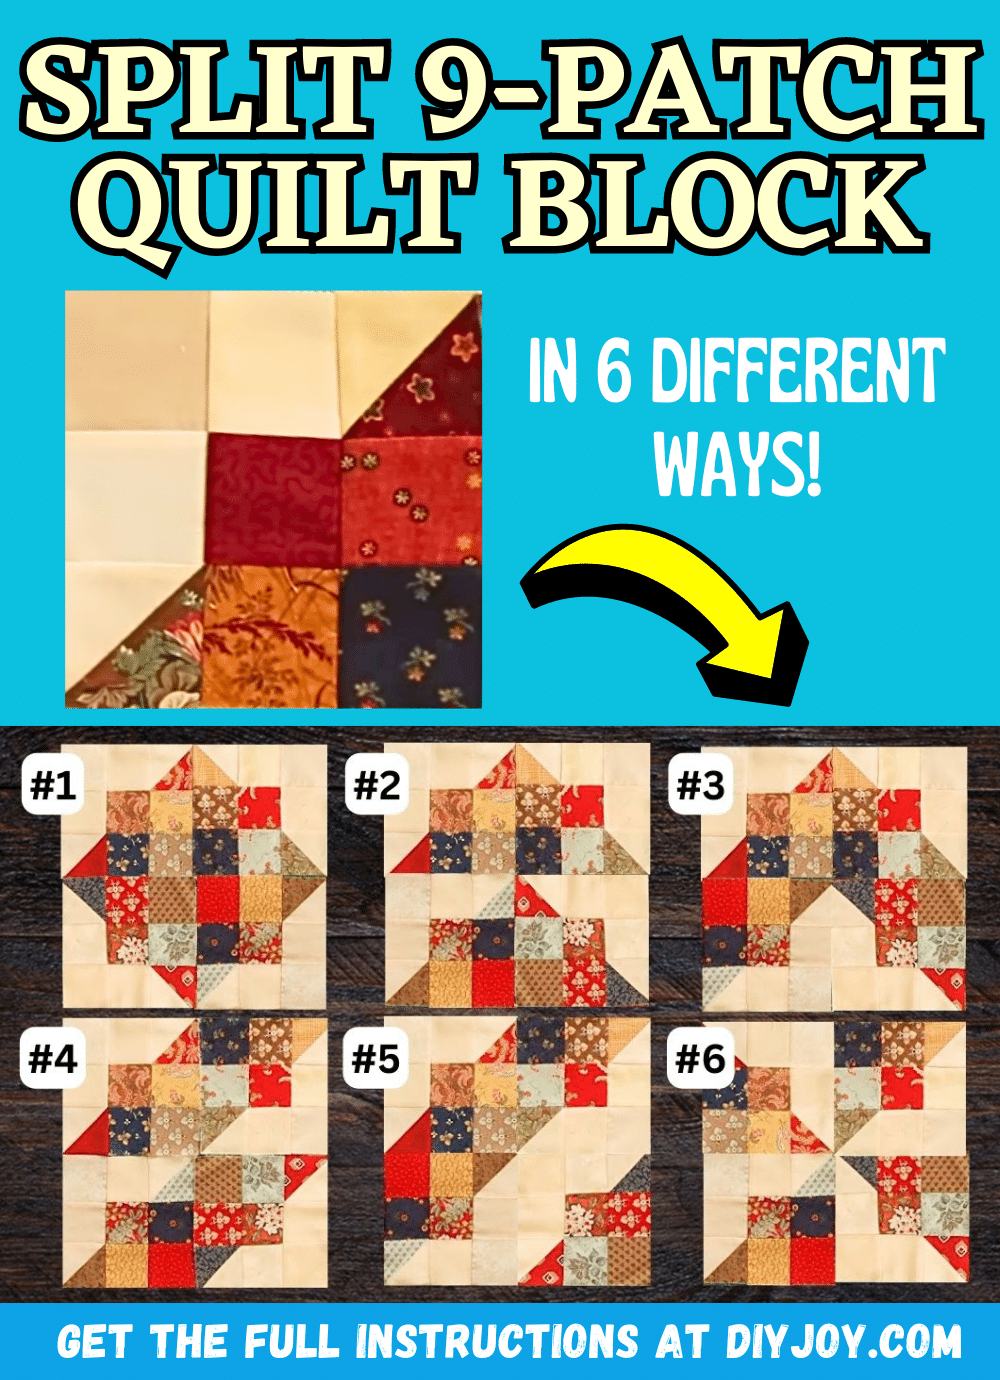
The first time that I saw this video tutorial by The Sewing Studio on YouTube, I immediately knew that this is going to be a project that I’ll work on for the weekend. It was so fun to make and the instructions are thorough and very easy to follow, plus, you can use all of your fabric scraps or leftover fabrics from previous sewing projects to make this block which I also happen to have a lot of. This is truly an enjoyable project to make, and the fact that you can assemble the blocks in 6 different ways makes it even more interesting.
Materials:
- Dark or medium-colored fabric
- Light-colored or background fabric
- Marking pen, pencil, or chalk
- Ruler
- Scissors or rotary cutter and a cutting mat
- Needle and thread
- Iron, for sewing
- Sewing machine
Directions:
Step 1
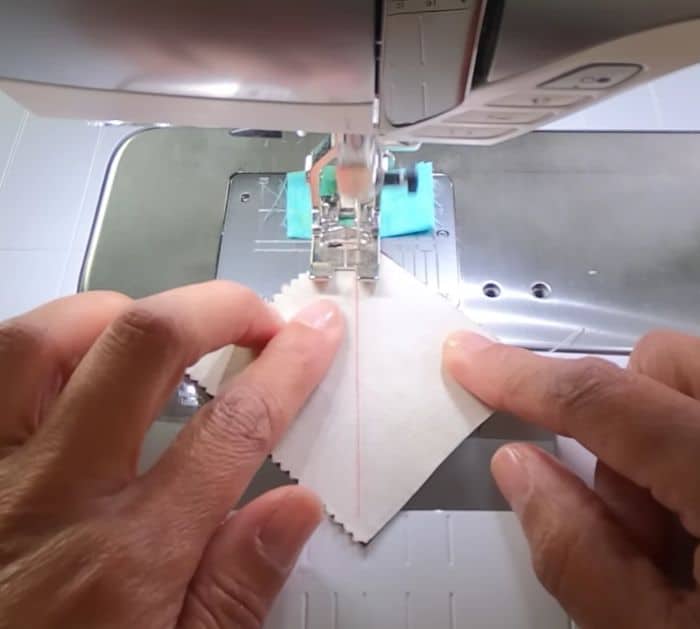
Cut the fabrics into 2½-inch squares, then get 6 colored fabrics and 5 light fabrics, then lay 4 4 colored squares into a 4-patch block. Draw a line on the wrong side of the background fabric diagonally from corner to corner, then lay it on top of a colored square with their right sides facing and edges matching, and sew them together slightly outside the edge of the mark.

[social_warfare]
Step 2
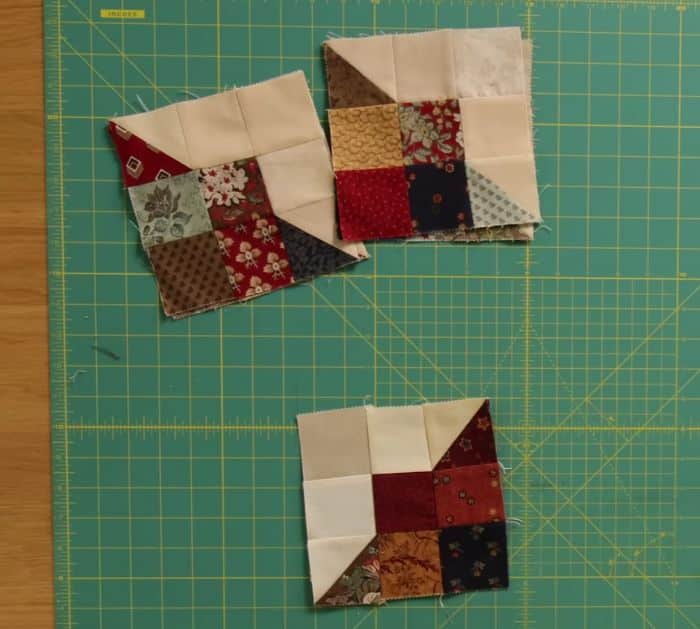
Trim the excess ¼ inch away from the stitching line, then press it open with the seam going toward the darker fabric, and trim off the excess. Make another half-square triangle using a different colored square, then lay 1 half-square triangle on the top and bottom corners, and fill the remaining spaces with the background squares. Start stitching them together, then press the block nice and flat, and continue to make more blocks.

*All these images are credited to The Sewing Studio via YouTube. Give her channel a visit and subscribe for more!


