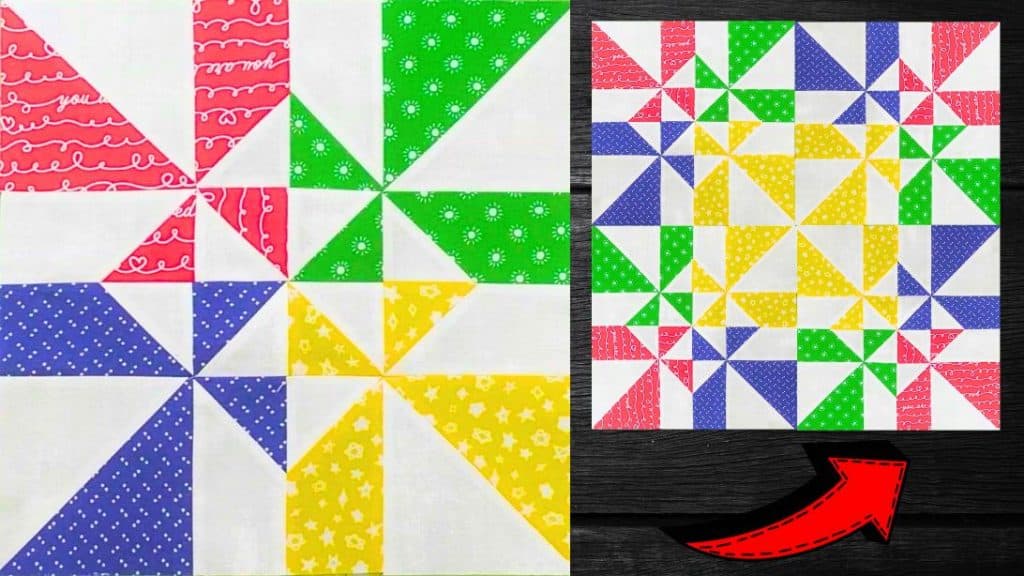
I’ve made a lot of quilt blocks over the years and most of them turned out really beautiful, and probably one of my favorites is this one by Carol Thelen on YouTube. What I love about this quilt block is the fact that it is very simple to put together and that you can use different colors per block. I’m sure you’ll also love this fun project, so check out the video tutorial now, and try it out this weekend!
Materials:
- Main fabric
- Background fabric
- Marking pen, pencil, or chalk
- Ruler
- Scissors or rotary cutter and a cutting mat
- Needle and thread
- Iron, for pressing
- Sewing machine
- Pattern (Click here to download the pattern)
Directions:
Step 1
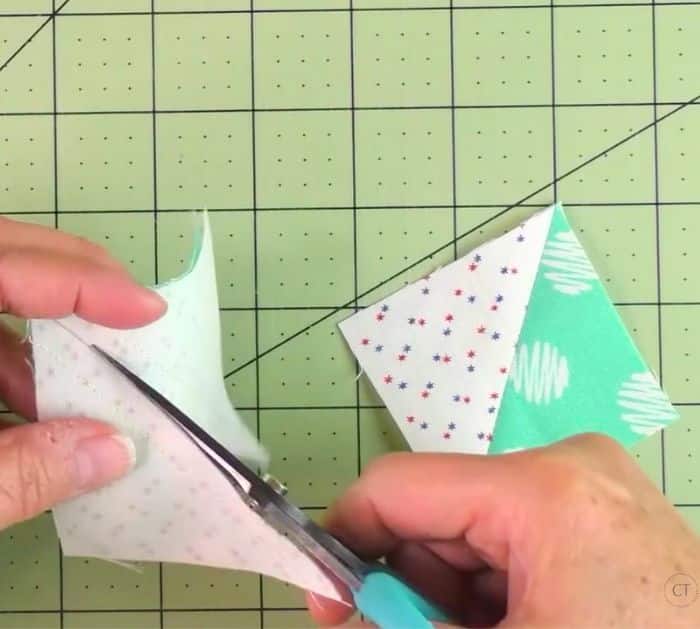
Download and print the pattern, cut the fabric according to size, and group them into units. Turn the fabric squares into half-square triangles, first, draw a diagonal line at the back of the lighter fabric from corner to corner, then lay it on top of a print square with their right sides facing, and stitch on both sides with ¼ inch seam allowance. After stitching, cut the piece in half along the marked line, then press the seams open, and cut off the nubs.

[social_warfare]
Step
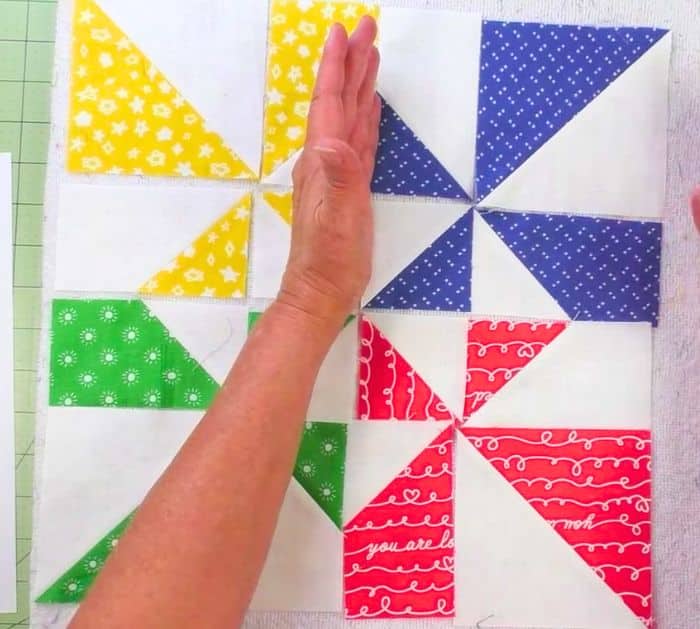
For the rectangle unit, draw a diagonal line at the back of the fabric squares from corner to corner, then lay a square on top and on one side of the rectangle with their right sides facing and edges lined up, and stitch along the drawn line. Cut ¼ inch away from the stitching line, then flip the corner open, and press it flatly. Assemble the pieces together to form the block making sure to refer to the diagram, then start stitching them together per block or per row, and stitch them to each other pressing them as you go.

*All image credit belongs to Carol Thelen via YouTube. Follow and subscribe to her channel for more!


