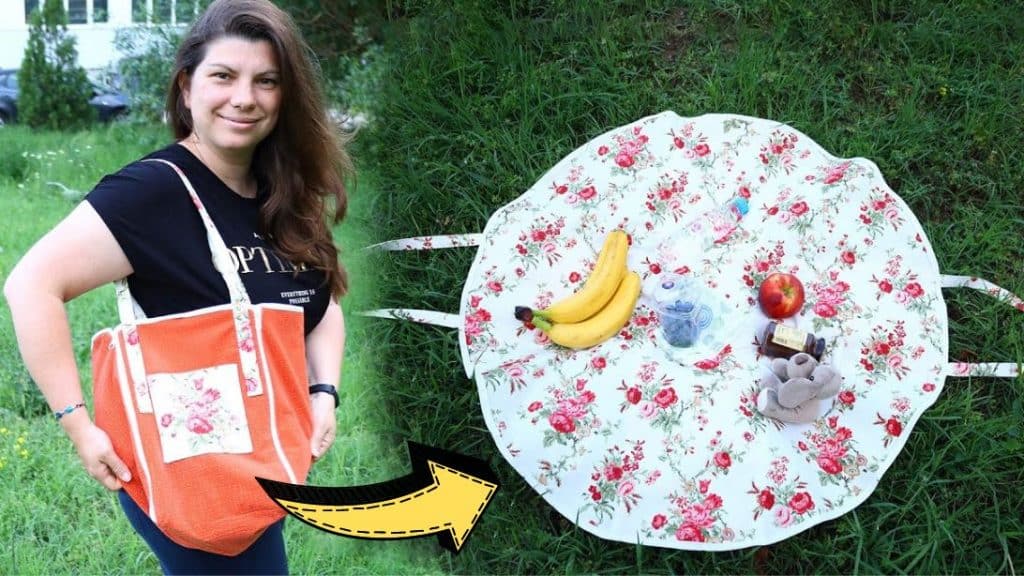
This sewing project idea by Hello Sewing on YouTube is a fun and clever tutorial that features beginner-friendly steps and will teach you how to make a 2-in-1 picnic tablecloth bag from scratch! If you want to try making this, then proceed to read down below for the full instructions. Happy sewing!
Materials:
- ½ yard of cotton, for the outer fabric
- 1½ yard of patterned cotton, for the lining fabric
- 3.5 yards of double-fold bias tape
- 4 zippers that are 16″ long
- Scissors or rotary cutter
- Matching thread
- Ruler or measuring tape
- Iron
- Sewing clips or pins
Directions:
Step 1
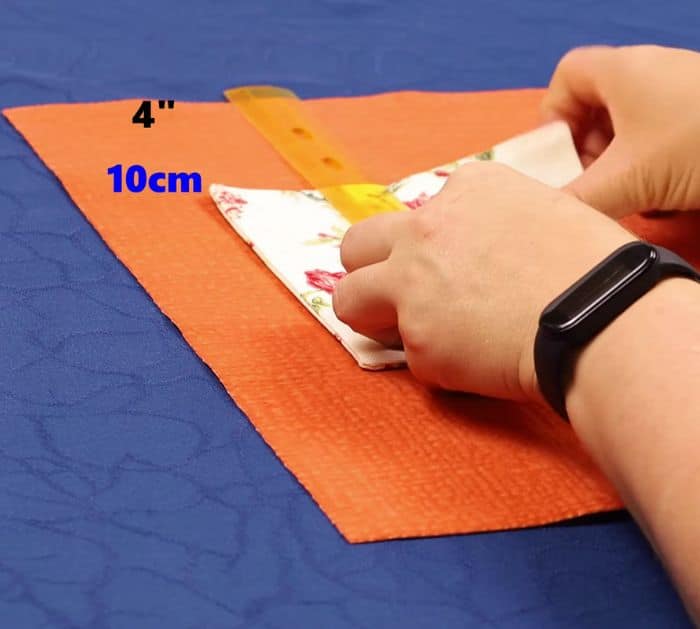
From the outer fabric, cut 4 rectangles with 14*10″ size for the sides of the bag and 1 rectangle with 10*10″ size for the bottom of the bag. Then, from the lining fabric, cut 1 square with 40*40″ size for the circular tablecloth piece, 2 rectangles with 38*4″ for the straps, and 2 rectangles with 6*6″ size for the pocket. Now start making the pocket, lay the pocket pieces together with their right sides facing each other, then sew them around with a ¼” seam allowance and leave a gap at the center unsewn. Trim the corners of the fabric, then turn it right side out, and poke the corners nicely. Tuck the seams of the gap and topstitch, then give it a good press. Fold the pocket piece in half, find the midpoint, mark, and set it aside. Get 1 side piece, fold in half lengthwise, find the midpoint, then place the pocket 4″ down from the top matching the midpoints.
[social_warfare]
Step 2
Pin the pocket to the side fabric, then sew the pocket except for the top part. Fold the long sides of the side fabric to about 3/8″, then press. Fold the long sides of the other side pieces and press, then place them around the base with their unfolded edges matching, pin them in place, then sew them together on the unfolded sides. Press the seams open, then fold it over to form an L-shape. Fold the large fabric square into 4, then place the L-shape fabric on top, and connect the top and bottom corners to draw an arc. Cut the arc marking, then open both of the fabrics up, and place the cross fabric on top of the circle fabric. Pin them together in place, and position the zipper all around the sides of the cross fabric. Sew them in place, then trim off the excess ends of the zipper, and sew the bias tape around the picnic bag. Sew the handle pieces, then place one of them on the pocket with their ends on each side and position it at the center of the pocket’s each side. Lastly, sew the other handle piece on the opposite side of the pocket making sure it is positioned at the same measurement.

*All these images are credited to Hello Sewing via YouTube. Give her channel a visit and subscribe for more!
2-in-1 Picnic Tablecloth Bag Sewing Tutorial