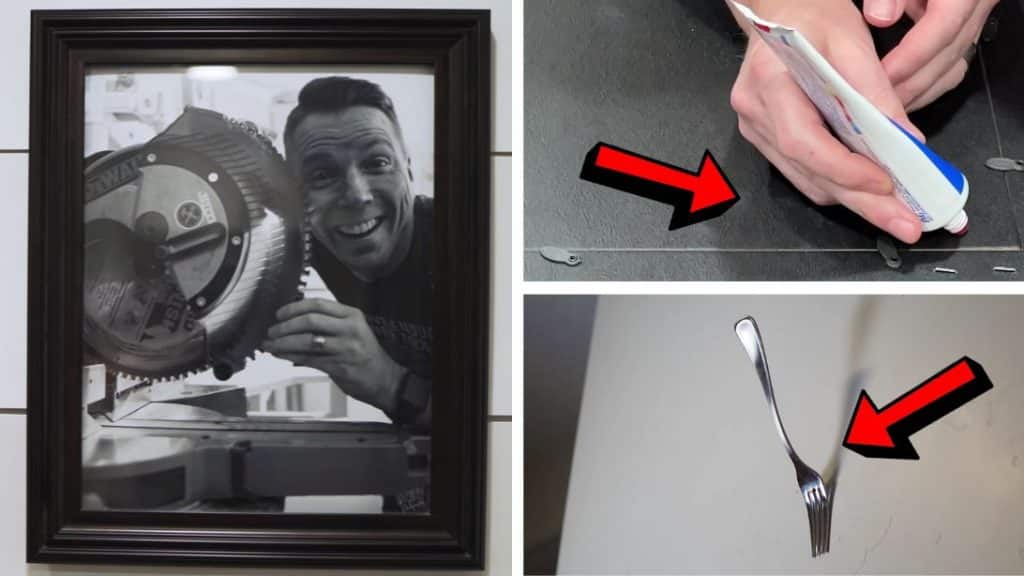
Taking photos is a great way to keep memories preserved and usually, they are kept in photobooks, placed in frames, placed on top of a surface, or hung on the wall. Hanging frames on the wall is quite a challenge because it’s pretty hard to see the hooks at the back and insert them right where the screws or nails are. Luckily, there are tips and tricks that you can try to make hanging your frames easier.
RELATED: DIY Stove Top Cover/ Noodle Board Tutorial
Photo Frame Hanging Tips:
- Toothpaste Marking
- Command Strips
- No-Mess Drilling
- Painter’s Tape Marking
Easy Photo Frame Hanging Tricks:
Tip #1: Toothpaste Marking
Dab some toothpaste right where the hooks are, then slowly place it to the wall making sure it’s properly positioned and leveled, and then let the back of the frame stick to the wall until the toothpaste is transferred. Now you can drill holes on the spot touched by the toothpaste, then insert screws or nails, and hang the frame.
Tip #2: Command Strips
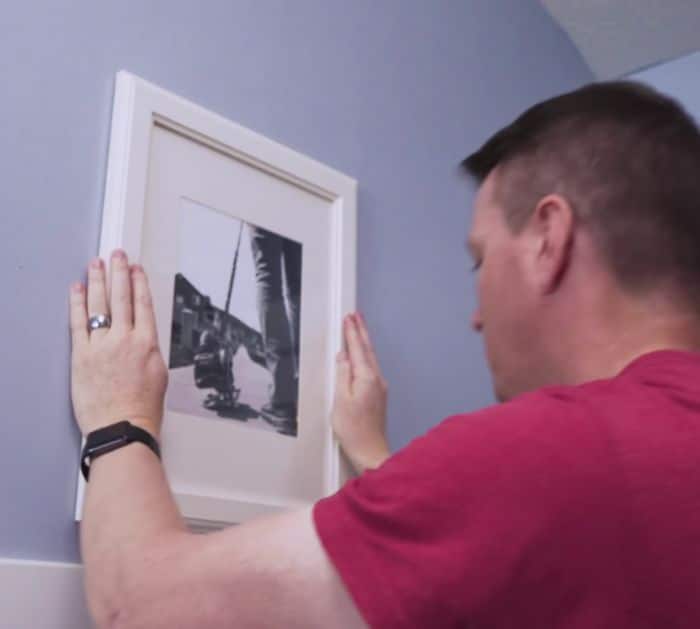
Wipe the surface of the wall and the back of the frame with a clean cloth or paper towel with alcohol, then place the command strips around the edges, and let the tape sit for a few minutes for it to get tacky. Remove the backing paper, then stick the frame to the wall nicely level, and press it securely.
[social_warfare]
Tip #3: No-Mess Drilling
Fold a piece of paper into an envelope as shown in the video, then tape it on the wall underneath the area you’re going to drill, and proceed to drill. The envelope will catch the debris and dust that will come out of the drilled hole, and it will be easier to discard.
Tip #4: Painter’s Tape Marking
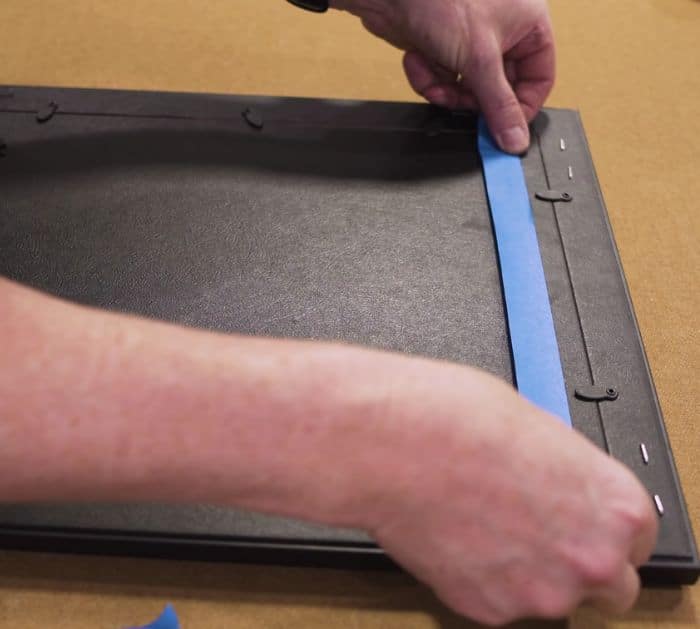
Place a strip of painter’s tape right where the hooks are located, then mark the spot where the hooks are with a pen, and peel off the tape. Transfer the tape onto the wall, then attach the nails or screws right above the markings, and peel off the tape.
*Watch the video tutorial for more tips and hacks
*All image credit belongs to LRN2DIY via YouTube. Follow and subscribe to his channel for more!

