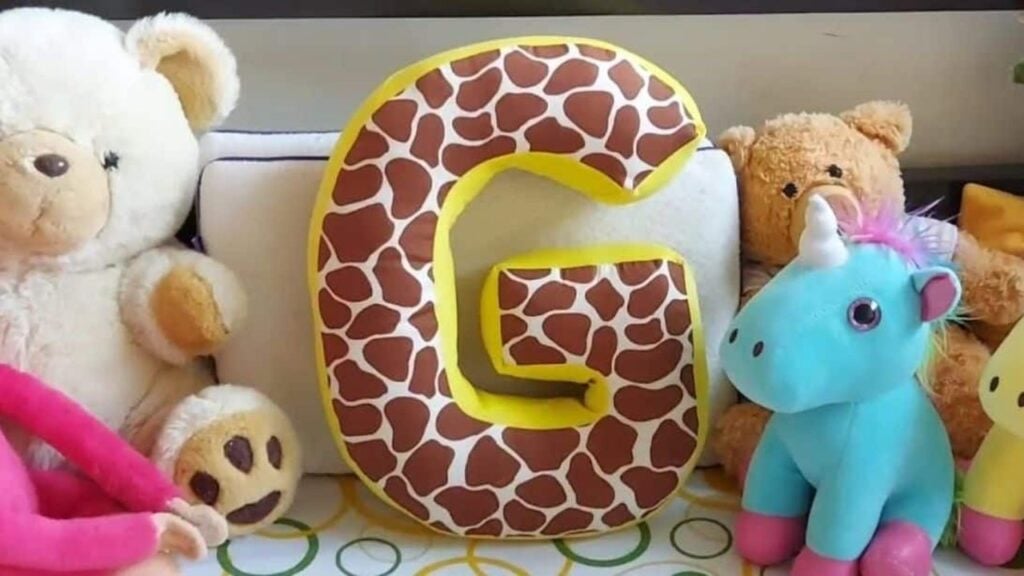
This fun sewing tutorial by Procraftinators Hive on YouTube is an easy and simple project that you can make in just a few minutes. You can also give this as a gift or even sell it. With only a few materials and some scrap fabric, you can sew this adorable letter pillow even if you’re a beginner. Try it out now!
Materials:
- Cardboard
- Main fabric
- Lining fabric
- Chalk or marking pen
- Pins
- Sewing machine
- Needle and matching thread
- Scissors
- Measuring tape
- Polyester filling
Directions:
Step 1
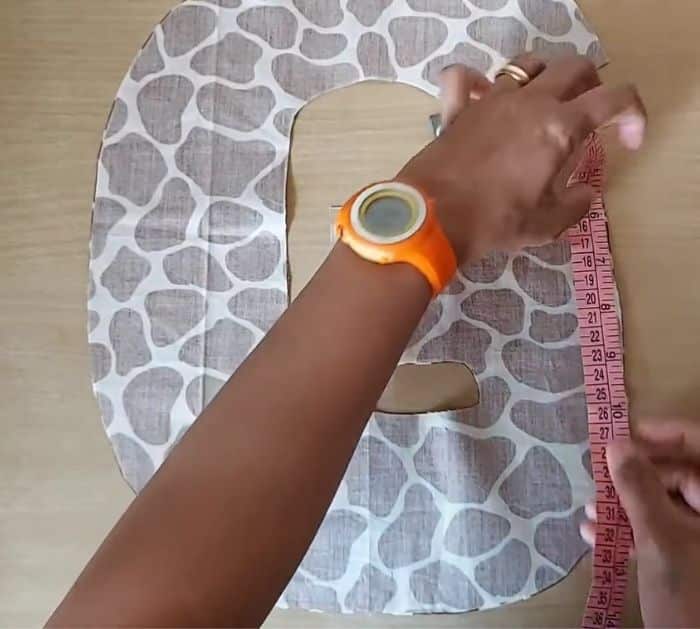
Cut out a 10 by 13 inches cardboard and draw the letter that you want on it. Cut it out then grab your main fabric and fold it with their rights facing each other. Place the cut-out letter on top of the folded fabric, then start inserting pins around the outside as well as the inside of the cardboard letter. Using chalk or a marking pen, trace around the cardboard letter with a half-inch seam allowance. Cut along those traced lines, then grab a measuring tape and start taking the overall measurement of the letter fabric including the inner parts.
[social_warfare]
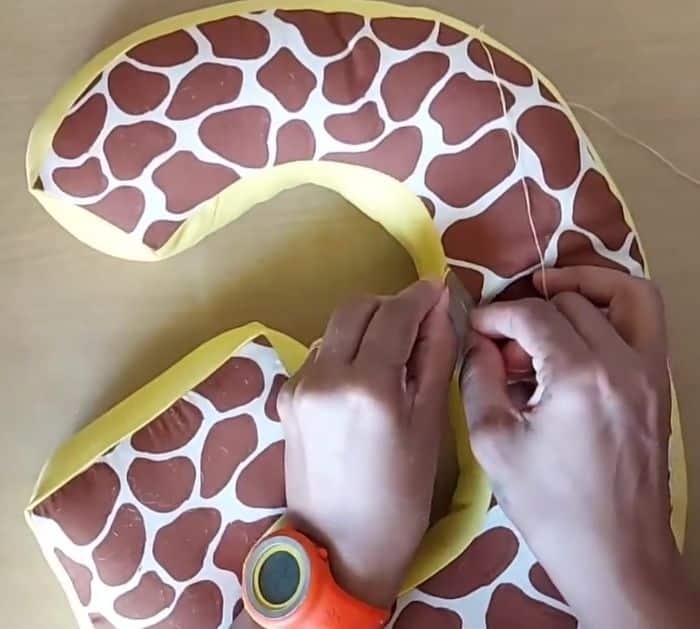
Step 2
For the lining fabric, you can use scraps if you have a large piece available, but you can use any fabric you want. Cut the fabrics into diagonal strips that are about 3 inches wide. Match the slanted edges of each strip and make sure that the right sides are facing the same direction and you’ll end up with a fabric piece similar to a binding or bias tape. Pin each joined end in place then sew them together. Sew the lining fabric along the main fabric leaving only about 3-4 inches gap in the middle for turning the fabric later, repeat the process on the other side of the lining fabric and the remaining main fabric. Make notches around the corners as well as the curves, then turn it right side out. Fill it with polyester, then sew the gap close.
*Thanks to Procraftinators Hive via YouTube for all images used here. If you loved this sewing tutorial, then you’ll surely love her other videos too, so give her channel a visit and subscribe!
Easy Personalized Letter Pillow Sewing Tutorial