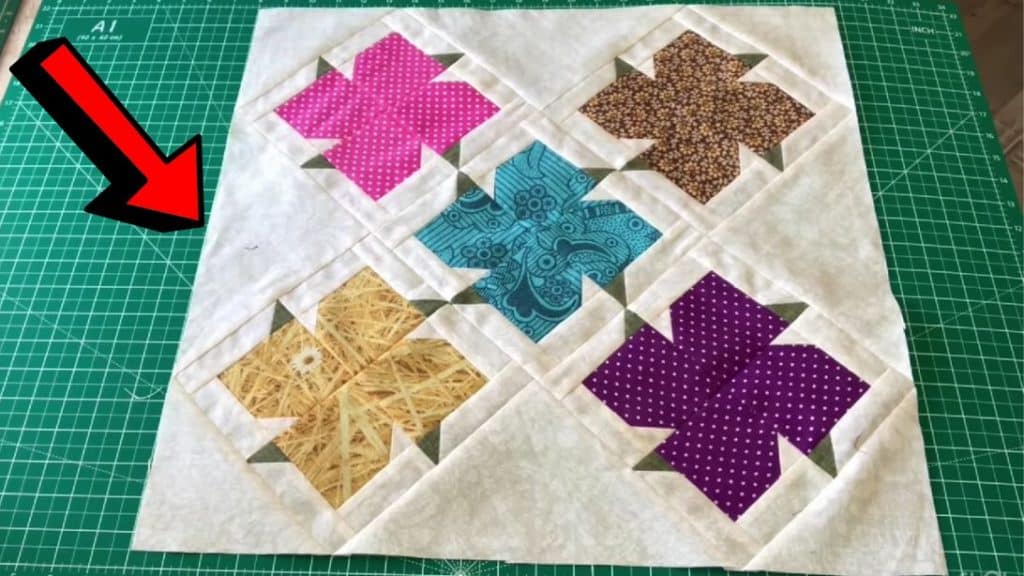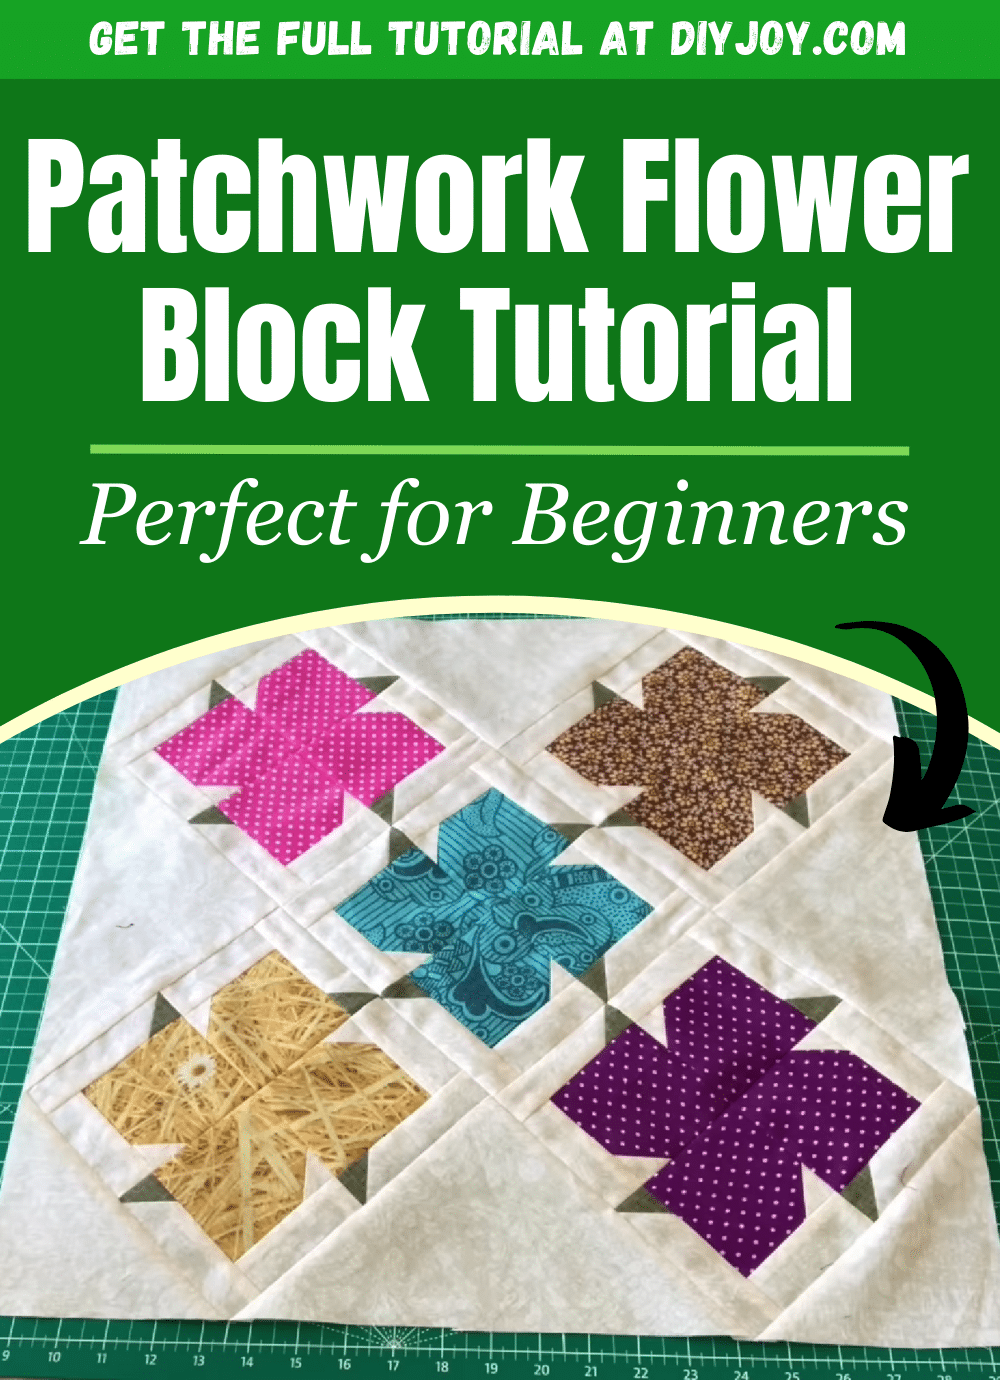
This quilt project idea by The Melody of Sewing is intimidating at first because it looked difficult and complicated to make, but when I watched the video tutorial, I was really surprised and delighted at the same time because it was actually super easy and simple to put together that I’m sure even beginners will get to make this even on the first try. Check it out and see for yourself, surely, you’ll love to try this, too!
Materials:
- Main fabric
- Background fabric
- Green fabric
Cutting Requirements
- 4 squares of main fabric @3½*3½ inches
- 4 squares of background fabric @1½*1½ inches
- 4 rectangles of background fabric @1½*3½ inches
- 4 rectangles of background fabric @1½*4½ inches
- 4 squares of green fabric @1½*1½ inches
- Squares of background fabric @8¼*8¼ inches
- Squares of background fabric @6*6 inches
Directions:
Step 1
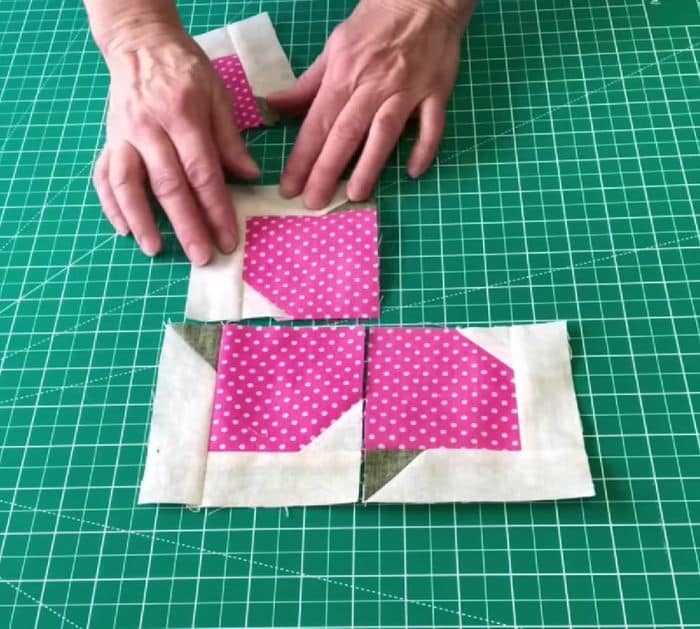
Cut the fabric to size, then get 4 main fabric squares, and place the background squares on the bottom left corner of each with their right sides facing. Draw a line diagonally on the background squares from corner to corner, then sew them together with a ¼ inch seam allowance, and cut the excess before pressing it open. Get the background rectangles at 3½*1½, then lay them on the sewn squares with their right sides together as shown in the video, and sew.
[social_warfare]
Step 2
Press them open and set them aside, then draw a diagonal line at the wrong side of the green fabric squares, and place them on top of each remaining background rectangle. Sew them together, then trim off the excess, and press them open. Assemble the pieces together, then start sewing them together, and press them open.

Step 3
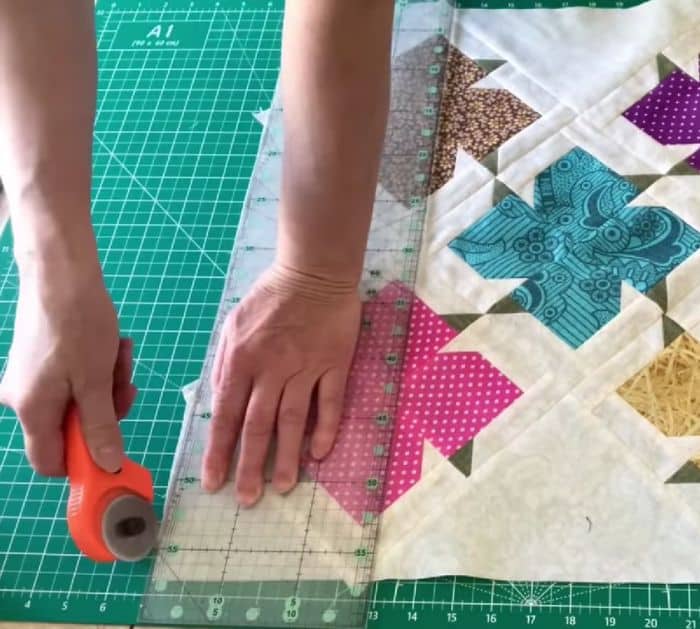
Now, sew the units per row, then press them open, and sew the rows together to complete the block. Continue to make more blocks, then assemble them together with the background squares, and start sewing them together into rows first before sewing the rows to each other. Quilt however you want!

*All image credit belongs to The Melody of Sewing via YouTube. Follow and subscribe to her channel for more!


