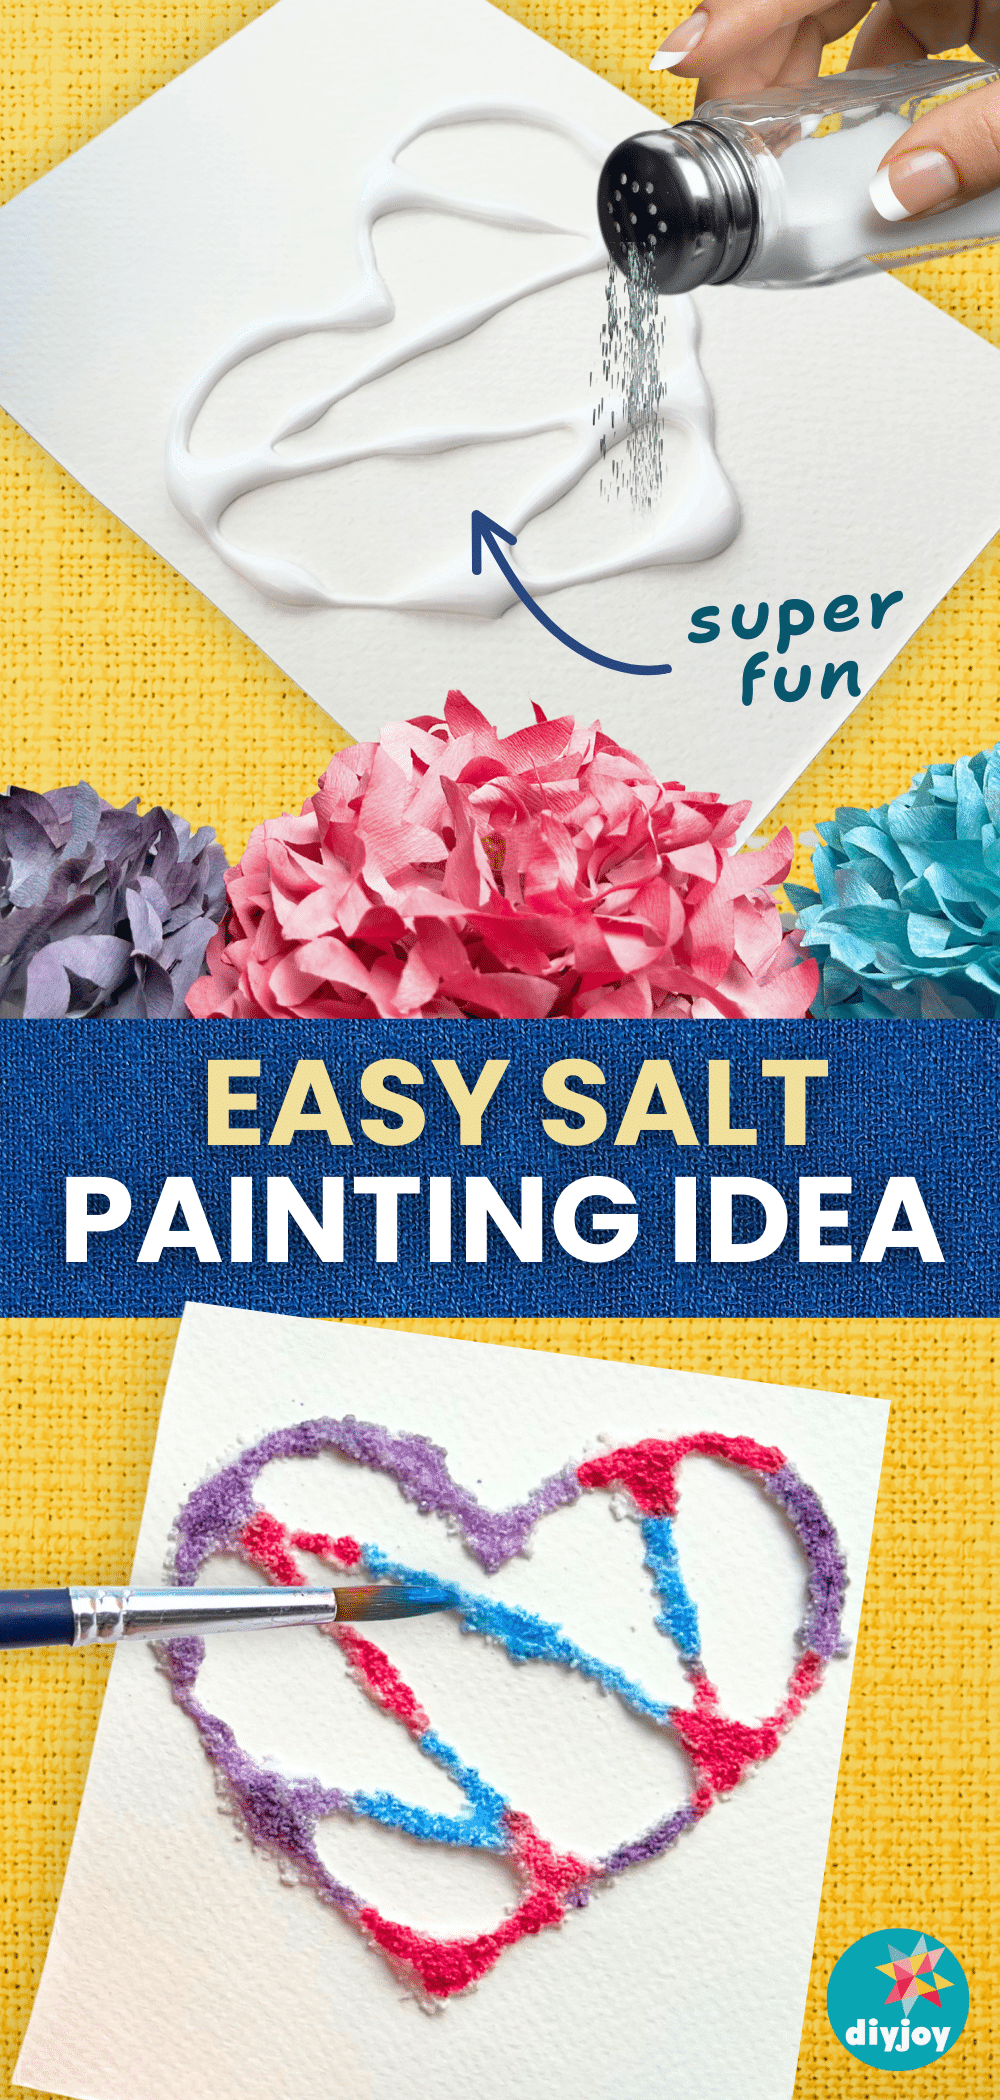
Looking for a new painting idea that’s not only easy but also fun and cheap? Well, you’ve landed in the right place! I am so excited to share one of the coolest and easiest painting ideas out there: salt painting. Think of it as a simple way to add a touch of magic and texture to your artwork. Trust me, the results are seriously amazing. Whether you’re looking for a relaxing weekend project, a cool art activity to do with the kids, or a simple way to explore your creative side, salt art painting is definitely worth a try.

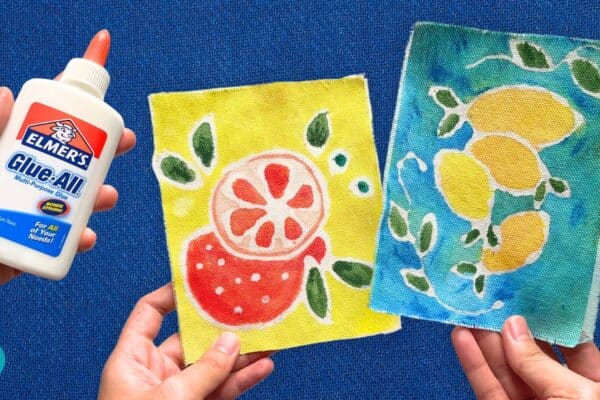
RELATED: Batik Fabric Painting With Acrylic and Glue | Easy Painting Ideas for Beginners
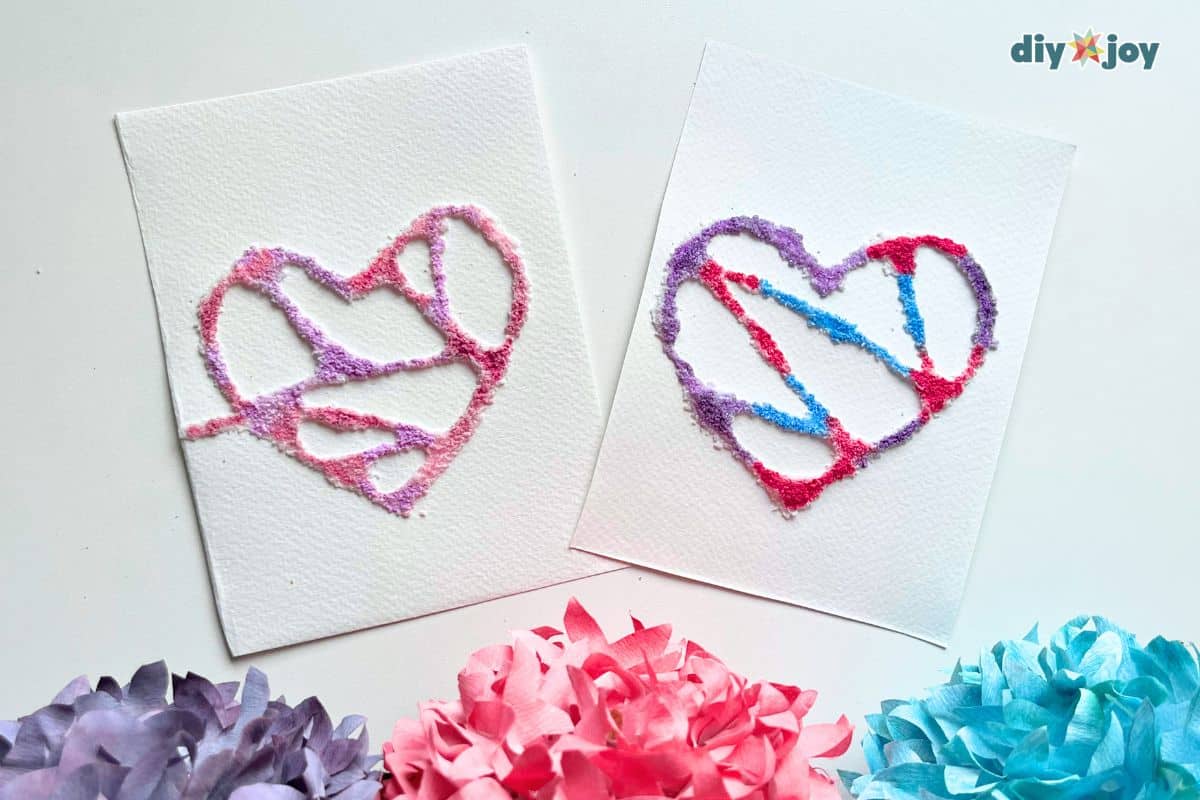
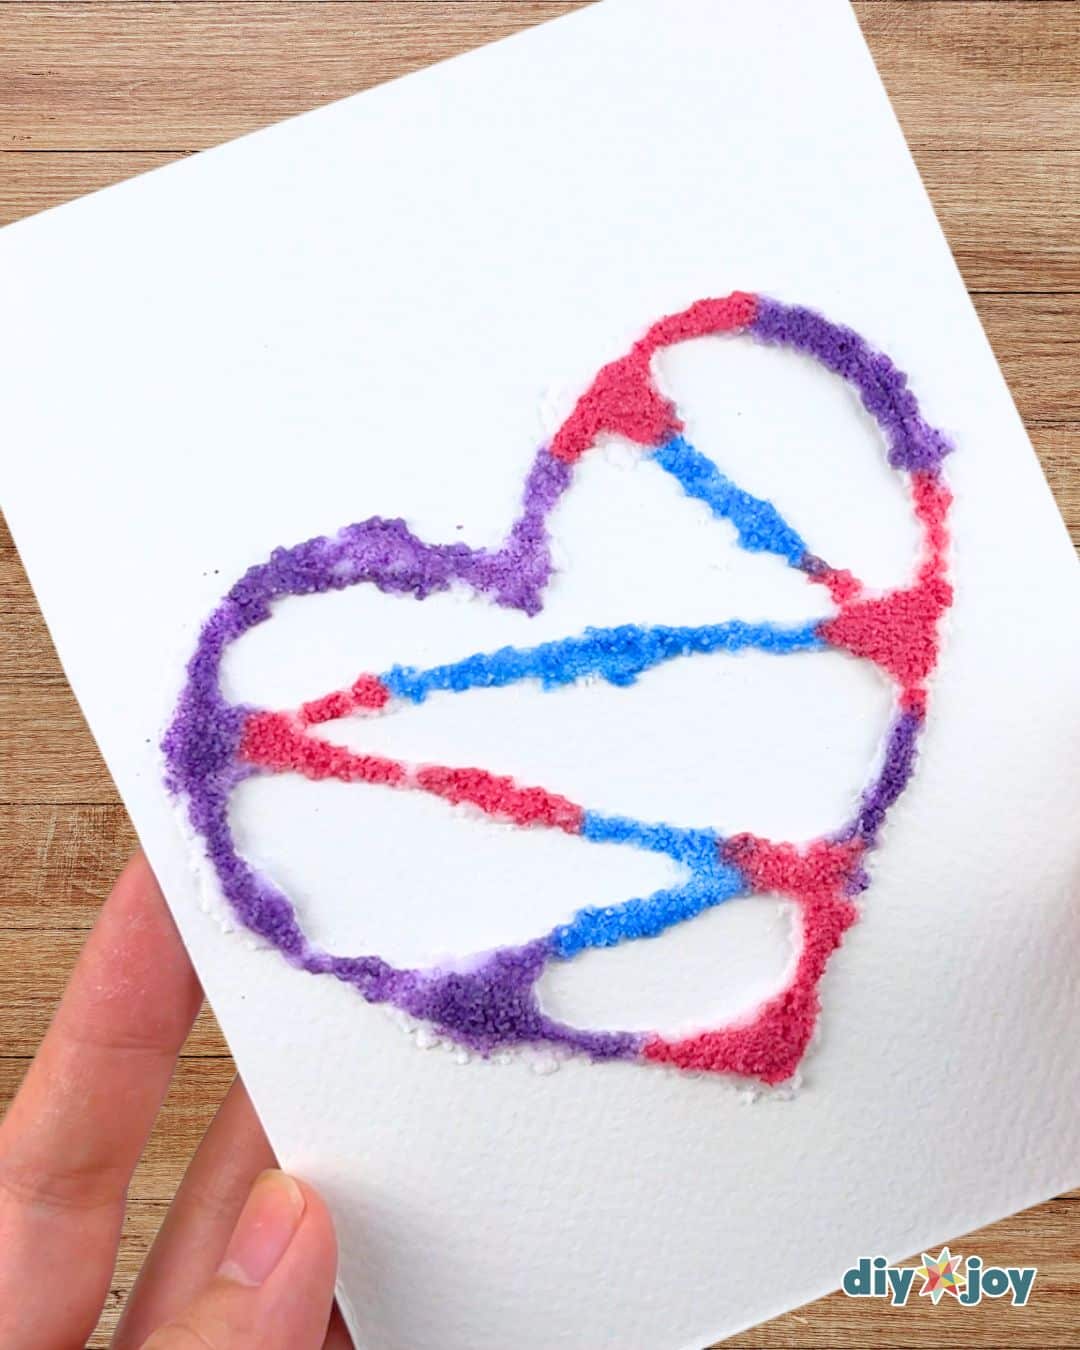
This project uses everyday things – glue and salt – to create raised designs that then soak up vibrant paint colors in the most fascinating way. I am about to show you just how easy and rewarding this painting method is. You might be surprised with what you can create!
What Exactly is Salt Painting?
It’s a cool painting technique where you use glue to create a raised design on paper or canvas, then sprinkle it with salt. Once the glue dries, you paint it with diluted paint, and watch as the crystals absorb the color.
Why Give Easy Salt Painting a Try?
- Incredibly easy. You don’t need any art skills or expensive materials, making it perfect for beginners or kids alike.
- Seriously engaging. The process of applying glue and paint and watching the salt work its magic is so captivating.
- Unique texture: if you are tired of flat painting, this art project is for you! Salt adds dimension to your artwork.
- Fun way to experiment with colors: See how different paint colors interact with the salt.
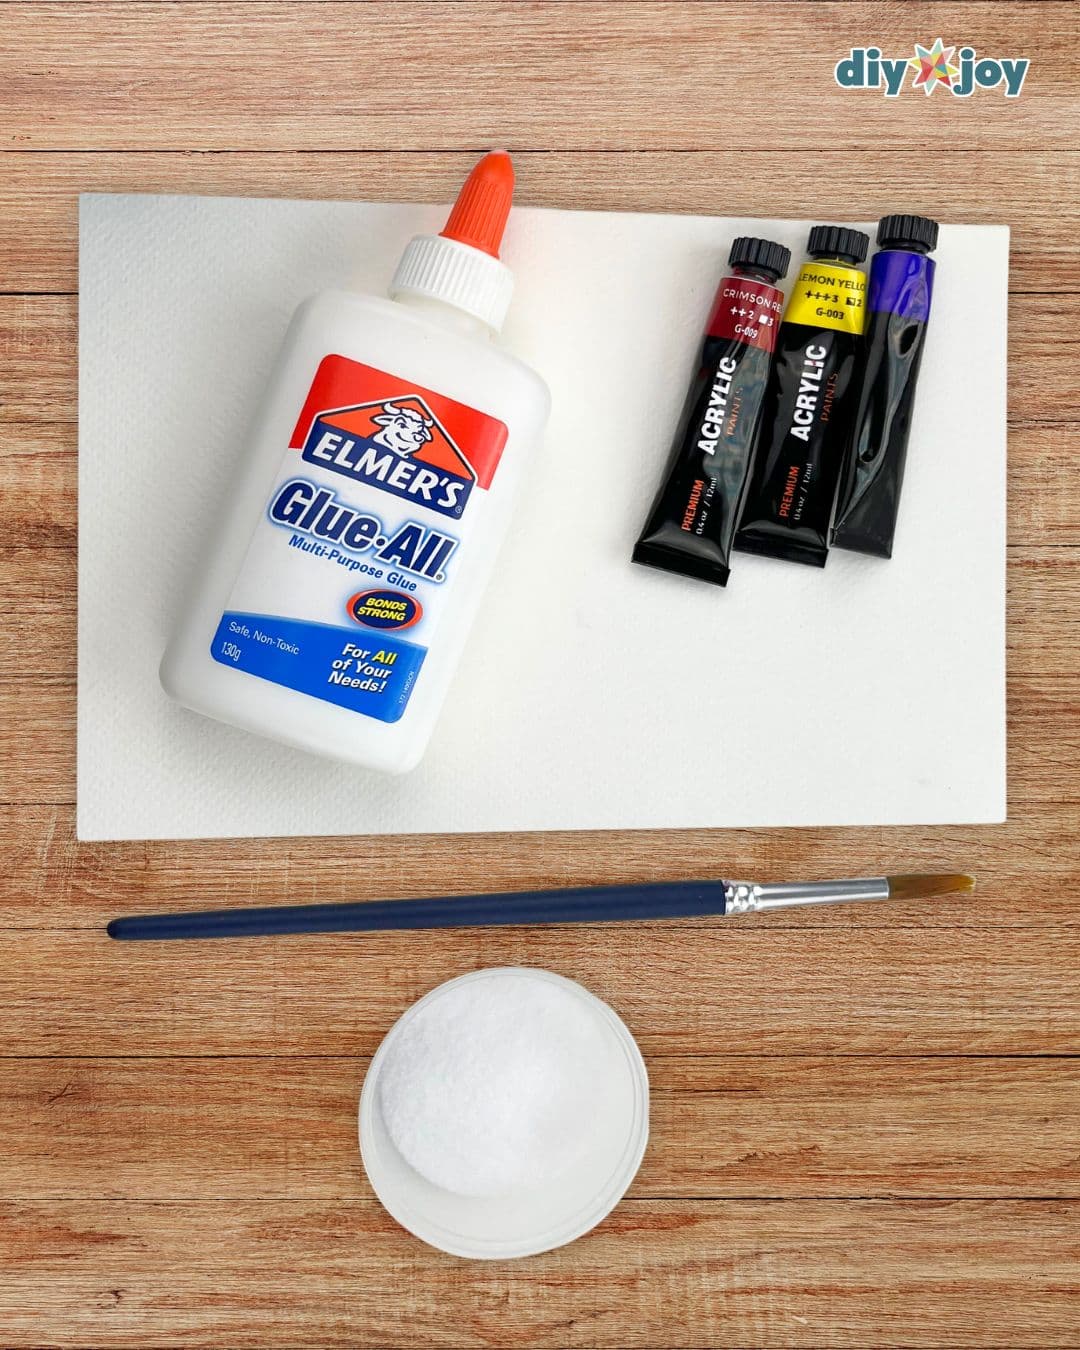
What You’ll Need For This Easy Painting Idea
- Canvas or cardstock: choose thicker paper as it works best to prevent warping from the water.
- White school glue (PVA glue)
- Table salt or sea salt: any type of salt works. They just give different textures.
- Liquid watercolors or diluted acrylic paint
- Water
- Small containers
Optional Materials for your salt art painting:
- Droppers
- Glitters
- Paper towels
- Trays or newspaper
Step-by-Step Guide | Salt Painting for Kids
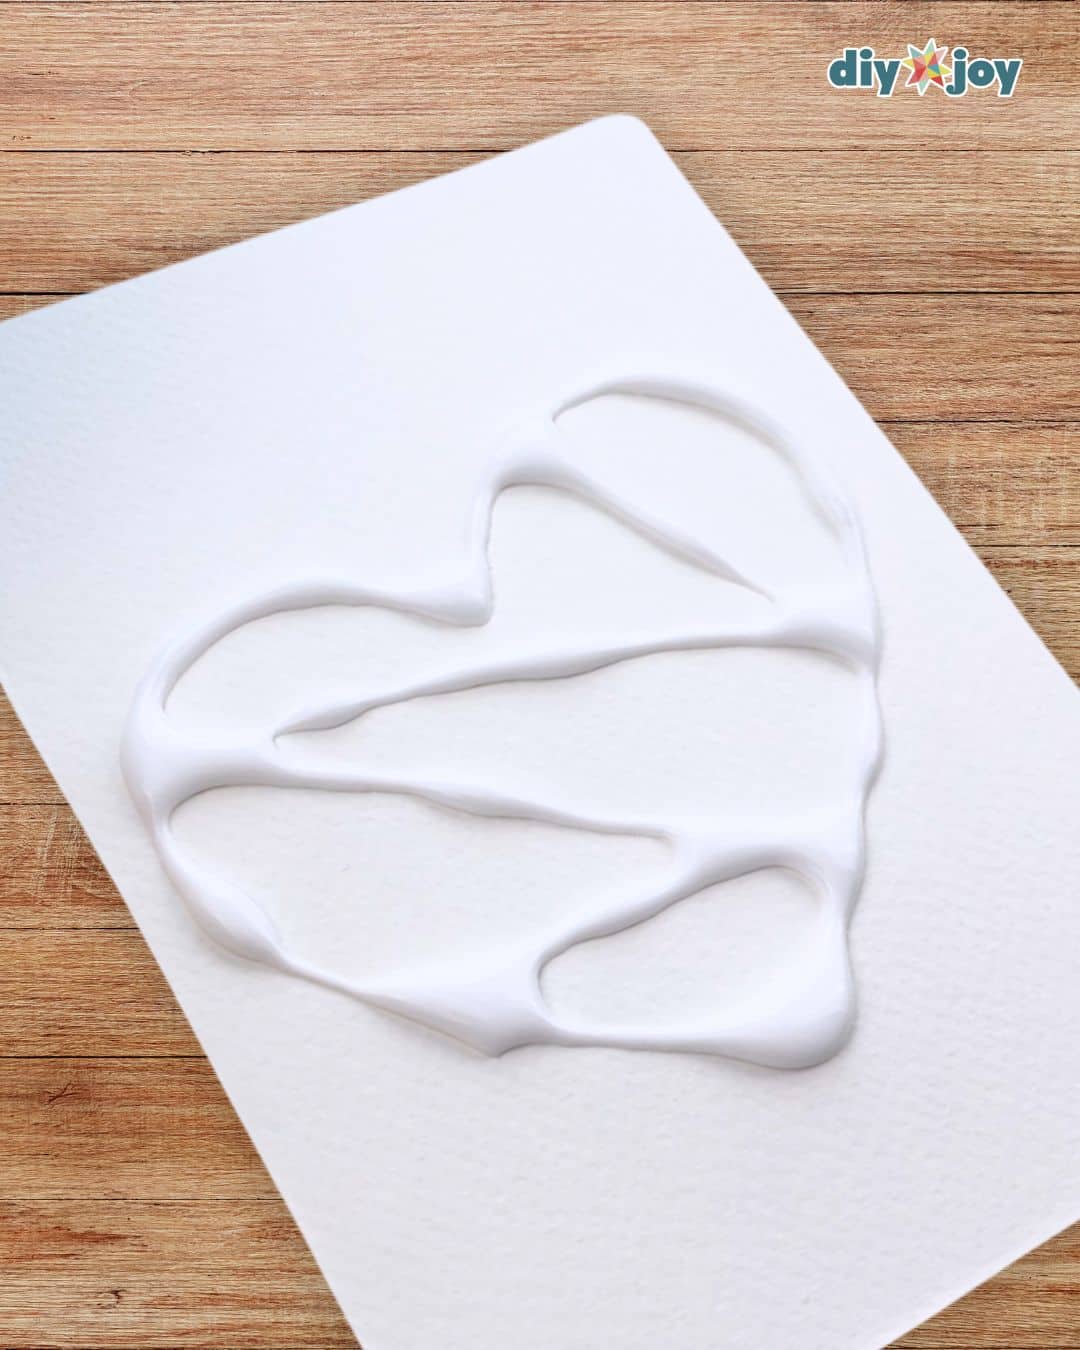
Step 1: Glue lines
Grab your canvas or paper and your glue. Gently squeeze the glue onto the paper to create your design. Feel free to draw any lines, shapes, or patterns you like. Keep in mind that the glue lines will become the raised, textured parts of your painting.
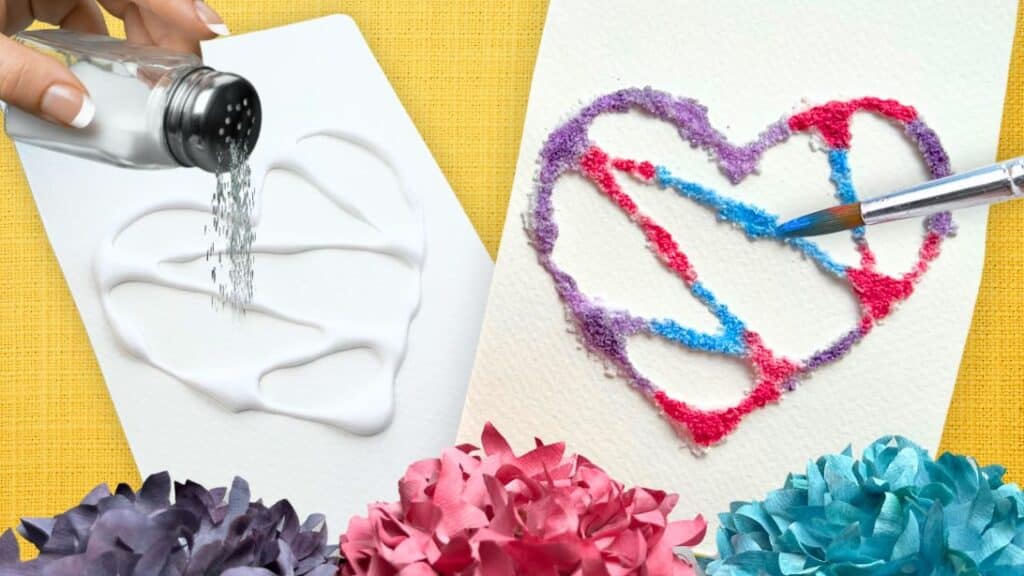
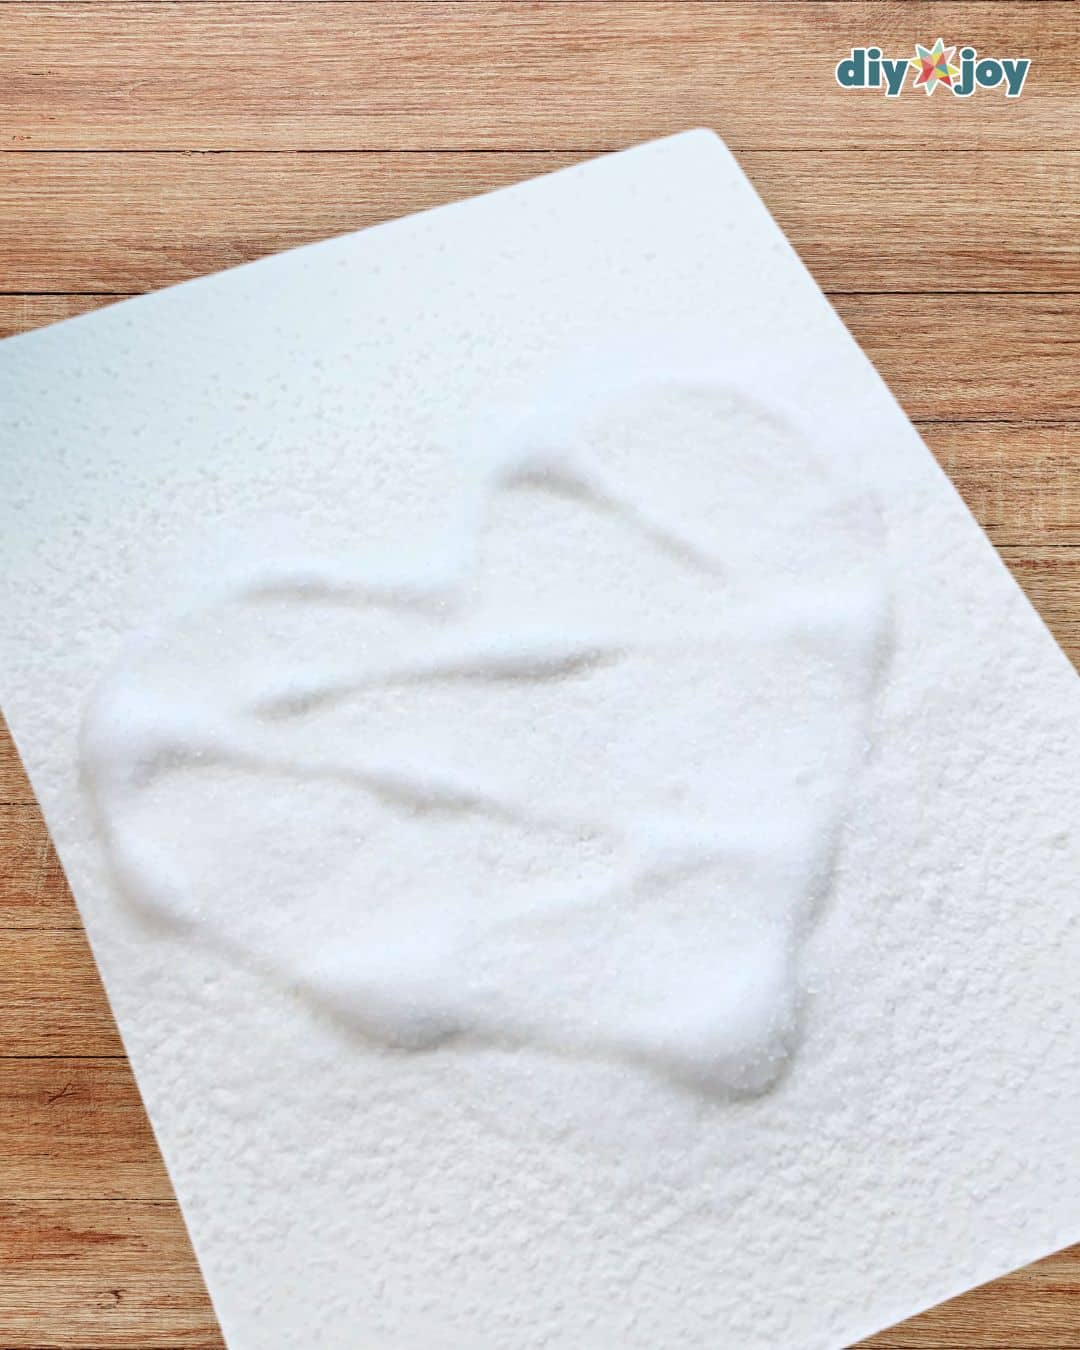
Step 2: Salt sprinkle magic
While the glue is still wet, generously sprinkle salt over the lines. Make sure everything is covered with salt.
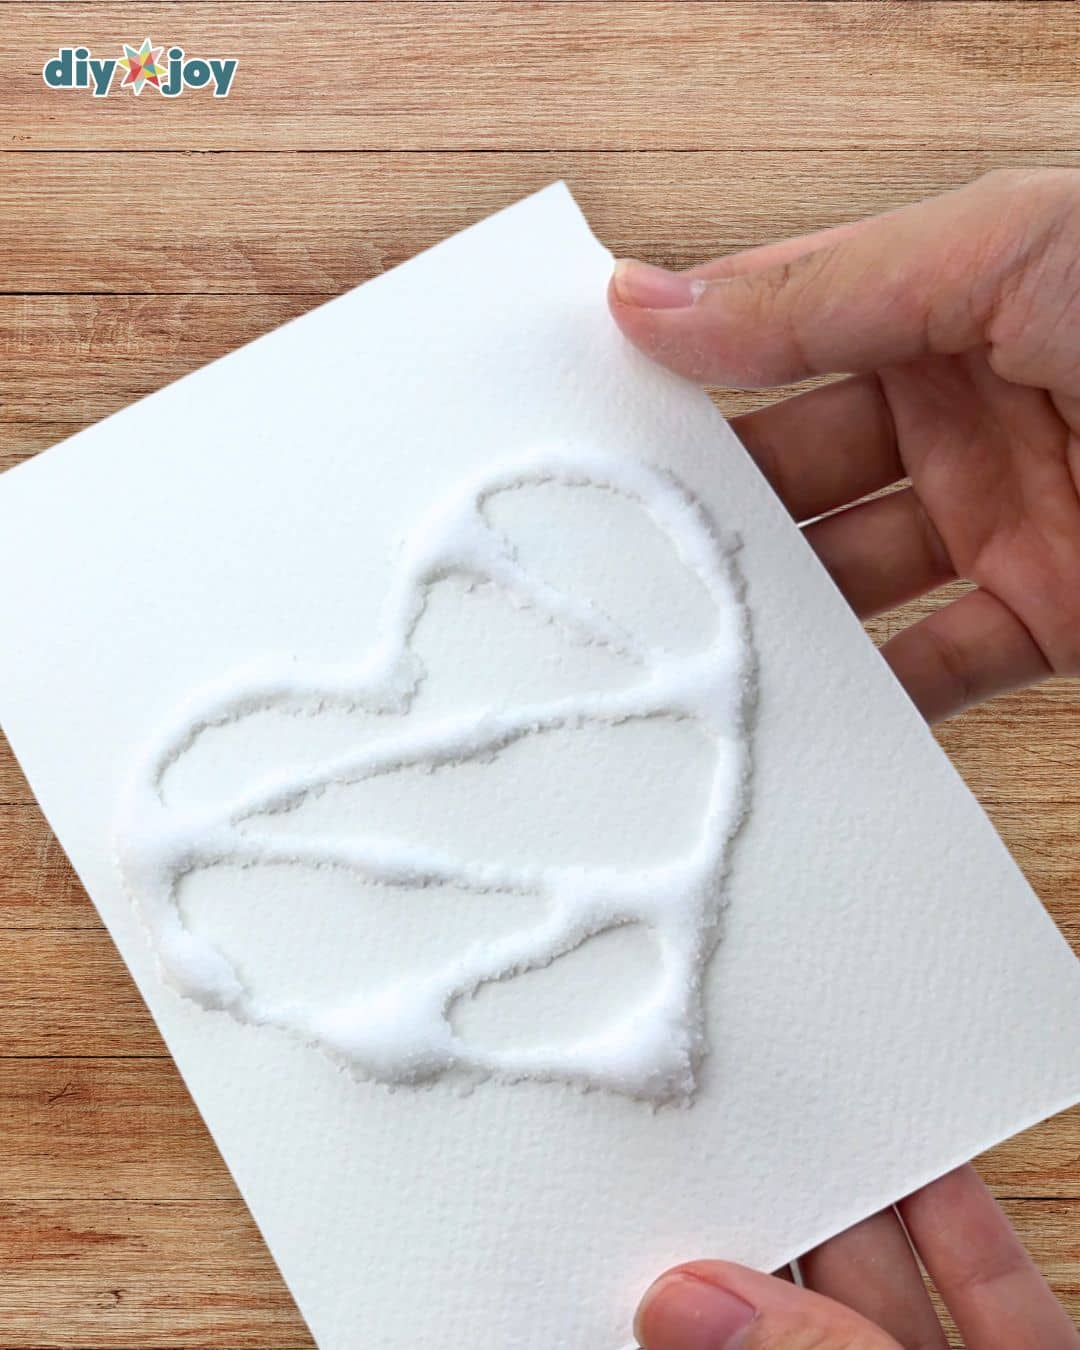
Step 3: Letting it dry
Let the glue dry completely. Time depends on how thick your glue lines are. Once it’s dry, gently shake off the excess salt.
You can also remove the excess salt even if the glue is not yet fully dry, just make sure that everything is fully covered with salt, or the glue may drip.
Yes, you can reuse the salt.
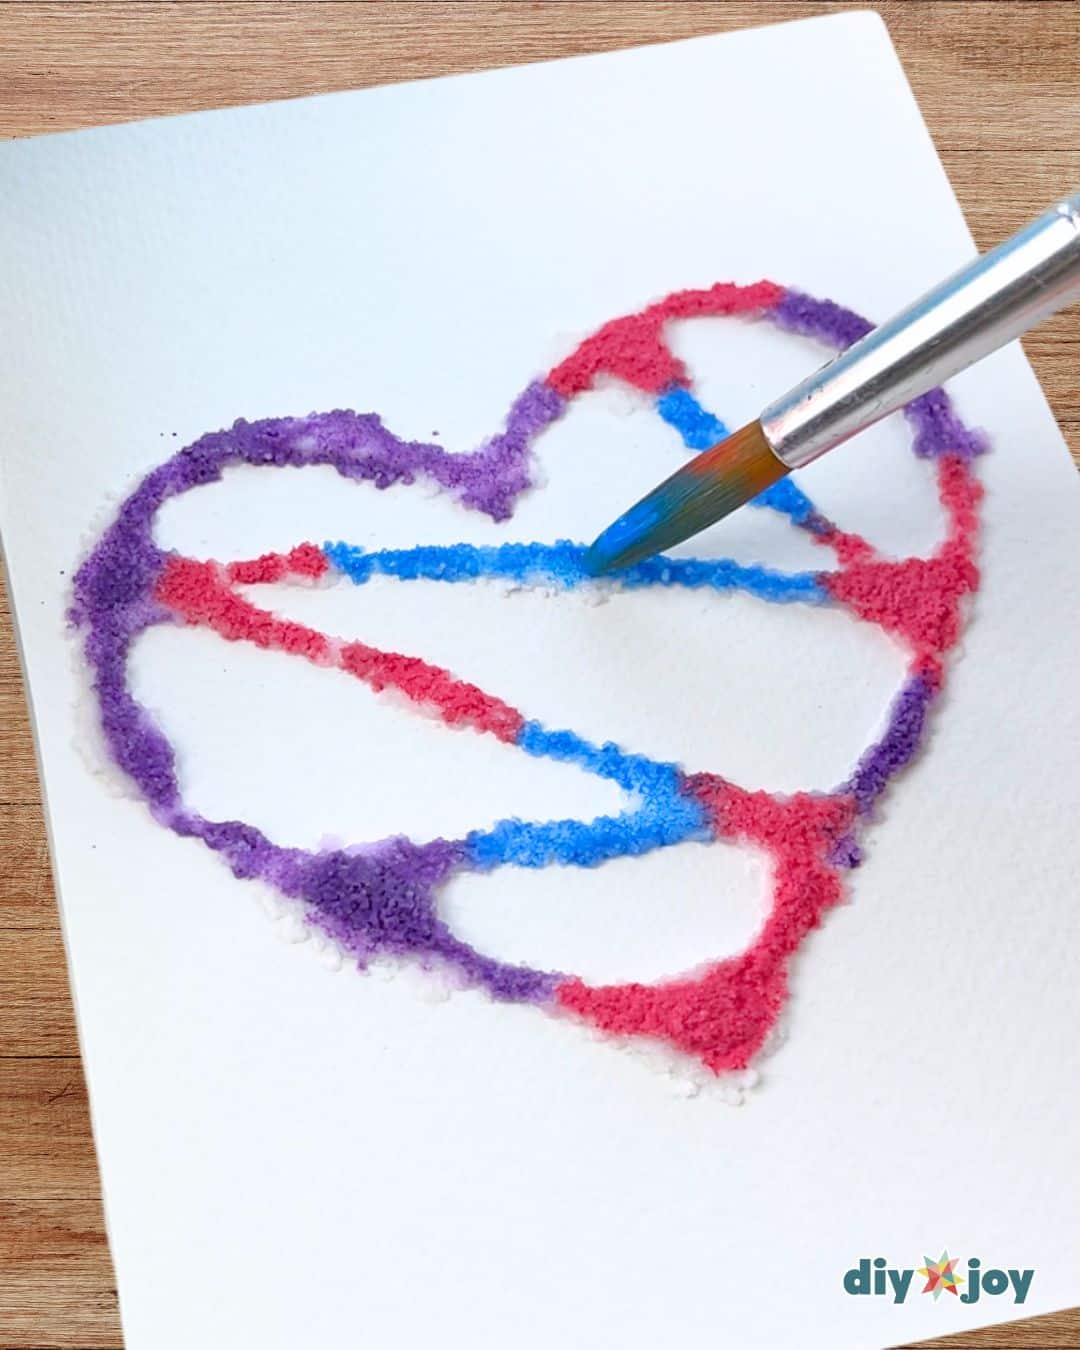
Step 4: Adding color
Dip your paintbrush into diluted paint, then gently touch the tip of your brush to the salt-covered glue lines. Watch as the salt crystals absorb the color and spread.
Once everything is painted, let it dry completely.
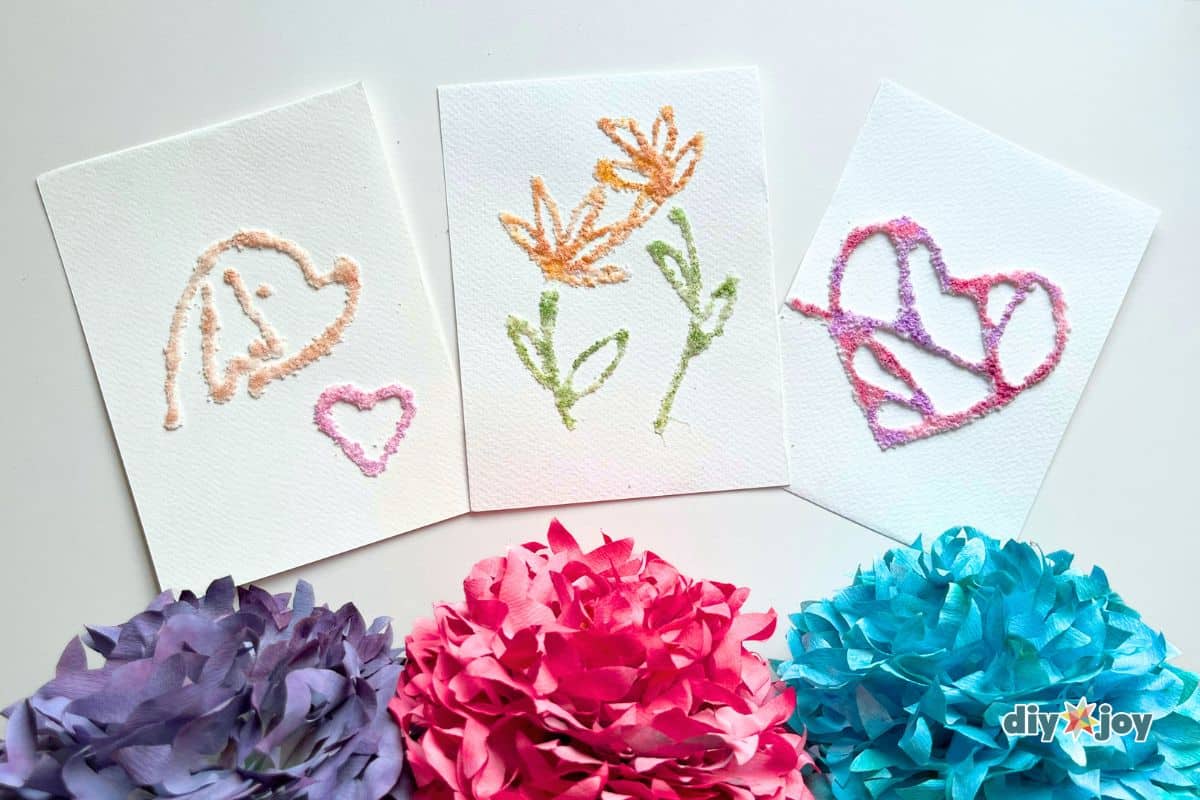
Creative Ideas and Variations
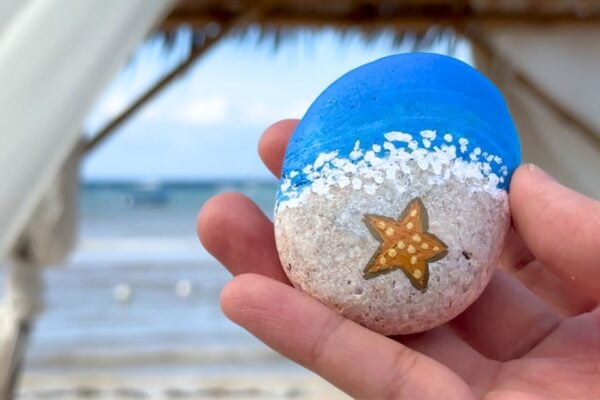
- Constellations and galaxy effects: Use dark paper instead of white to create star patterns and nebulae using white glue. After salting, paint with a mix of shimmering blues, purples, and blacks, allowing the salt to create a textured, starry effect.
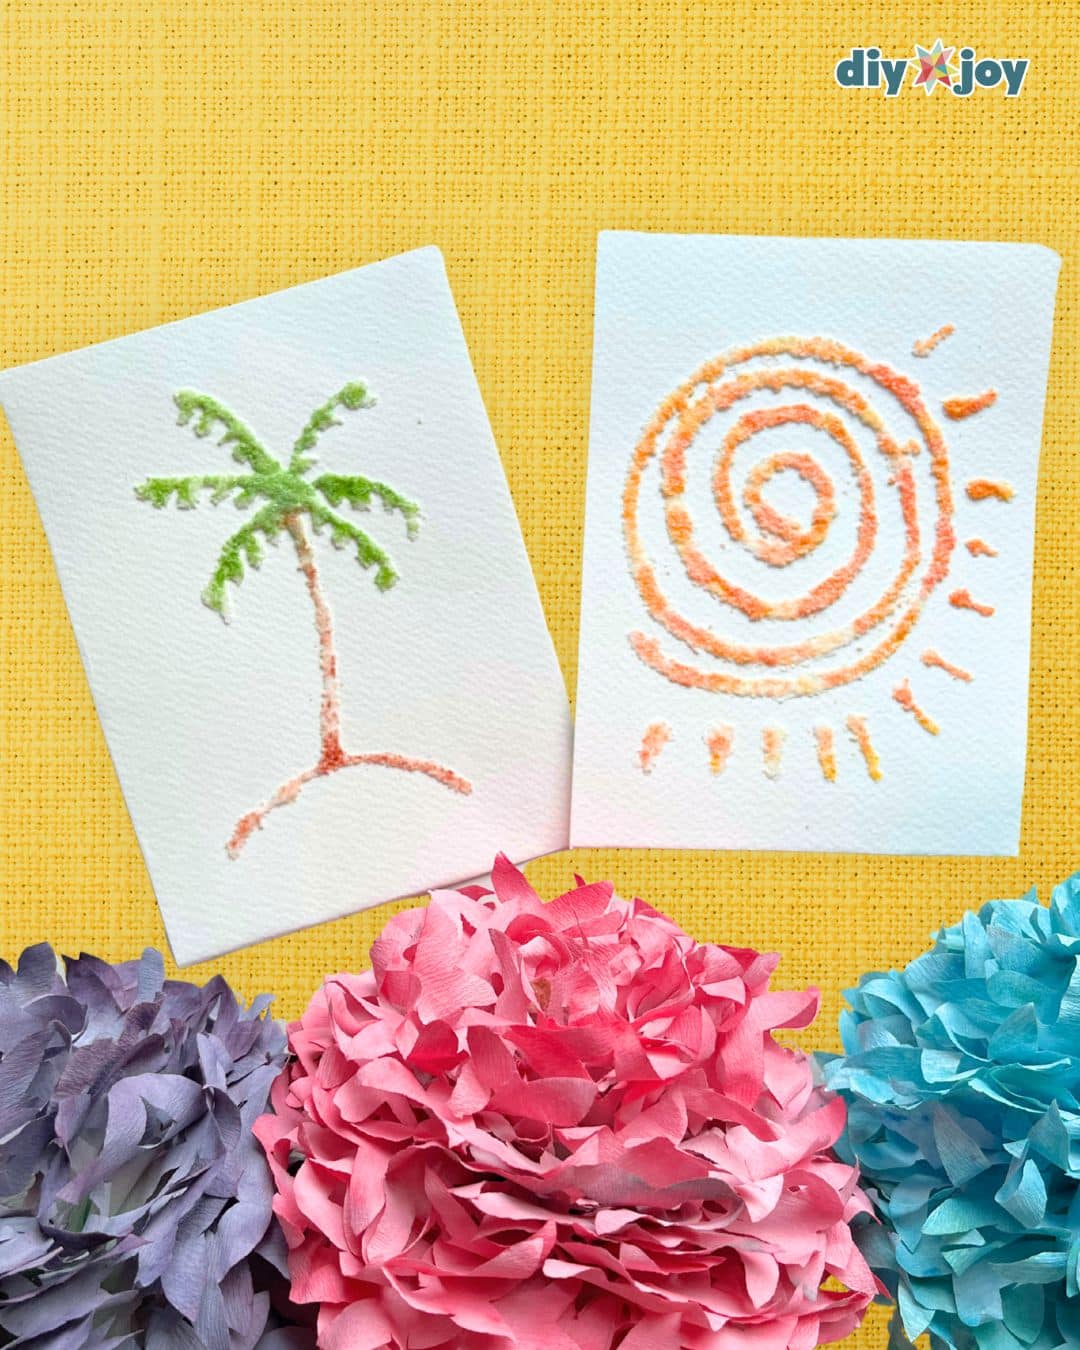
- Calligraphy and lettering: Add words, quotes, or names for personalized cards or artworks.
- Glitter salt: Mix fine glitter with salt for a sparkly, textured effect.
- Abstract: Create purely abstract designs by swirling glue and overlapping patterns.
Easy Salt Painting Idea | Video Tutorial