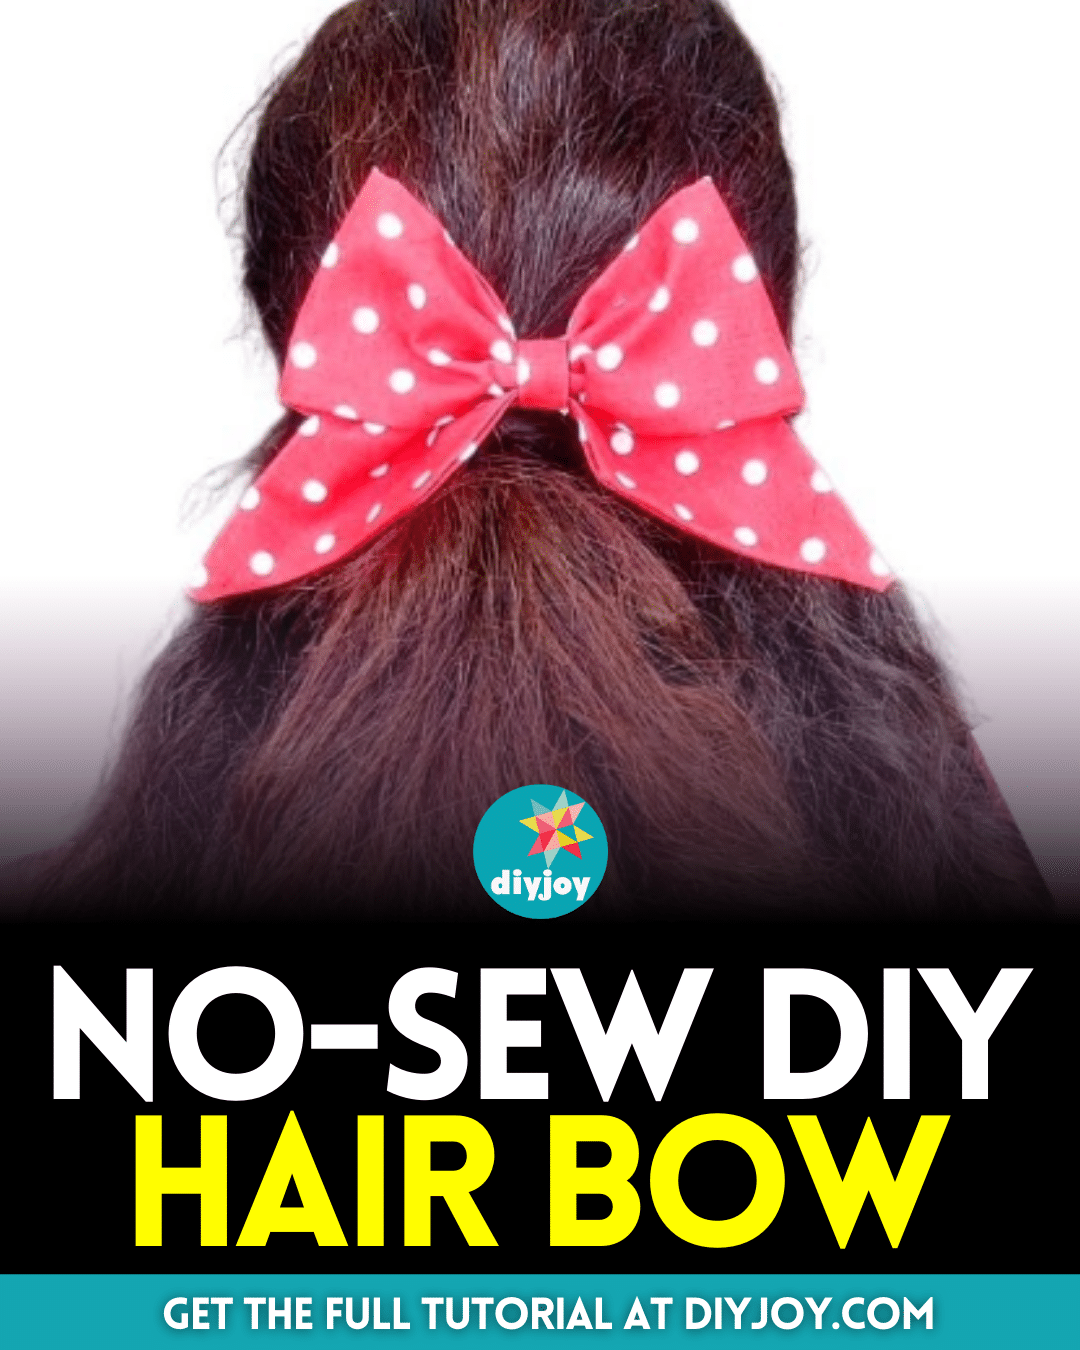
I never thought that making a perfect bow could be very easy, let alone a hair bow, but everything changed when I saw this video tutorial by Sew Easy by Sandy on YouTube. Now, I never want to purchase a hair bow from the store again because I want them handmade.
RELATED: How to Make a Bow with a Fork
There are a lot of advantages to making your hair bow, but at the top of that list is that it’s way more expensive and you can customize the design however you want, you can even use whatever you can find in your craft box. Watch the video tutorial now to learn how.
Materials for DIY Hair Bow:
- Fabric
- Scissor
- Ruler
- Marking pen, pencil, or chalk
- Thread
- Hair tie
- Hot glue gun and glue sticks
Cutting Requirement
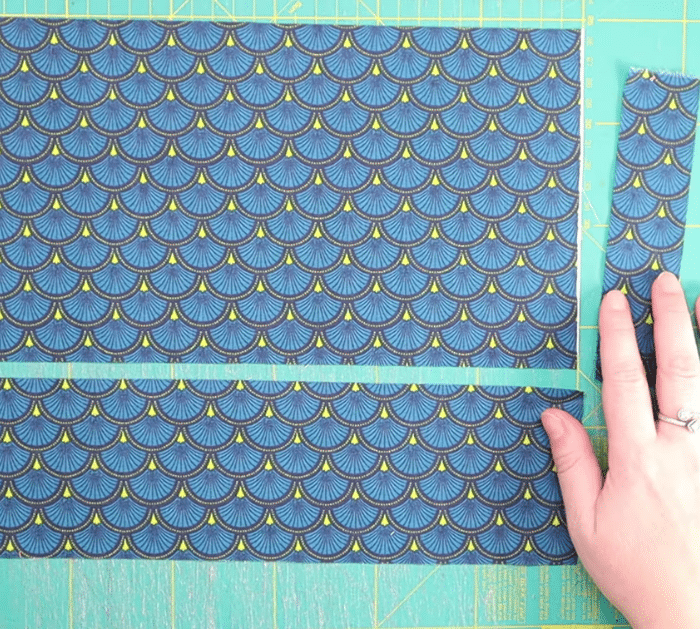
- 1 rectangle @12 x 6.5 inches
- 1 rectangle @12 x 3.5 inches
- 1 strip @6 x 1.5 inches
How to Make a Hair Bow:

Step 1
Lay the larger rectangle on your work surface with its right side facing down, then fold it in half lengthwise, crease the fold, unfold, and fold both edges toward the middle. Press it down and set it aside, then do the same steps for the other rectangle and strip, but for the strip, fold it once more in half, and give it a good press.
Step 2
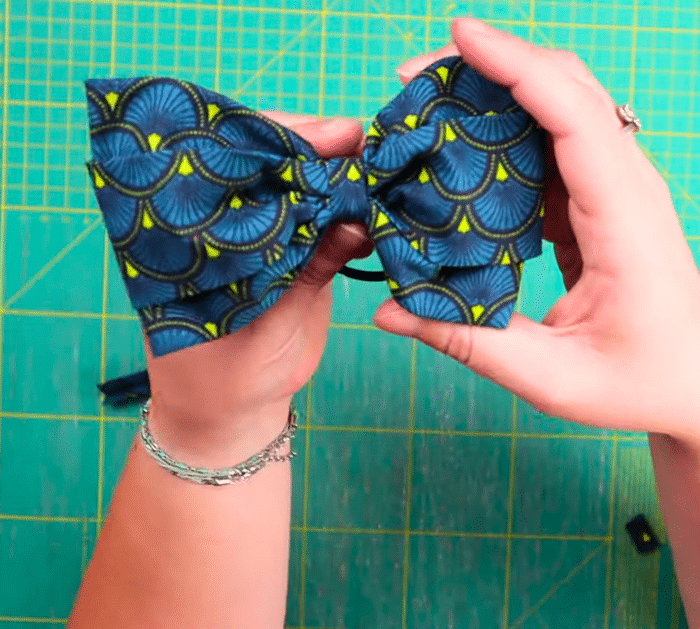
Stack the folded rectangles with the smaller one on top, then make sure their seam side is facing down, and then flip them over. Fold them in half to find the midpoint, unfold, then fold the edges toward the middle, and press them down. Carefully pinch the center together, then wrap a thread around the center to hold it in place, and tie a tight knot a couple of times.
Step 3
Place the hair tie on the wrong side of the center of the bow, then insert the tip of the strip, and hot glue it in place along with the hair tie. Continue to wrap the strip around, then dab hot glue as you go, and trim off the excess tail. Let the glue dry completely and you’re done!

*All these images are credited to Sew Easy by Sandy via YouTube. Give her channel a visit and subscribe for more!


