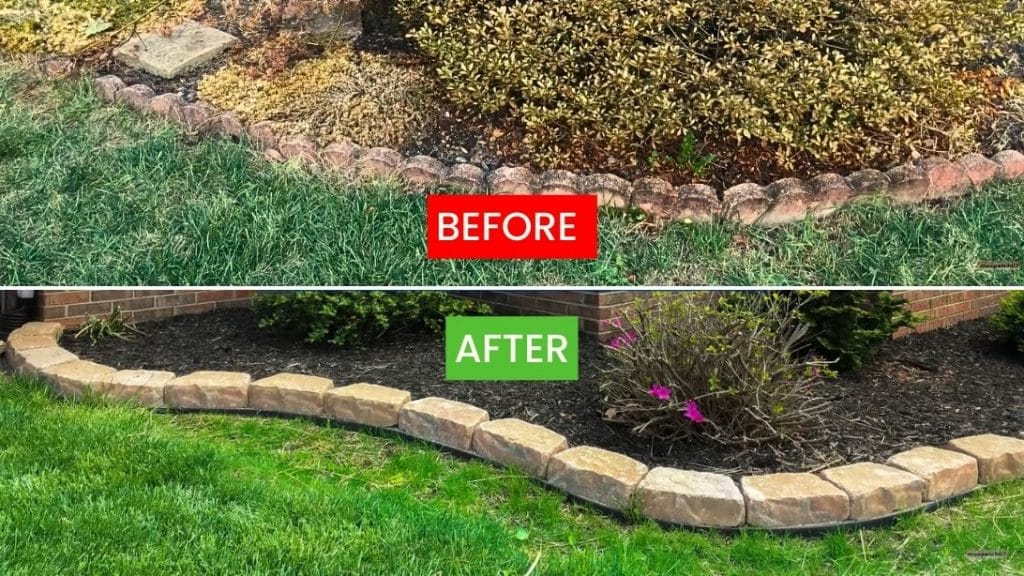
Upgrade your garden with this DIY tutorial by maxpatch67. No digging involved for this landscaping border! It’s easy to install and won’t take too much time and energy. This will help control the weeds and can last for a long time. Read on or watch the video below for full instructions.
Materials:
- no-dig edging
- fast-setting concrete mix (one bag will work for about five linear feet)
- galvanized 8-inch long spikes
- landscaping blocks
- gloves
- mask
- eyewear
[social_warfare buttons=”facebook,pinterest,twitter,whatsapp”]
Instructions:
Step 1:
Practice laying out the design using a garden hose. Take your time to create a shape that complements your house. Lay out the plastic border, then hammer the spikes. You can also do this on top of grass, creating a new area or making it bigger.
Step 2:
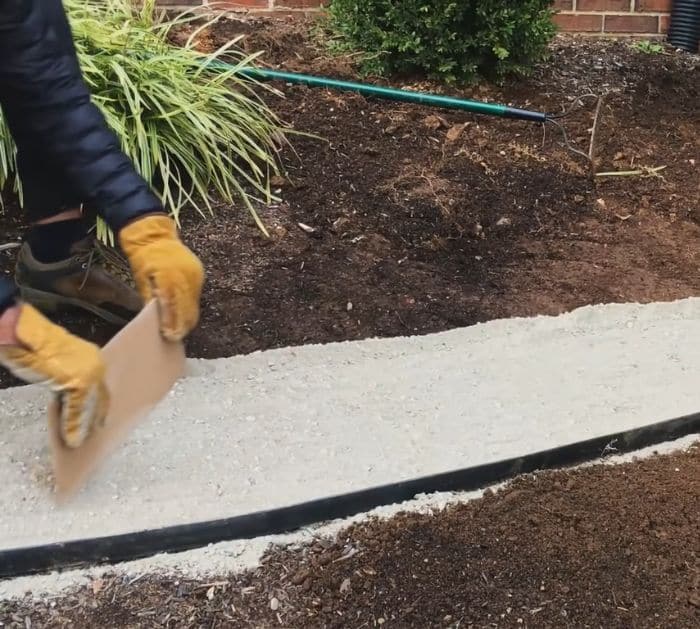
Prepare a bed of concrete. Grab a pair of gloves and wear a mask and eyewear. Spread the concrete mix about one foot wide. Either a piece of cardboard or a small board will work to level out the concrete using the edge of the plastic border as a guide.
Step 3:
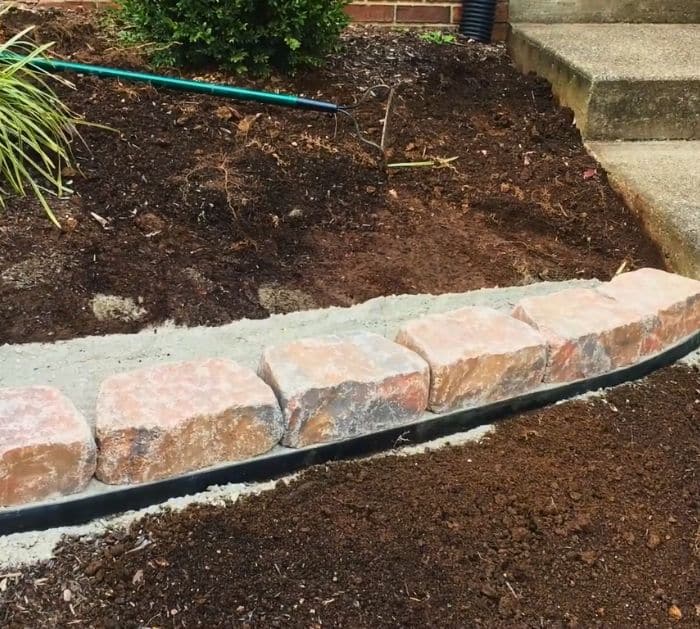
Lay the blocks. Set your blocks down and tap them into place. You can use a rubber mallet for this but it’s not necessary. You just want them to settle down into the mix a little.
Step 4:
Fill the gaps with the cement. Using any old cup toss the cement mix between the blocks from the backside to quickly fill in the gaps. This will strengthen the finished border and also help with weed control.
Step 5:
Spray thoroughly with a mist of water. This special fast-setting concrete mix will soak up just the right amount of water and begin setting before you’re even finished spraying it. This will not disturb your work. Spray for a few minutes until it has enough.


