Are you looking for your next quilting project? Try making this lone star quilt block from Material Girl Quilts on Youtube. This tutorial teaches you how to piece this gorgeous pattern with no y-seams! It’s easy enough for beginners and would be a fun weekend project for seasoned quilters. Watch the video tutorial below to learn the step-by-step instructions.
Materials:
- nine 2 & 1/2″ x WOF strips
- eight 10″ squares
- ruler
- rotary cutter
Directions:
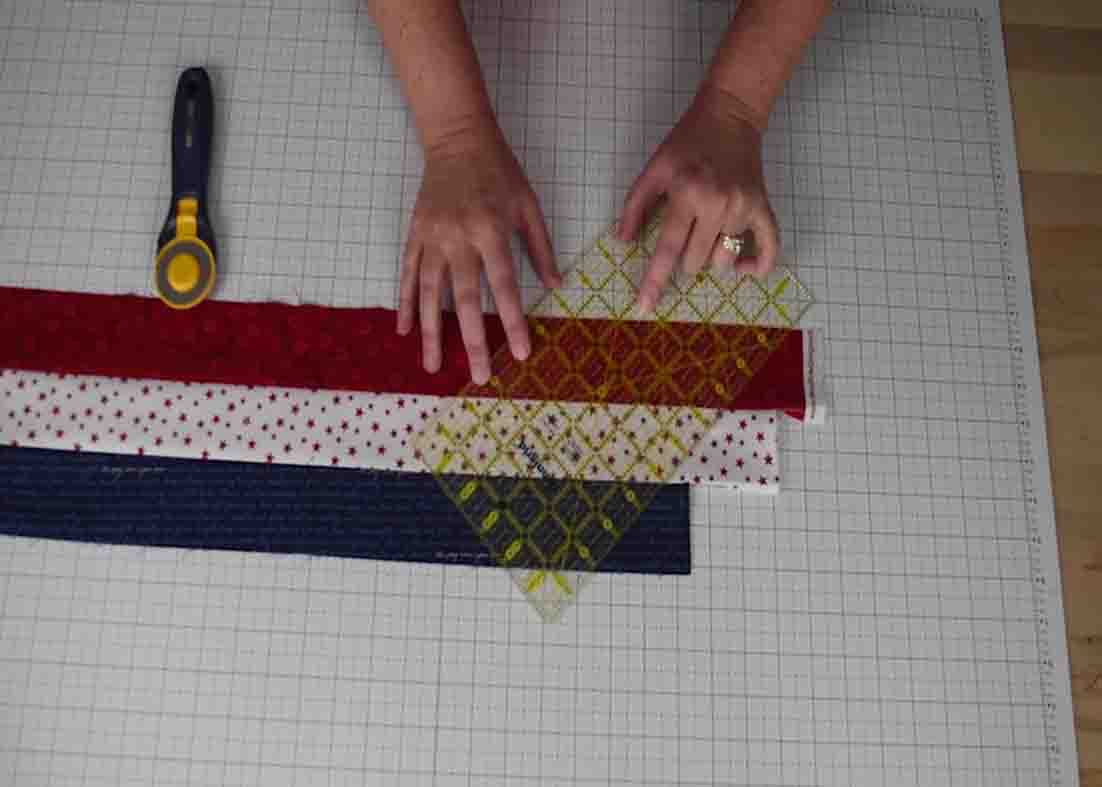
Step 1
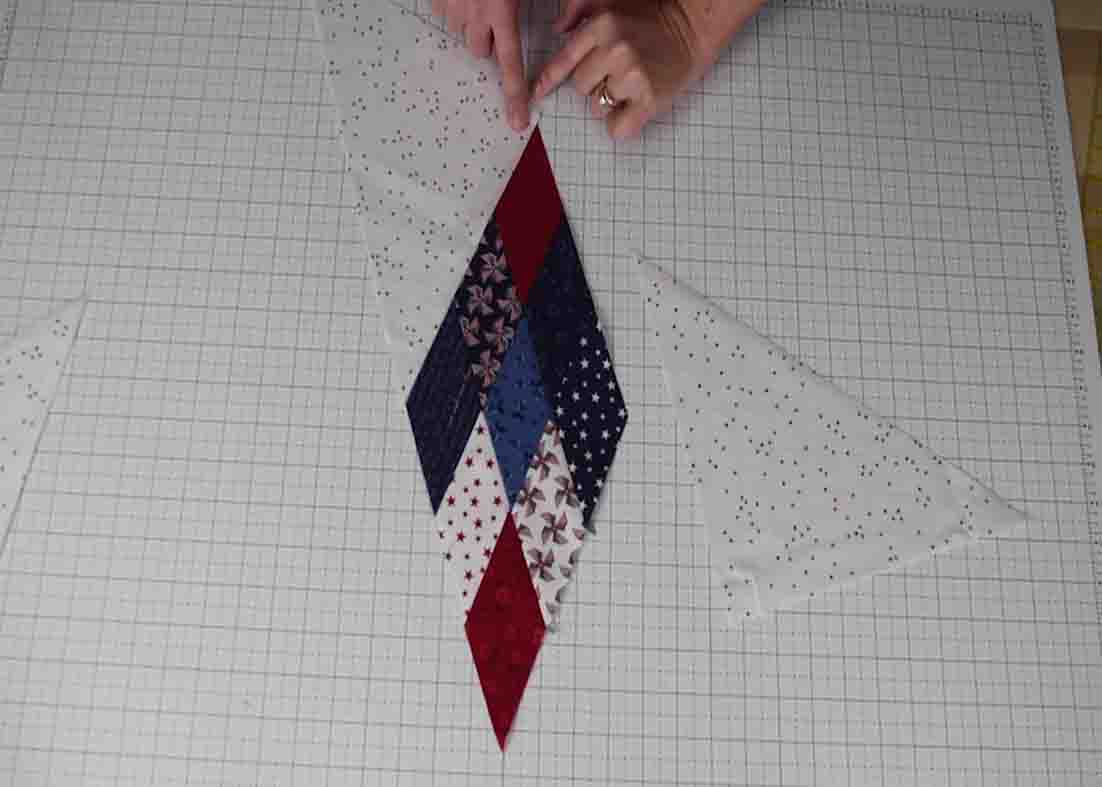
First, sew your nine pieces of strips into three sets. Next, align on a ruler the 45-degree line across the bottom, (or if your ruler is a little longer, depending on where your 45-degree line is, you can either line it on the bottom of the strip or one of the seams along the straight line) then trim off the excess on end. Measure in 2 & 1/2″ and cut another 45-degree line. Repeat this process to cut a total of eight sections. After you cut all of your segments, lay them out into the diamond formation, then sew these segments together. Place them right sides together and pin them to secure.
[social_warfare]
Step 2
After you have completed all of your diamond segments, you now need to cut the background fabric. Cut a total of eight 10″ squares that you will then cut on the diagonal to create a total of 16 triangles. With those triangles, for each diamond, you will need to find your outside point, then sew the triangles on the ends of the diamonds. Take one of the short edges of the triangle and line it up so that it will make one long line on the side and you will sew, the right sides together, in a 1/4″ seam, and press it open. Then, sew the other triangle on the other side in the same direction. To create the block, you will then take two of these segments and sew them together. Repeat this to create the next three segments of your star.
Easy Lone Star Quilt Block Tutorial


