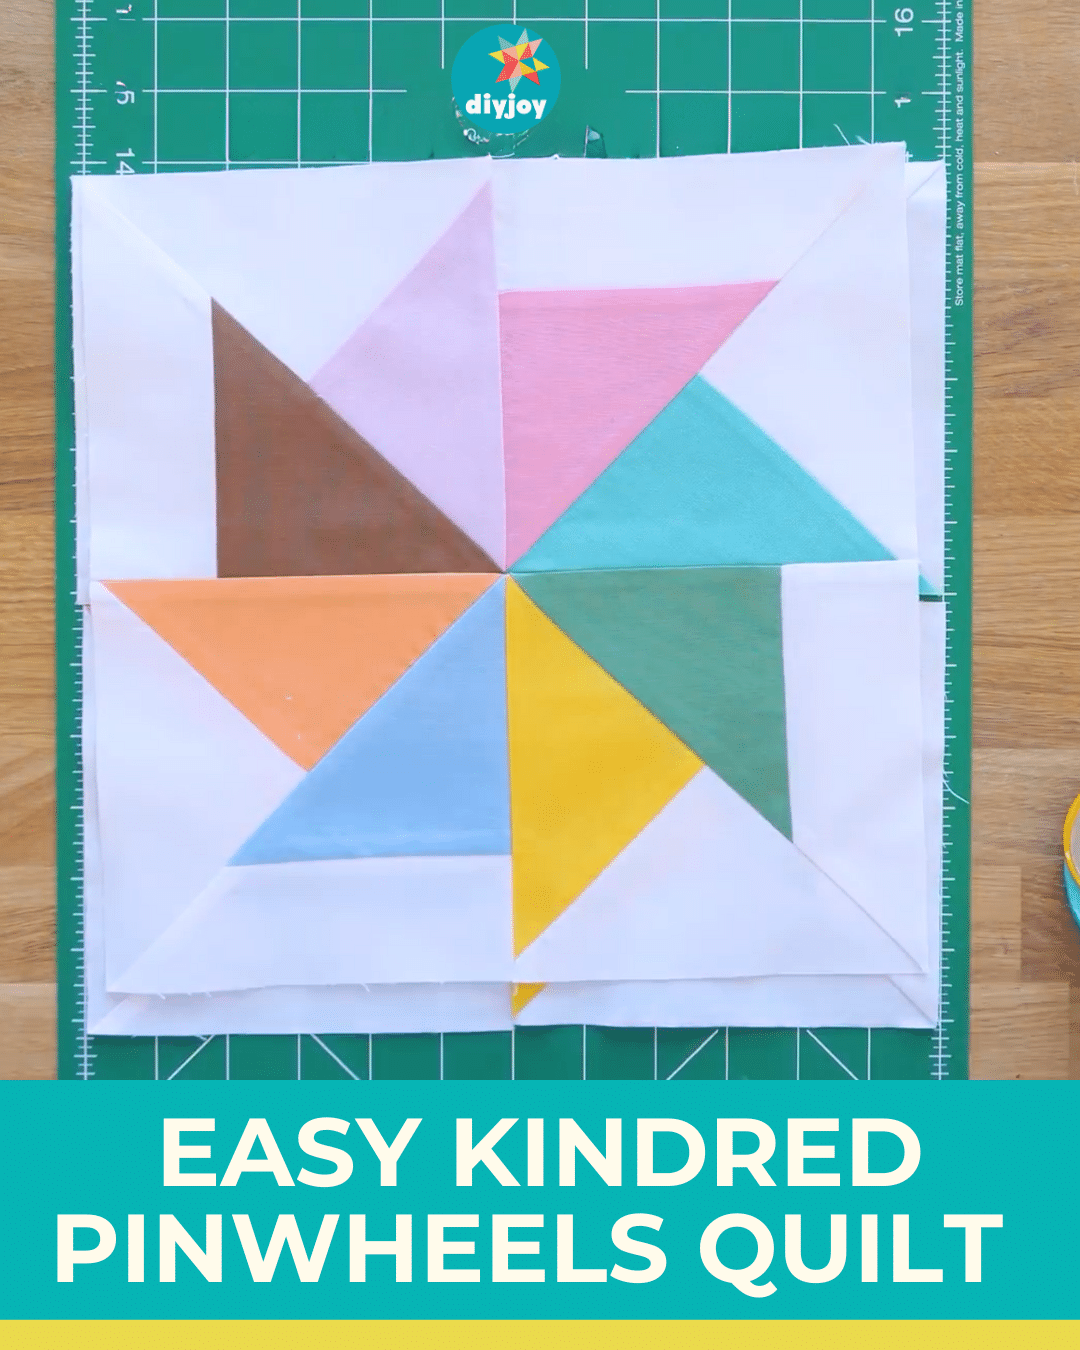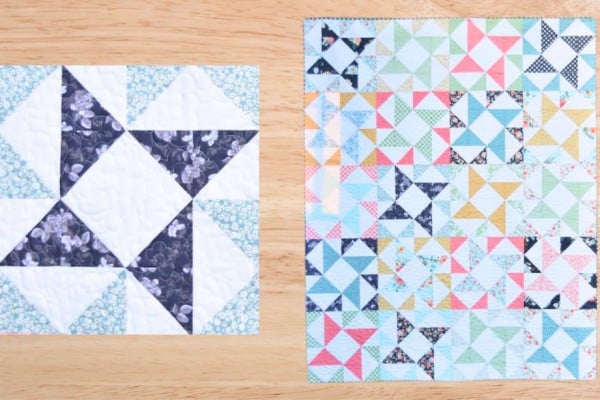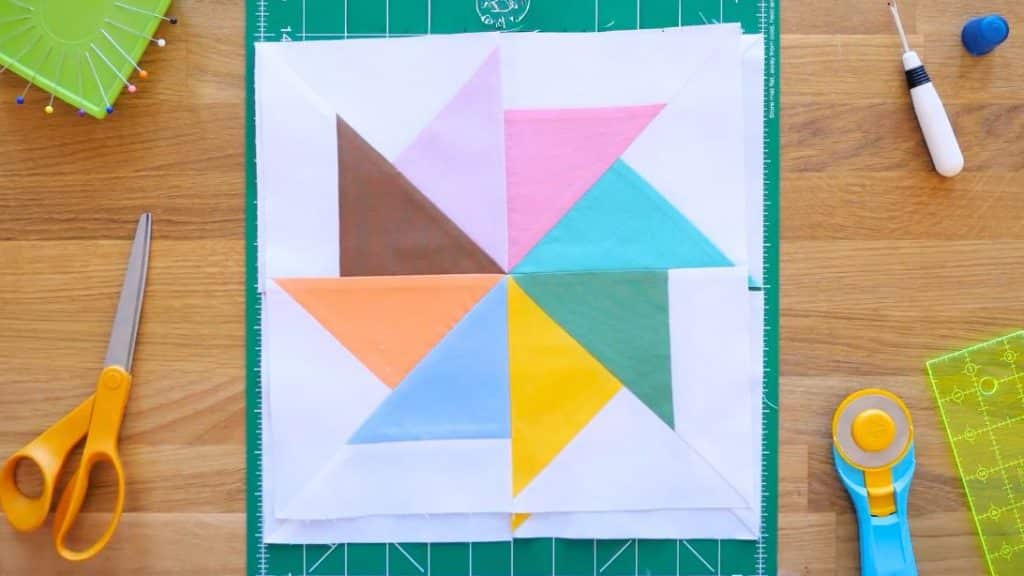
Do you love pinwheel patterns? If so, make sure to add this easy kindred pinwheels quilt to your to-do list! I found this pattern on Missouri Star‘s YouTube channel and instantly fell in love with it. It’s an easy way to upgrade the basic pinwheel that we all know.
RELATED: Easy Double Pinwheel Quilt Block Tutorial
Like the basic pattern, you need to make half-square triangles. But the steps are a bit different from the usual pinwheel, as you will be using a rectangular strip. It is still easy and beginner-friendly, so you don’t need to worry. Watch the video below for the full tutorial. Happy quilting!
Here’s another simple quilt project for you: 3D Dimensional Pinwheel Quilt Block
Easy Kindred Pinwheels Quilt Materials
- background fabric
- 1 pack of 5″ print squares
- square ruler with a 45-degree line
How to Make Kindred Pinwheels Quilt
Step 1:
Stack together a 5″ print square and a 5″ background square. Cut diagonally from corner to corner. Take one set and set aside the other. Sew on one of the short sides with a 1/4″ seam allowance. See the photo below for reference. Open and press it flat. Set it aside.
Step 2:
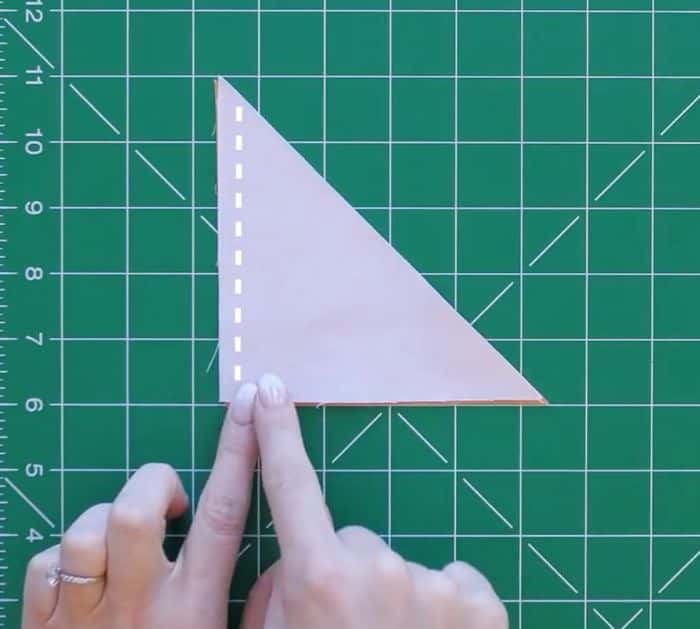
Take another 5″ print square and cut it in half diagonally from corner to corner. Set aside one of the triangles. Rotate the triangle so that one of the shorter edges is facing on the right. Take a 2.5″ x 7″ background strip and place it on top, lining the bottom edges. Sew the bottom with a 1/4″ seam allowance. Open and press it flat. Trim off the white strip diagonally using the diagonal on the triangle as the guide. You should have a bigger triangle.
Step 3:
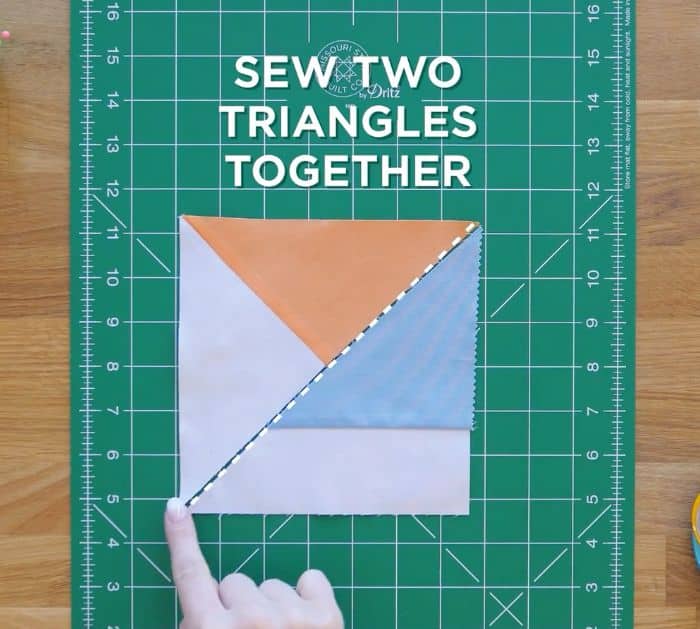
Get the units from step 1 and step 2 and arrange them just like in the photo below. Sew them together with a 1/4″ seam allowance. Square up the block to 6″. Keep the 3″ ruler mark where the two triangles meet. Now, you have the block.
You need four in different colors.
Step 4:
Arrange the four blocks together like a four-patch, forming a pinwheel. Sew together with a 1/4″ seam allowance.

