If you love giving quilt projects as gifts, try making this jelly roll sizzle from Fat Quarter Shop on Youtube. Believe me, this baby quilt will be your go-to for baby showers or quilting for your children. You can use your favorite jelly rolls, and it’s a quick and easy project you can do on weekends. Watch the video tutorial below to learn the step-by-step instructions.
Materials:
- 1 jelly roll (fabric A)
- 2/3 yard background
- 5/8 yard binding
- 3 & 1/4 yards backing
- click here for the free pattern
Cutting:
- cut background fabric into 32 – 4 & 1/2″ squares (fabric B)
- cut binding fabric into 6 – 2 & 1/2″ x WOF strips (fabric C)
Directions:
Step 1
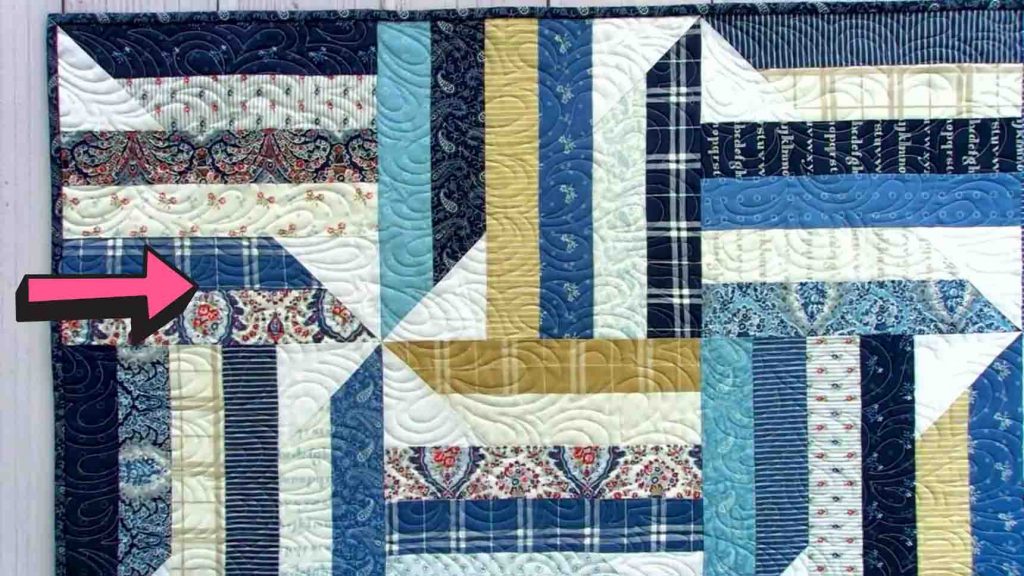
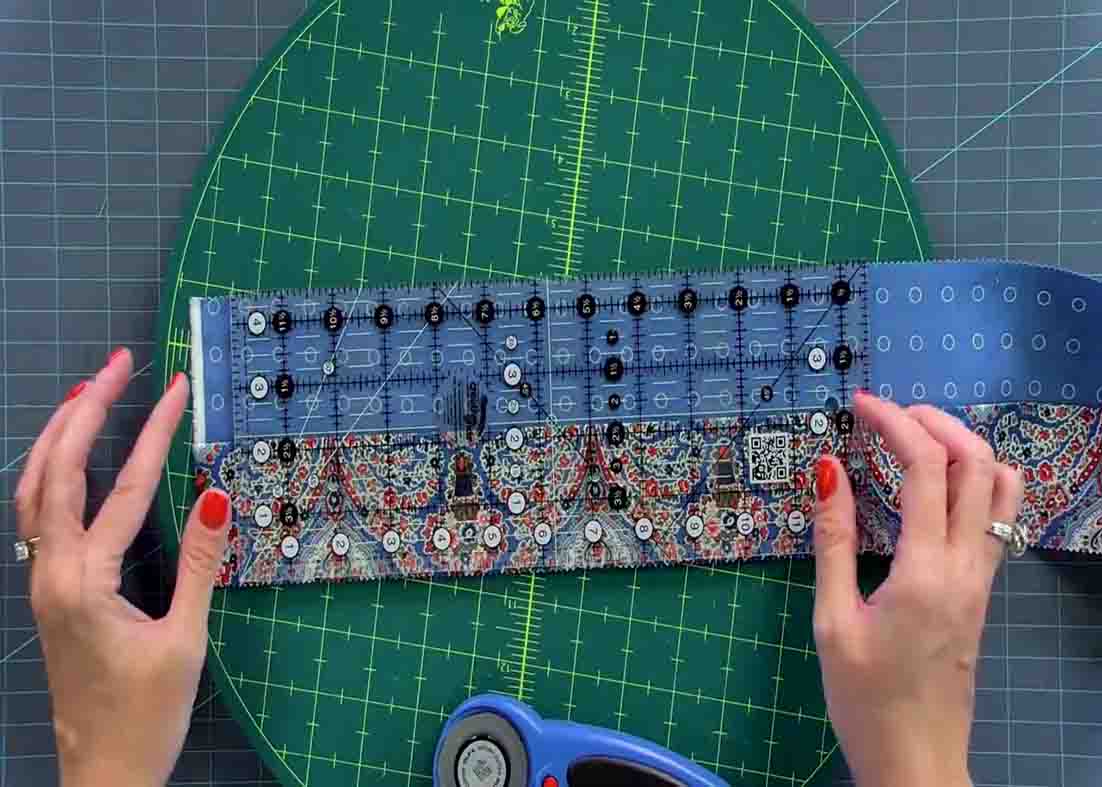
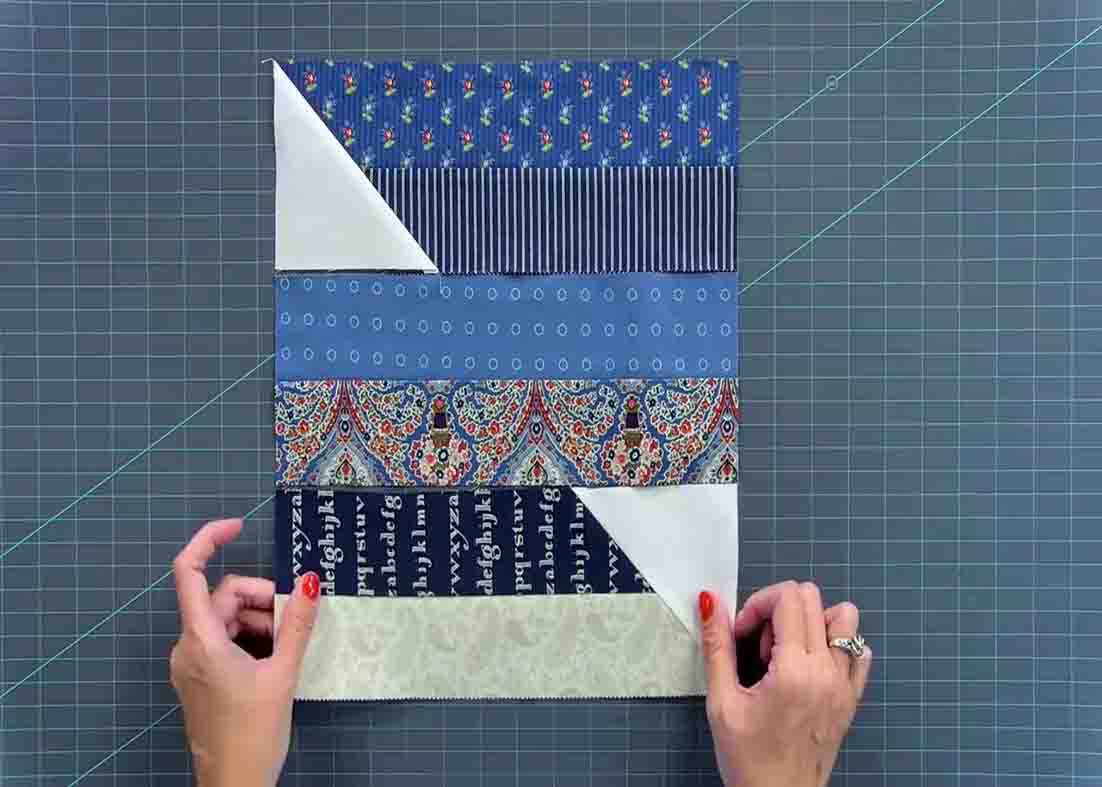
Take your 32 strips and pair them with another strip so that you’ll have 16 strip sets of two. Press to any side you want. Now, from each strip set, cut three rectangles that are 4 & 1/2″ x 12 & 1/2″, then trim up all sides. You will end up with forty-eight 4 & 1/2 x 12 & 1/2″ strips. Take only 32 of the rectangles and 32 fabric B squares. Draw a diagonal line to a fabric B square and place it where the line is on the left side of the rectangle. Pin to secure, then stitch directly on the line, then remove the pins. Repeat this until you have 32 pieces.
[social_warfare]
Step 2
After this, trim a 1/4″ away from your stitching, then press toward your background print. You will have 32 of these units. In building the blocks, take two from the 32 pieces stack and from the 16 pieces stack. Lay them vertically with the first unit going to go just like you had it, your second unit is the one without the corner square, and the last one, instead of doing it like the first, flip it to the other side. Sew them all together with a 1/4″ seam. Repeat this until you have a total of 16 blocks that are 12 & 1/2″ square unfinished.
Easy Jelly Roll Baby Quilt Tutorial


