If you have been quilting for a long time, I am sure you already made a lot of star patterns. There are so many variations and design patterns that you can easily find online nowadays. I saw this pattern while scrolling on YouTube last weekend and thought I should share it with you. It instantly caught my attention as it was different from the ones that I made before.
RELATED: Love Notes Star Quilt With Jenny Doan
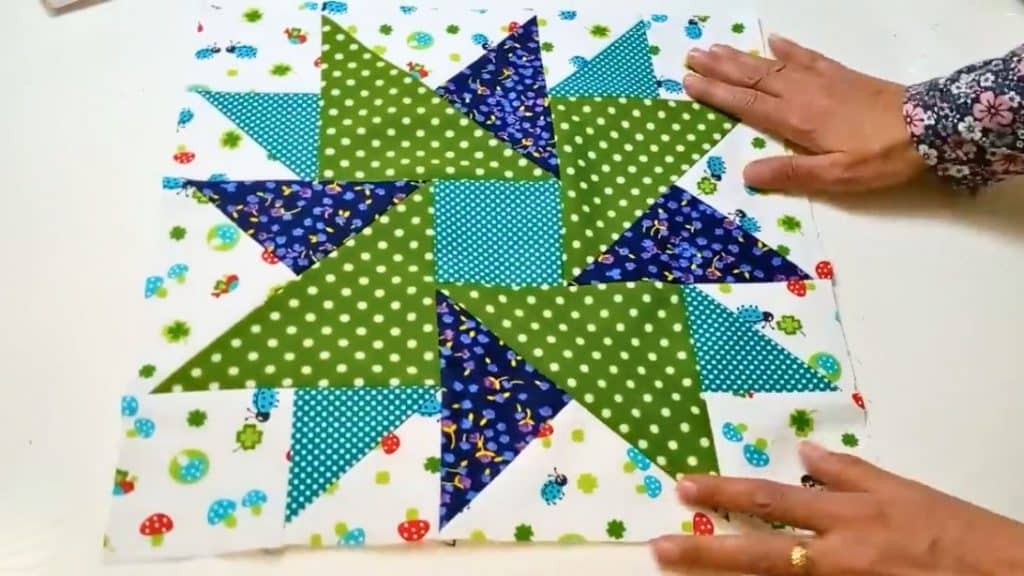
This HST star block by easy sewing is not that difficult to make, but it requires some time and effort since it has a lot of pieces. Unlike other star patterns, the center of this block is a simple 3.5-inch square. I absolutely love that it has the same color as some of the star points, which ties everything together. If you are looking for a new quilt project, definitely try this out.
For more star quilt patterns, check these out: Studio Star Quilt With Jenny Doan, Easy Hunter´s Star Quilt Block Tutorial, Beginner-Friendly Scrappy Star Quilt Block Tutorial
Easy HST Star Block Materials
- 2 pieces of 4 x 4 inch colored squares (fabric A)
- 2 pieces of 4 x 4 inch background squares
- 4 pieces of 3.5 x 3.5 inch background squares
- 1 piece of 7 x 7 inch background square
- 1 piece of 7 x 7 inch colored square (fabric B)
- 2 pieces of 6.5 x 6.5 inch colored squares (fabric C)
- 1 piece 3.5 x 3.5 inch colored squares (fabric A)
How to Make an Easy HST Star Block
Step 1:
Place the 4 x 4 inch background squares on top of the 4 x 4 inch colored squares, right sides together. Draw a diagonal line from corner to corner. Sew 1/4″ away from both sides of the lines. Cut directly on the lines. Press them open.
Step 2:
Place the 3.5″ background squares on top the half-square triangles and sew on one side on the colored triangle.
Step 3:
Get the 7 x 7 inch squares and place them on top of each other. Draw diagonal lines from corner to corner on both directions. Sew 1/4″ away from both sides of the lines. Cut directly on the lines. Press them open.
Step 4:
Get the 6.5 x 6.5 inch squares. Draw diagonal lines from corner to corner on both squares. Cut directly on the lines.
Step 5:
Place the triangles from step 4 on top of the triangles from step 3. Sew on the long side. Press them open.
Step 6:
Sew the rectangle units beside the blocks just like in the photo below.

Step 7:
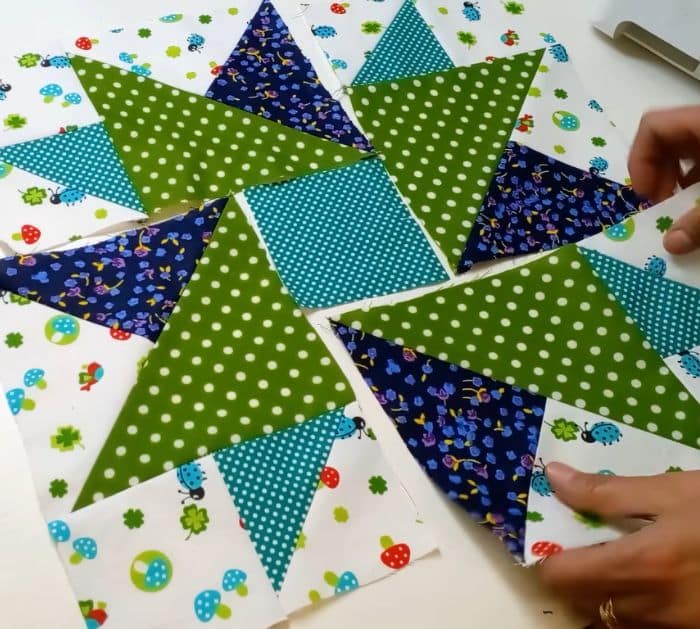
Get the 3.5 x 3.5 inch colored squares and all the other units and arrange them just like in the photo below.
Easy HST Star Block Tutorial


